Strengthen Your Artwork Listings with In Situ Photos
Having a strong, compelling listing for your artwork helps reassure collectors that it’s a great idea to purchase your artwork. One of the simplest ways to help collectors imagine your work in their home is to show them how it would look.
Hang it yourself
The most basic way to achieve an in-situ image is to just take a photo of the work hanging in your house. Keep in mind that you’ll need some great quality lighting to pull this off nicely, so try to stick to the most well lit rooms in your house. Keep the area clear from clutter to make it look clean, with less than three decorative ornaments. A neutral palette will help your painting to stand out against the wall.
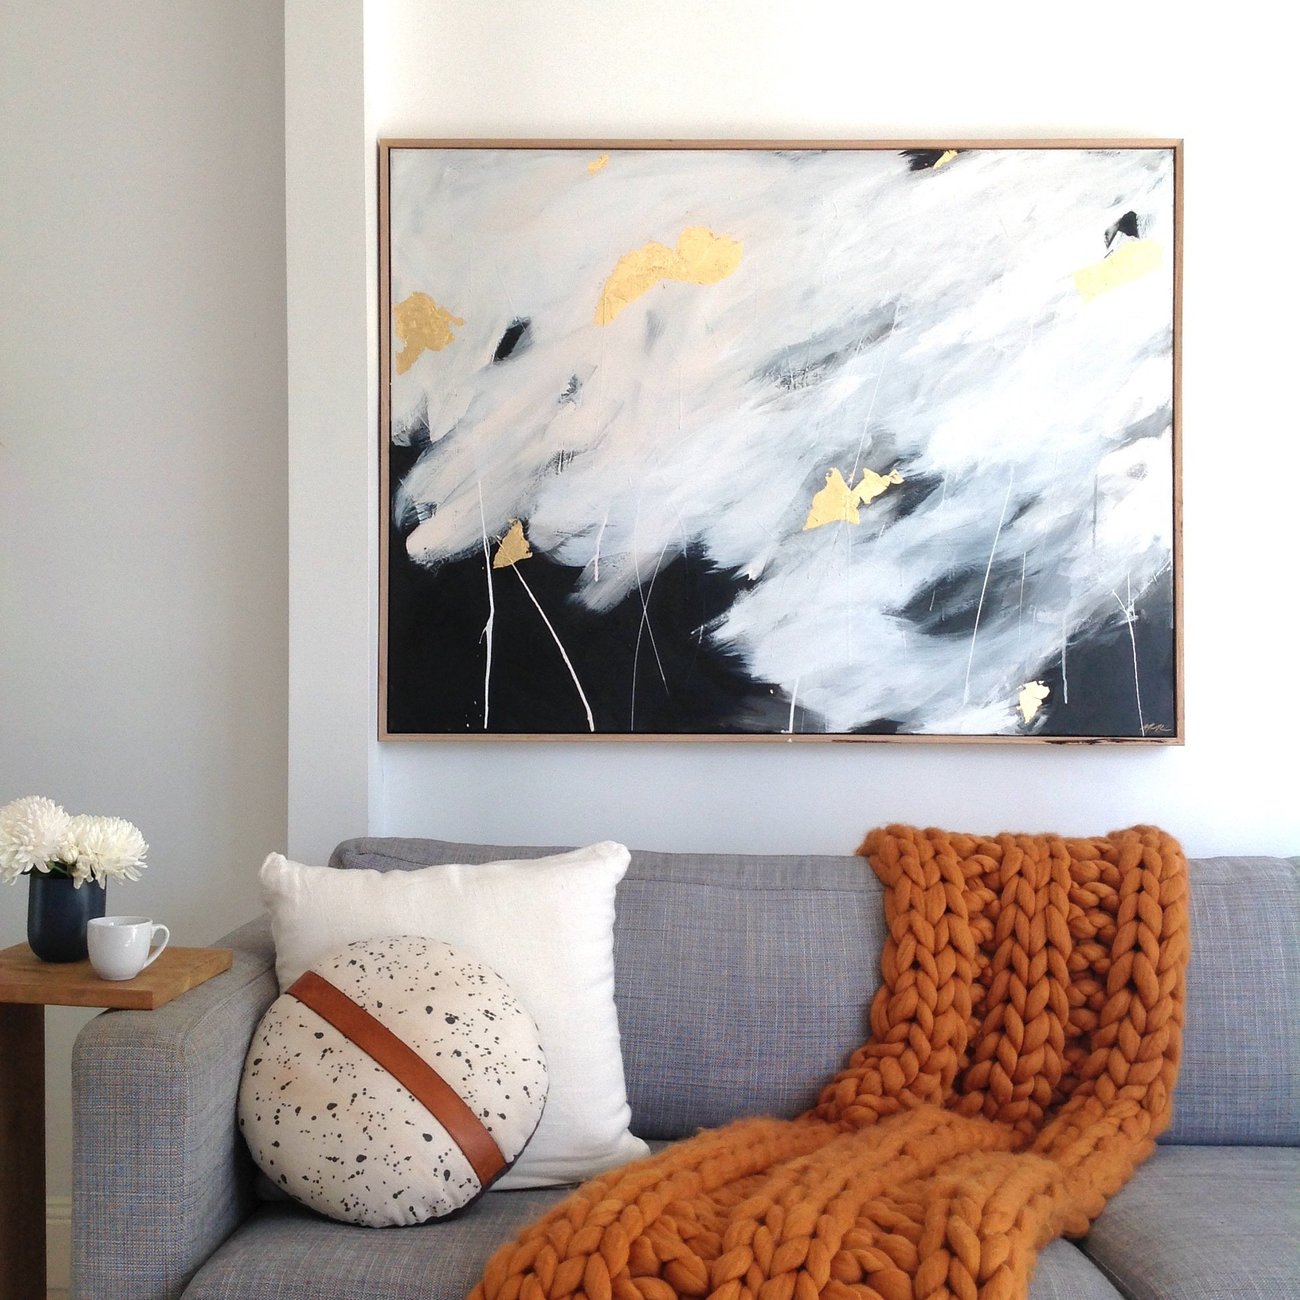
Marnie McKnight uses her beautiful home to create her own unique in situs!
Use an app
Another easy option is to find an app or website that does all the work for you. WallApp by OhMyPrints is a popular option. With these apps, all you have to do is upload an image of your artwork, select the space you want it in and toggle the dimensions to make it accurate! You can even upload your own image of a room, for a more customised look.
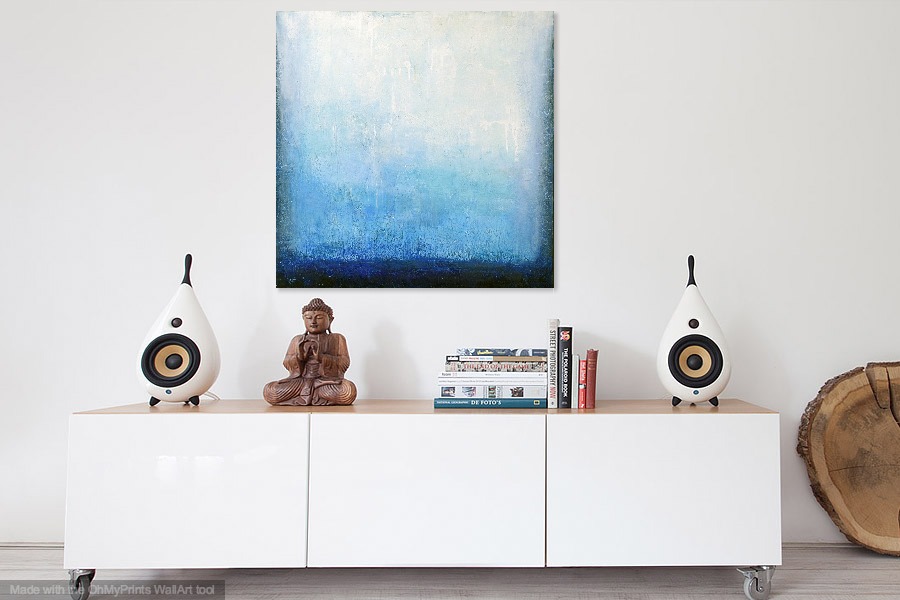
This was created on WallApp. Transcendence by Artem Bryl.
Photoshop
Adobe Photoshop is another choice. This is a professional grade program which allows you the ultimate level of control over how your artwork is displayed. This program can be daunting if you aren’t familiar with it, but don’t worry – after we’re done with you, you’ll be Photoshopping like a pro.
To start with, find some good photos of empty rooms. There are some great free stock photo websites out there, such as Pexels or Stocksnap.
Then, just check out the video below to see how it’s done!
Drop the painting on the background
Open your background up in photoshop, and then open your artwork up as well. Use the move tool (On a mac, the keyboard shortcut is V) to drag your artwork onto the background file.
Change the size of the painting
The artwork should appear where you’ve dropped it, and you should be able to ‘transform it’ (ie, change the dimensions). To maintain the same aspect ratio (in other words, the same shape), hold down the shift key on the keyboard and click and drag the corners, as you can see me doing in the video. Aim to show the actual size of the painting – the one in this video was 90cm wide by 90cm high. Use the size of the objects in the background as a guide. If you need to resize the painting, just use command/control + T to re-open the tool.
Add shadow
Next we’ll be adding a shadow, so it looks more realistic. To do this, hold down the command key on a mac, or the control key on a PC, and click on the layer image (that little picture icon in the layers bar on the side) to select the painting.
Add a new layer and fill it with black. To do this, you can either use the paint bucket tool or the keyboard shortcut ‘alt + delete’. Be careful, using alt and delete will fill it with the background colour you have currently selected – if that turns out to be white, just hit the X key and try again. This should reverse your foreground and background colours (by default they are black and white).
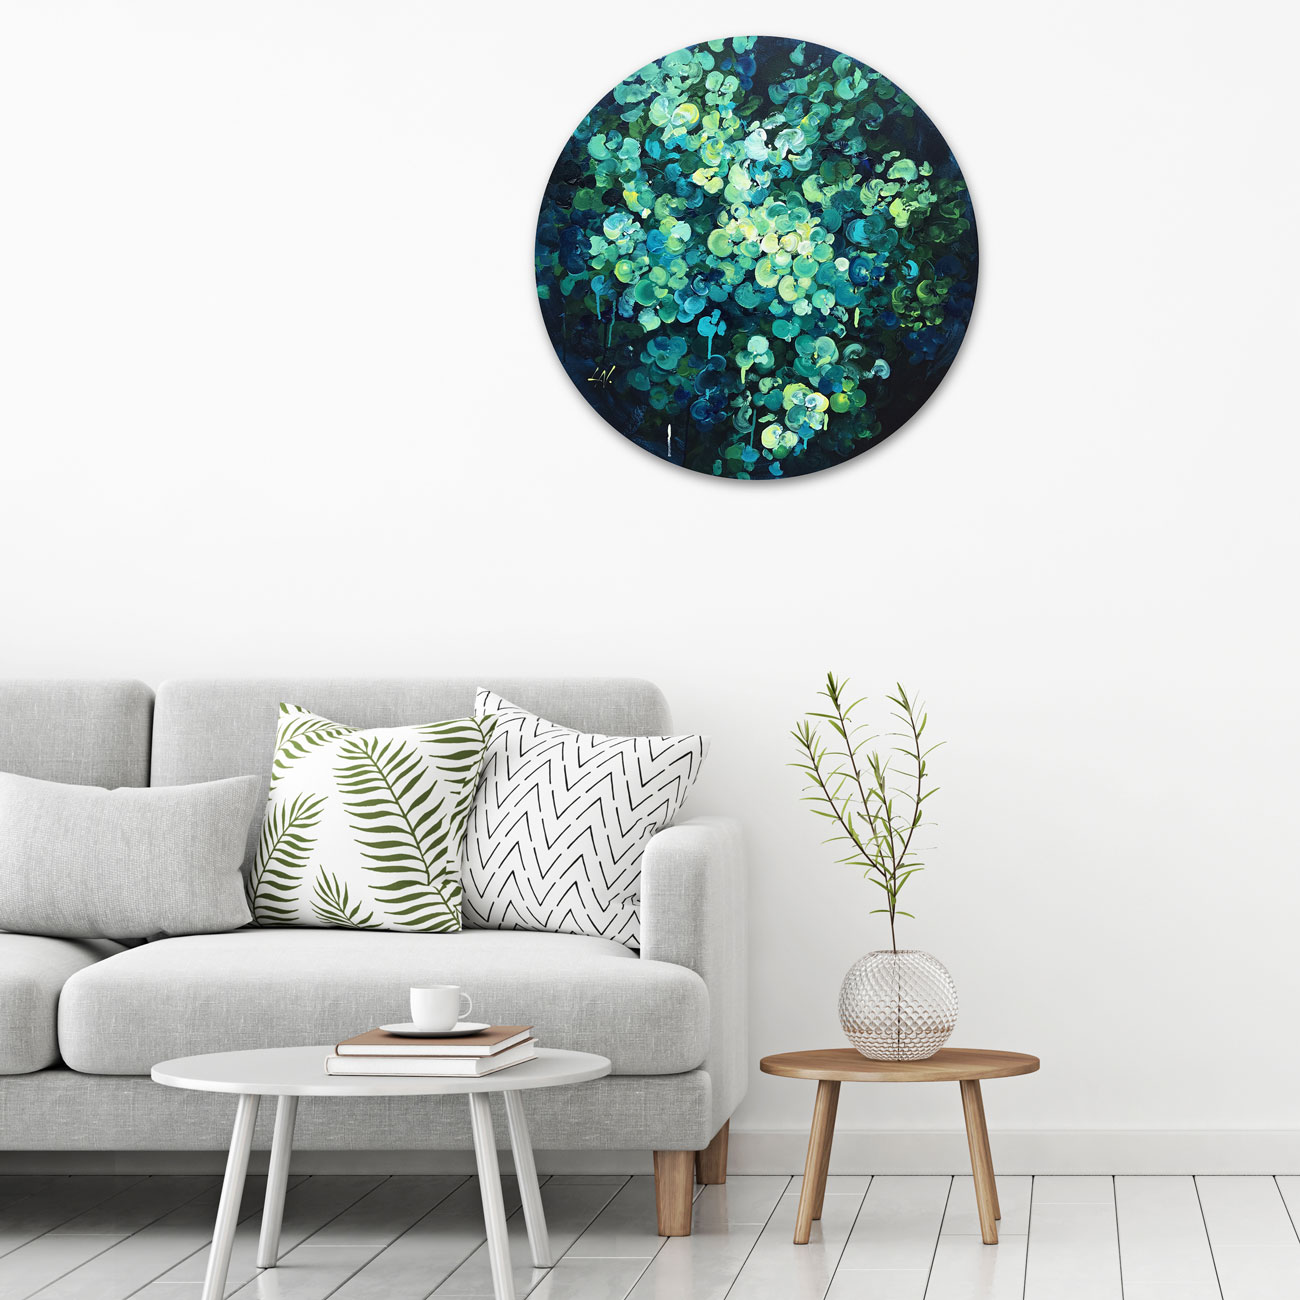
This technique works just the same for circular works. Feelings in Lace by Lily Nova.
Now click on the black layer and deselect it (command/control + D). Drag it below the painting. Go to the Filter menu and select ‘Blur’, then ‘Gaussian Blur’. Drag the slider until the shadow looks convincingly soft, and try not to overdo the blur. Click OK and use the move tool again to place the shadow at the same angle that shadows are occurring in the rest of the image. In this case, to the lower right. Adjust the opacity of the layer (you’ll find this setting in the layers bar) to help it blend in.
Finally, save the file! Go to the File menu, then Export and then Save For Web. Try to save the dimensions between 1000px and 1500px on the longest edge, so that the file size isn’t too large.
Now, all that’s left to do is upload the image and sell some art! Remember not to use the in situ as your main image. It looks really weird with our new “View On Wall” feature.

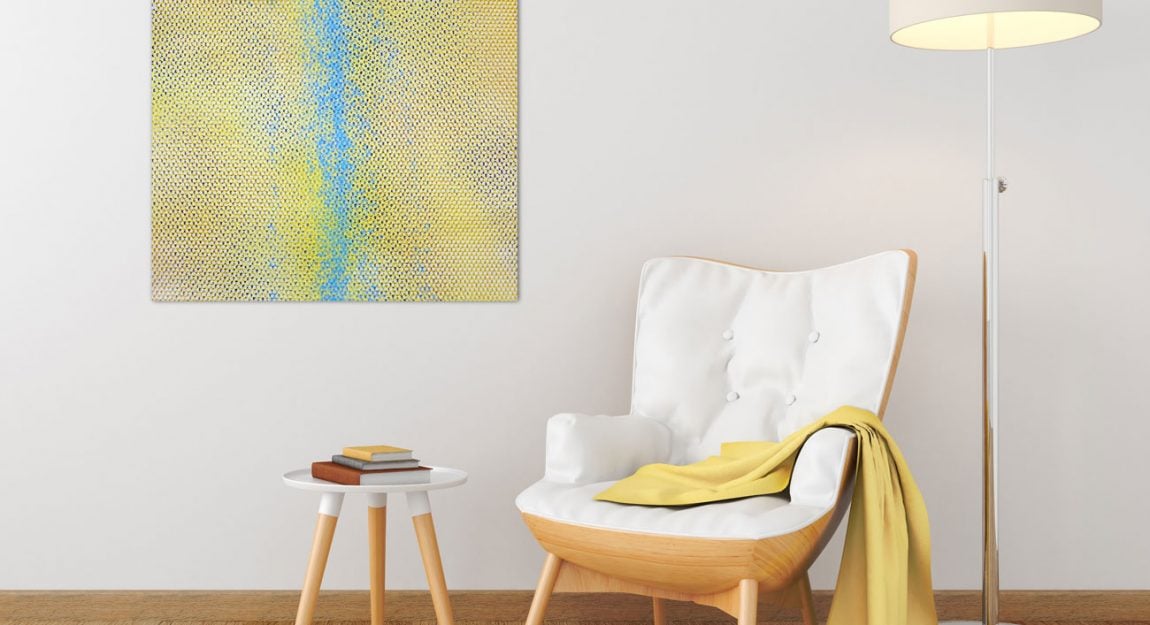




Great article! I use the technique with In Situ images on my homepage myself. It makes the artwork more alive than just using a simple close up of the painting.
The last month I have created circular paintings on tree, which is more difficult to cut out in Photoshop than a landscape or portrait painting. Maybe you could extend the blog post with tips on cutting out round paintings in photoshop.
Best regards
Kamilla Ruus
http://www.kamillaruus.dk
Great suggestion Kamilla!
Absolutely Kamilla! That’s exactly what I need help on as I currently don’t display any of my circular art in situ – it’s too hard and I can’t find any APP’s to help me.
Thank you for this article, Megan–it’s super helpful.
Great ARTicle! (hehe) My clients love seeing my art in Situ. I think it’s because they struggle to ‘visualize’ the way artists can 🙂
Great tips on saving Pixel size and realistic looks.
Creating room-view images is so much fun… I enjoy it almost as much as creating the art itself….. lol
Thanks for all your helpful tips. They show their value in ongoing sales.
Hi there,
great article and I use photos in situ as well especially for my handmade art posters. I can also recommend to take some photos of the artwork from different angles and maybe crop the images so that they look more dynamic. Having a few photos of each work makes the artwork seem special and well presented.
All the best,
Jakob
Great article thanks. I have a few series of two to three paintings. Do you know of any app that will allow me to show two together in a room?
Hi Sigrid,
Try ‘ArtRooms’ it’s a little clunky and the rooms aren’t overly inspiring but it does allow for framing options/sizes and multiple artworks.
Emma xx
Thank you for this article. Hopefully I can get this right. Great article. Sandra Messner.
Why have waited so long to us the Wall App. I spent many hours trying to style my paintings and none of them looked as good as with the Wall App. WALL APP IS SO EASY TO USE. Give it a try, it is a delight.
Wall App doesn’t appear to be available any longer on the app store.
Has anyone used ‘Smartist’ or ‘ArtStage’?
Fantastic article, Megan. Your step-by-step guide on creating in situ images is incredibly valuable. As an artist involved in custom art creation, I believe this technique significantly enhances the customer’s ability to visualize and appreciate our work. The tips on using tools like Photoshop and WallApp are especially helpful. Thanks for sharing such practical insights!