How to Hang a Picture
So you’ve bought the artwork of your dreams and it’s framed and ready to hang. But you want to make sure it’s done well. Hanging a picture is easy with a few handy tips, which is why we have put together a simple check-list for you to follow so you get it right the first time.
Think About the Environment
Bluethumb director and art collector, Ed Hartley, recommends that you consider the environment your picture will be in before you hang it. Avoid hanging your picture in direct sunlight as “UV rays cause serious deterioration – place paintings next to a window instead of directly in front. Also avoid hanging a piece in a place exposed to extreme heat or moisture where heat can warp a picture and moisture can allow mould to grow.” If you are hanging your picture in a bathroom, over a fireplace, or other more extreme environments, ensure it is framed and sealed to withstand heat and moisture. Read our guide about framing a picture.
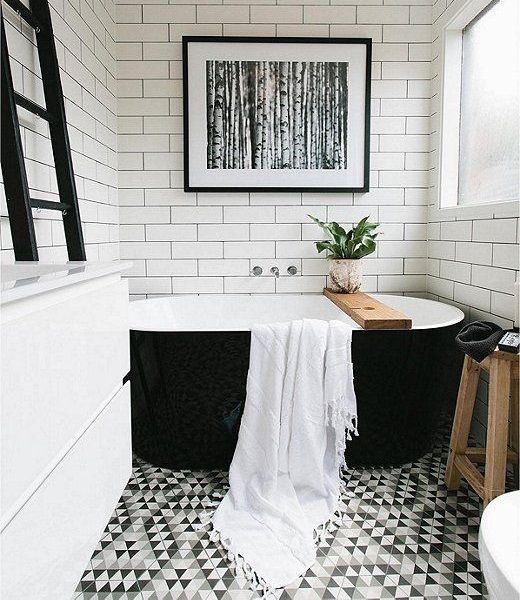 Bathroom art should be sealed so moisture cannot seep in and damage the artwork. Source: The Styling Edge.
Hang Your Picture At Eye Level
This is different for everyone, but as a general rule of thumb aim for somewhere between 155 – 160cm off the ground. This ensures your picture isn’t too high or low so everyone can enjoy your artwork. Also consider whether the picture is in reach of children, pets, or anything else that may damage it.
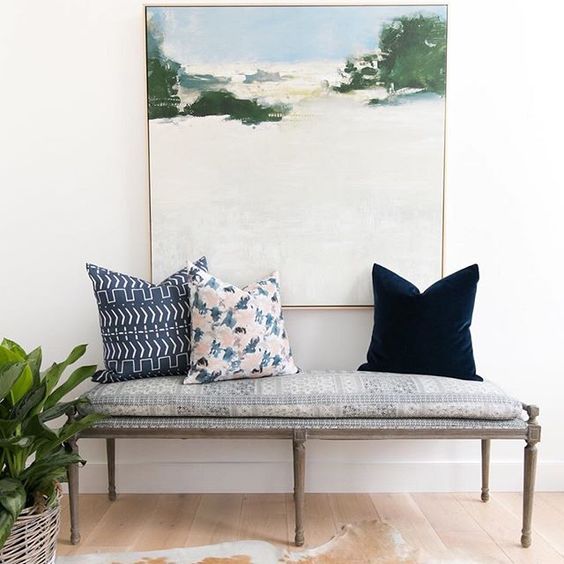 This painting looks great here, but what happens when people sit on the bench and lean on the picture. Source: Studio McGee.
Hang it Securely
Screws in the wall are the best option to ensure your picture is secure. Adhesive hooks work temporarily but eventually lose their grip resulting in your picture falling off the wall (not good!). If you do need to use adhesive hooks, ensure the wall is prepped according to the manufacturer directions and that the paint on the wall is secure – the adhesive may stick to the paint but if the paint is loose, the paint can peel off the wall.
Also use two hooks on the back of your picture (at two points) so it’s more secure and the artwork won’t shift in the frame over time.
Get Creative
Grouping pictures together (known as a gallery wall) is great for an eclectic and homey feel, creating a cool feature in your room. Play around with different frames and arrangements. Lay them out on the floor first to find a combination you are happy with.
Also consider less traditional hanging methods and opt for something like visible rope above the picture, or even simply leaning the picture against a wall (just make sure it can’t slip forward). This is also a great way to layer pictures, display art on furniture or shelves, and makes it easy to move the artwork around if you decide you want it elsewhere.
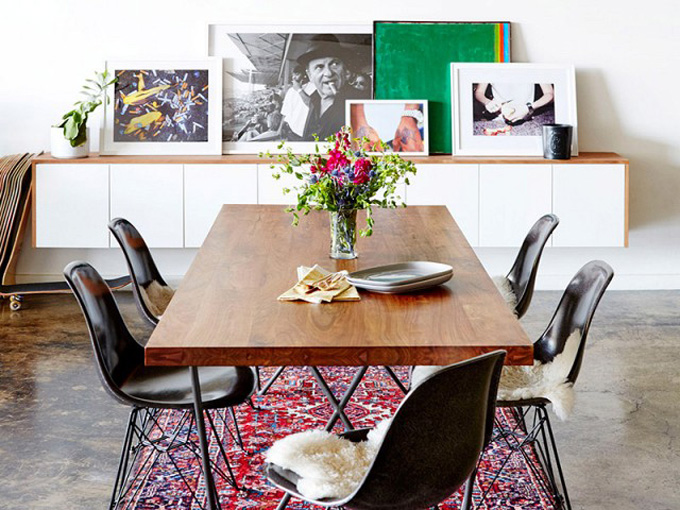 Leaning pictures against a wall and layering them together creates a cool feature in a room. Source: MyDomaine.
Double Check
Always double check from a distance where your picture(s) will be hung before drilling the hole for the hook. Have someone hold the picture in place (if possible) so you can see what it looks like in its surroundings. When creating a gallery wall, use this cool idea we found on Pinterest using paper and tape in the picture below.
Most importantly, ensure your picture is level! Use a spirit level or other measuring tool (the iPhone’s compass has a handy level feature) and don’t rely on the naked eye.
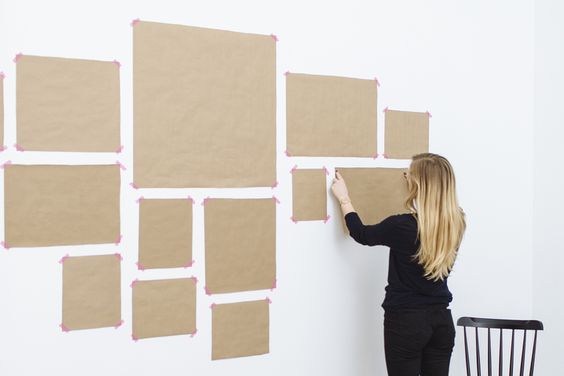 Use paper and tape to ensure you are happy with the arrangement of your gallery wall. Source: Momtastic.
So what are you waiting for? Save this checklist and create a feature wall all your friends will envy – whether it’s with a striking statement painting or a collection of your favourite pictures. Browse bluethumb’s new artworks and paintings for sale to find pieces to add to your wall art collection.
Keep up to date with the Australian and international art scene and discover new artists. Subscribe to our newsletter.


