How to Take Great Photos of Your Artwork
When it comes to selling your artwork online, high-quality photos are crucial. The aim is to show the piece in its best, most accurate light – after all, you’ve put a lot of time and effort into creating the piece, you don’t want to let yourself down in the last step! Read on for tips about how to get the perfect photo, and don’t be daunted by technical terms or methods – once you get the hang of it, you’ll be photographing like a pro.
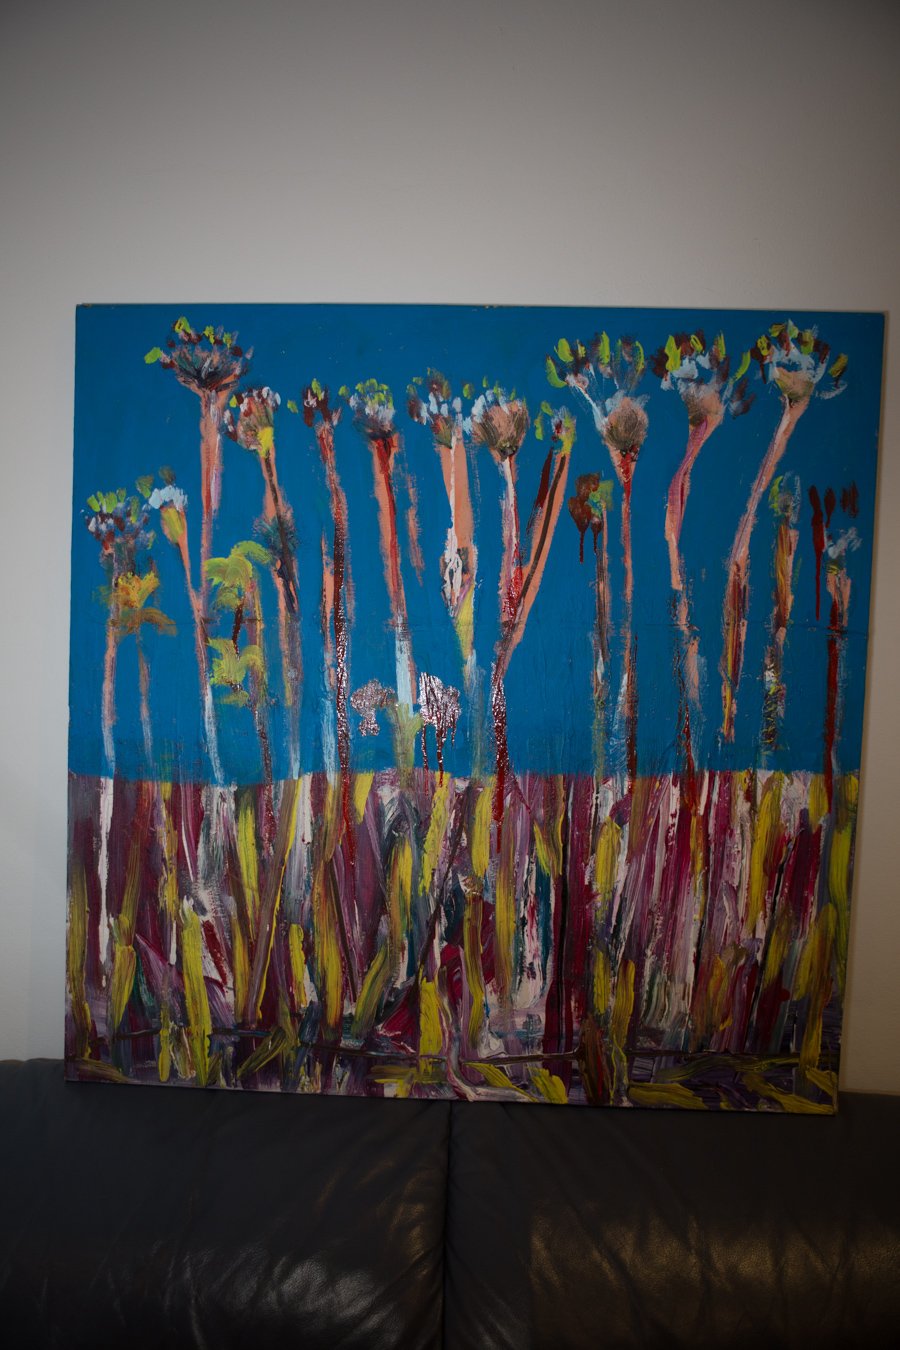
Don’t: This photo is underexposed, has direct flash, shows a crooked painting, has bad shadows from the angle at which it’s leaning and shows lots of distracting background.
Lighting Your Photos
Ok, listen up – lighting is the most important factor when taking great photos of your work. Bad lighting is tough to edit, so you want to make sure there’s plenty of good quality light when you’re taking the photo in the first place.
The best way to achieve a well-lit photo of your painting is to make sure it’s not directly reflecting any light – otherwise, there’ll be a glaring ‘hot spot’ or a white patch that draws the viewer’s eye.
Placing the artwork in an even patch of shade, or in extremely soft window light will work the best. If you’re having trouble, just keep trying different spots throughout your house or even outside.
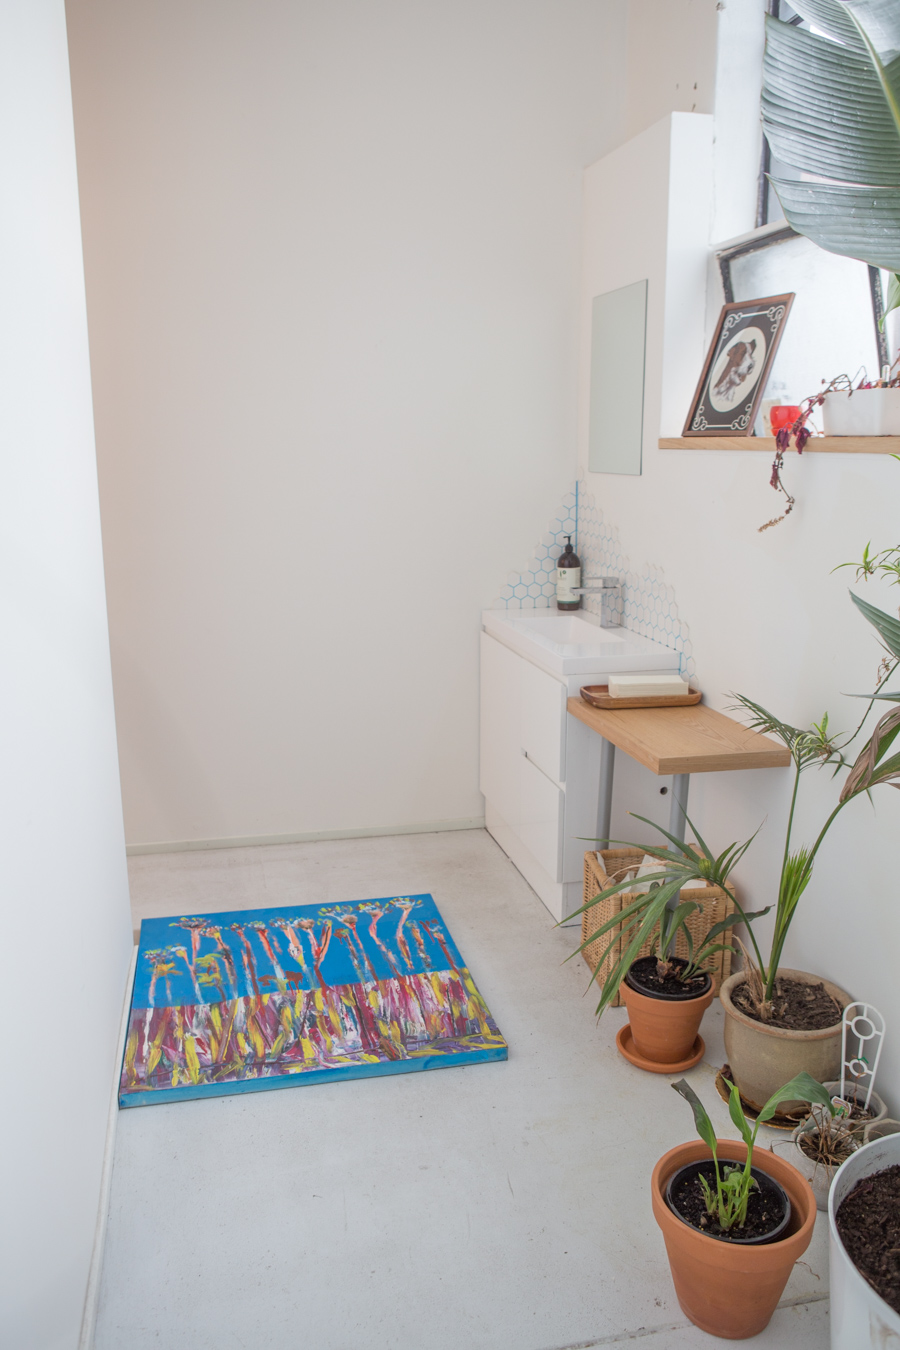
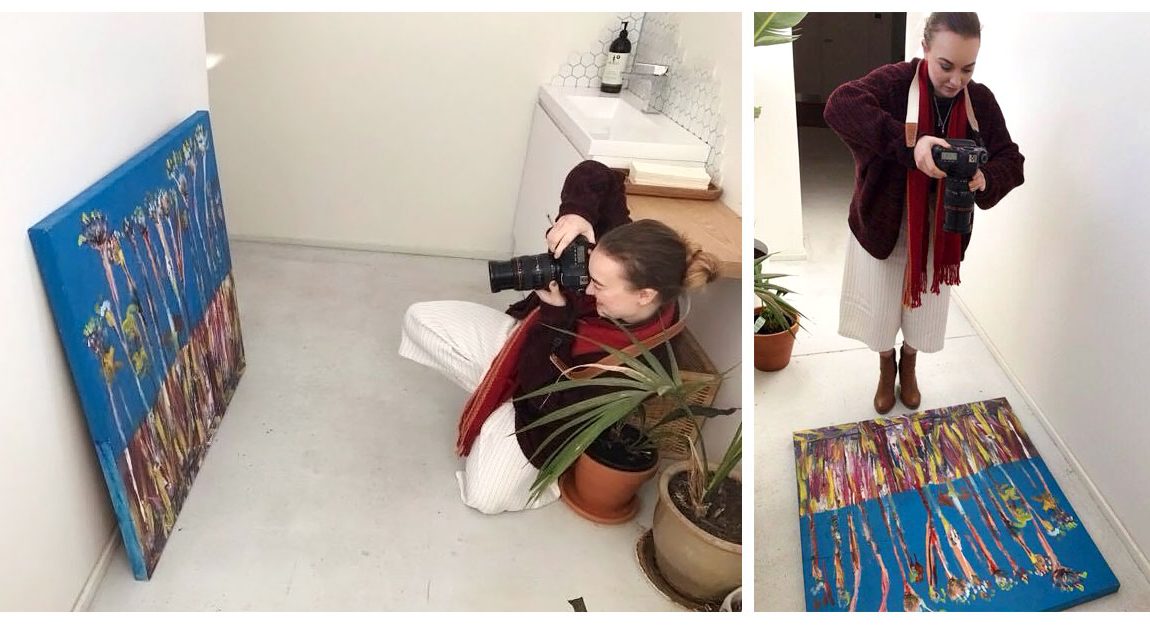
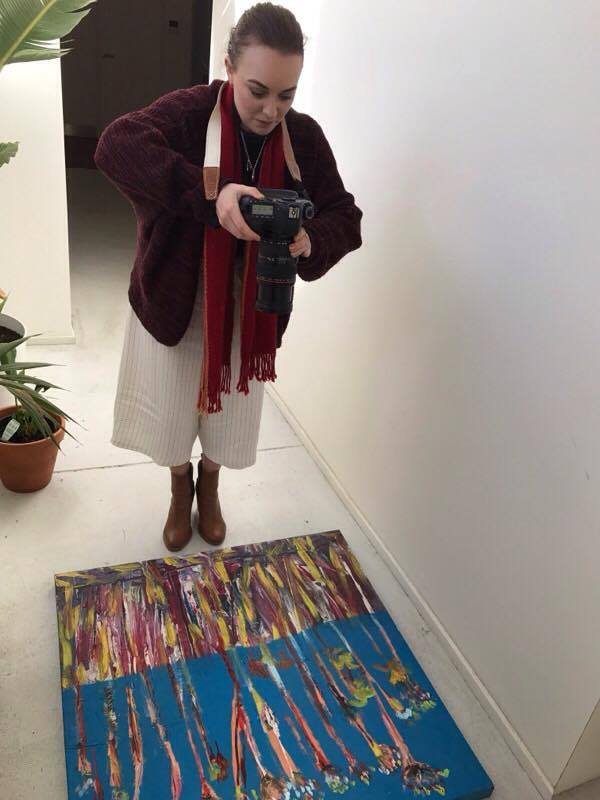
Do: This is where I shot the artwork photos – the only area in the Bluethumb office with nice, soft window light!
If there are no softly lit spaces to be found, you can also try setting up some lamps. If you do this, aim the lamp at a sheet of white paper facing the painting, so as to diffuse the light and help it reflect more softly. Just keep in mind that household lamps are warm toned, so unless you change a few settings, as described under ‘white balance’ below, they’ll cast some yellow onto your artwork.
Focus & Blur
Make sure the image is in focus! We want to see every detail of your lovely artwork. Most cameras have autofocus, so this shouldn’t be a problem.
Your photo can also become blurry because of camera shake. You can use a tripod (or something solid) to stabilise it so this doesn’t happen. Using the timer setting can also help minimise any movement that happens in the camera when the shutter is pressed.
White Balance
If you use household lamps to light your painting, you an use a custom white balance to remove the yellow that they cast. The white balance will typically be set to auto, but you can change it to ‘custom’ to adjust to your surroundings. This way, you know the colours will be correct when you upload.
To do this, take a photo of a pure white piece of paper in the setting where you will be photographing your artwork. Go to your camera settings, find the custom white balance option, and select the photo that you just took of the paper. The camera will now accept the colour of the paper as its default ‘pure white’, and orient everything else around that. Taking the time to do this extra step means that if you do have yellow lights (like lamps), they won’t ruin the colours you worked so hard to achieve in your art.
Note: Beware the coloured background! Colourful surroundings are another danger, as they can change the way its colours appear. Neutral shades, especially white, are the best backdrop for photos.
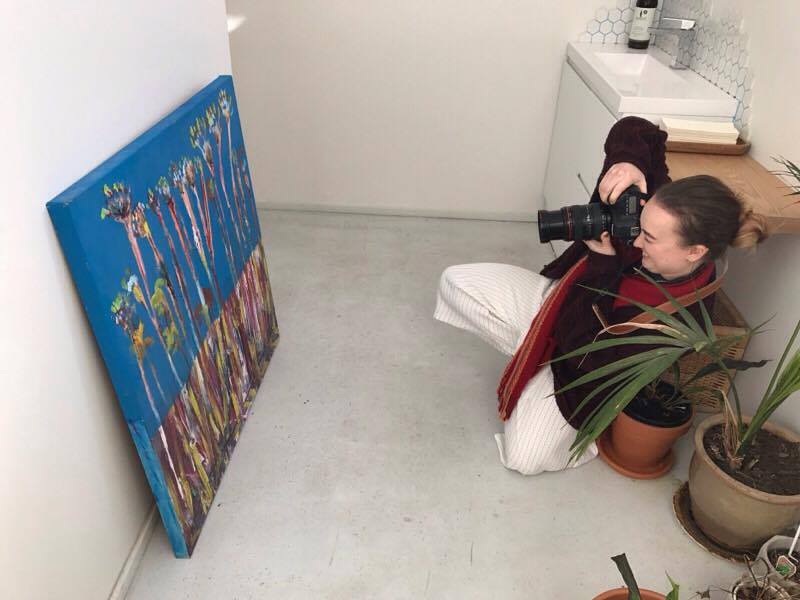
Do: Ok, so we didn’t use a tripod for this one either, but the white walls in this location make for the perfect backdrop.
Image Composition
Make sure you crop the background out of the photo, either when you’re taking it, or in a simple editing program before uploading the artwork. As lovely as the rest of your house is, we only need to see the art. It’s more difficult to get a great shot with a phone, but if you are using one then don’t use the digital zoom. This will hurt the quality of the image. Instead, just walk a few steps forwards or backwards until it looks right.
To minimise shadows, keep the artwork as straight as possible, not leaning against the wall on an angle.
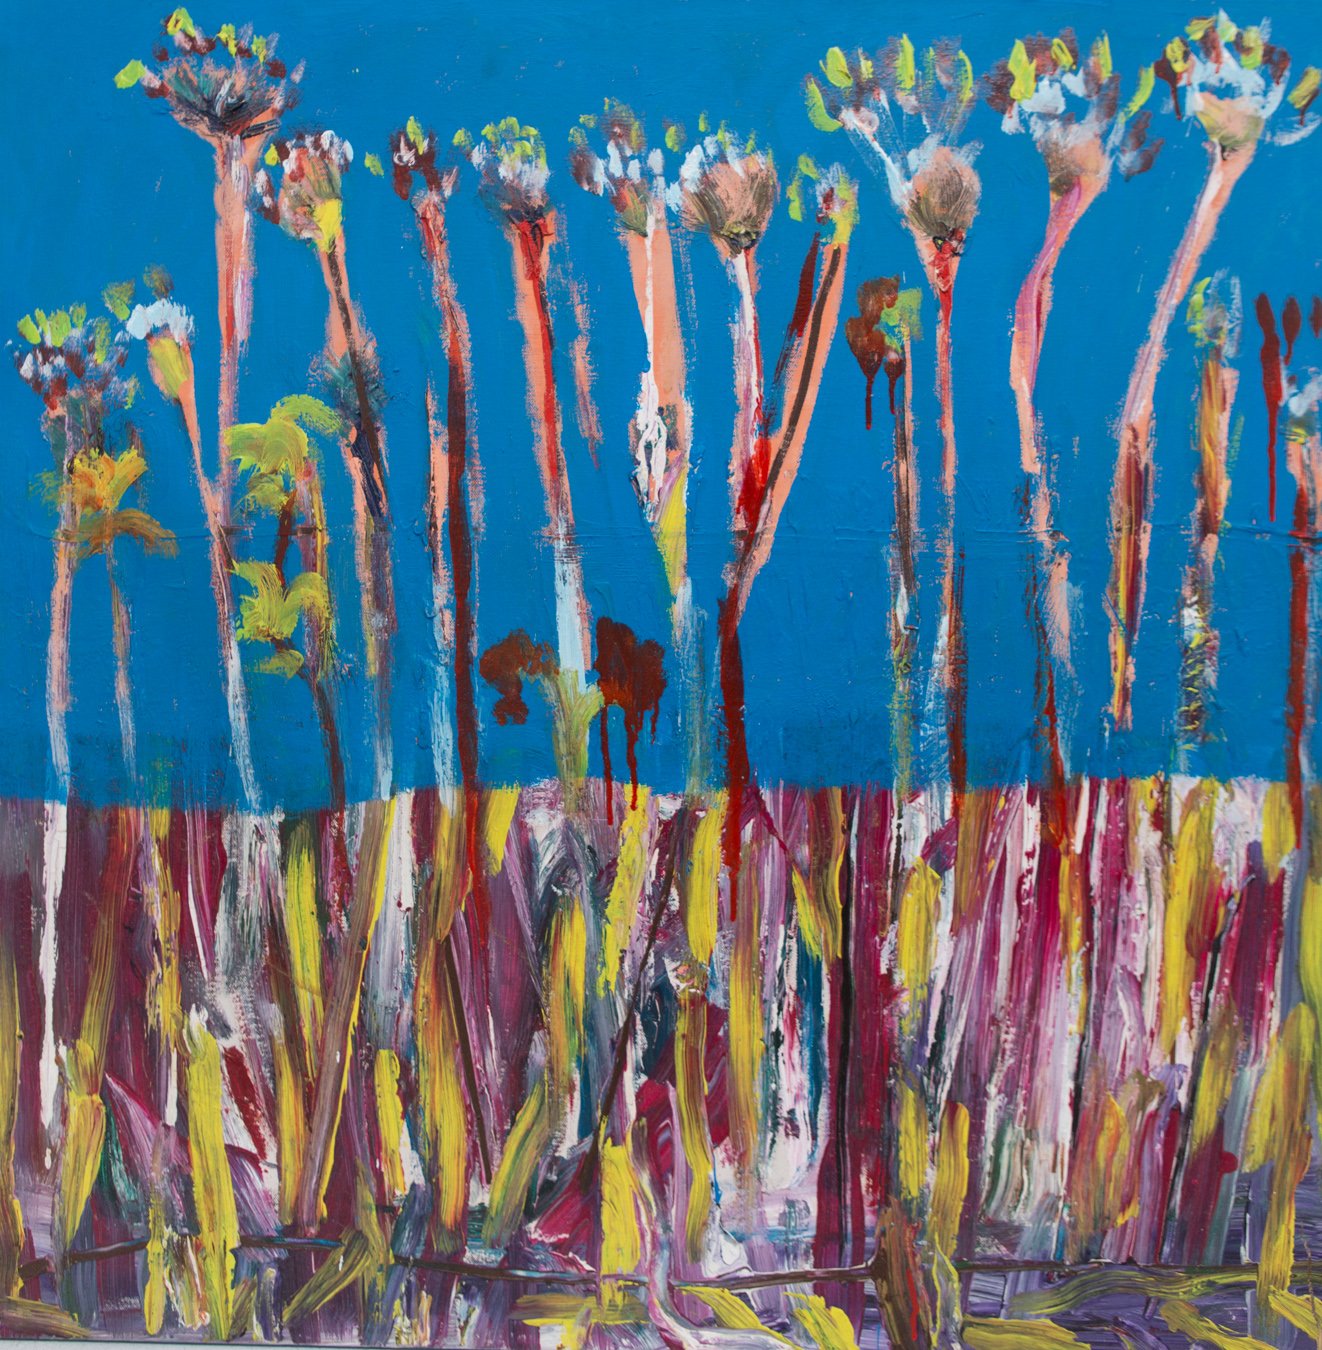
Do! This is a great photo – the lighting is even, it shows the painting exactly as it looks in person and you can’t see any distracting background.
Exposure
If your photo is under or over exposed, the colours won’t be accurate. Most cameras with auto-focus (that’s most cameras) will achieve the correct exposure, but just to be sure you’ll have to eyeball it a little. Make sure the whites in the painting appear white on the camera, not light grey. The same with the blacks – make sure they’re actually black.
Now here’s where it gets a little technical. If your artwork is predominantly white or predominantly black then the camera will record it as grey, so the exposure will likely be incorrect. You can use the manual mode to adjust this – if the image is too dark, try making the shutter speed a little slower, the aperture a little less or the ISO a little higher. If it’s too bright, do the reverse. Some cameras have a dial called ‘exposure compensation’ that will tell you if the images are exposing incorrectly – pushing the meter to the right makes it brighter, and pushing it to the left makes it darker.
Another option is to purchase a ‘grey card’, which is exactly halfway between white and black. You can use this card to take a test shot and get the most accurate exposure for the scene.
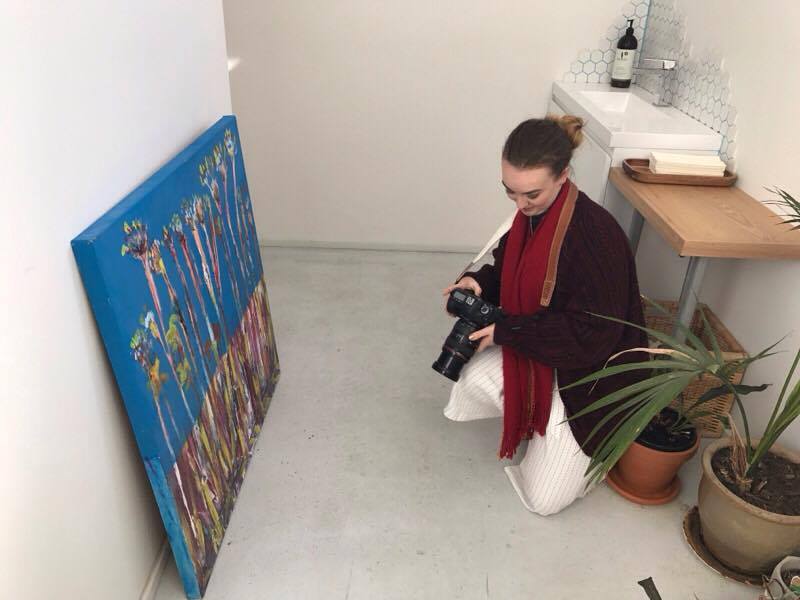
Do! It’s important to check your photos as you go, to make sure elements such as exposure are correct.
Post-processing
If you can get all of the above settings right, there should be no need for post-processing. Remember, the goal is accuracy – you want the photo to look exactly like the actual artwork. Therefore, no enhancements are necessary. This is a good time to compare the art to the photo to check for accuracy.
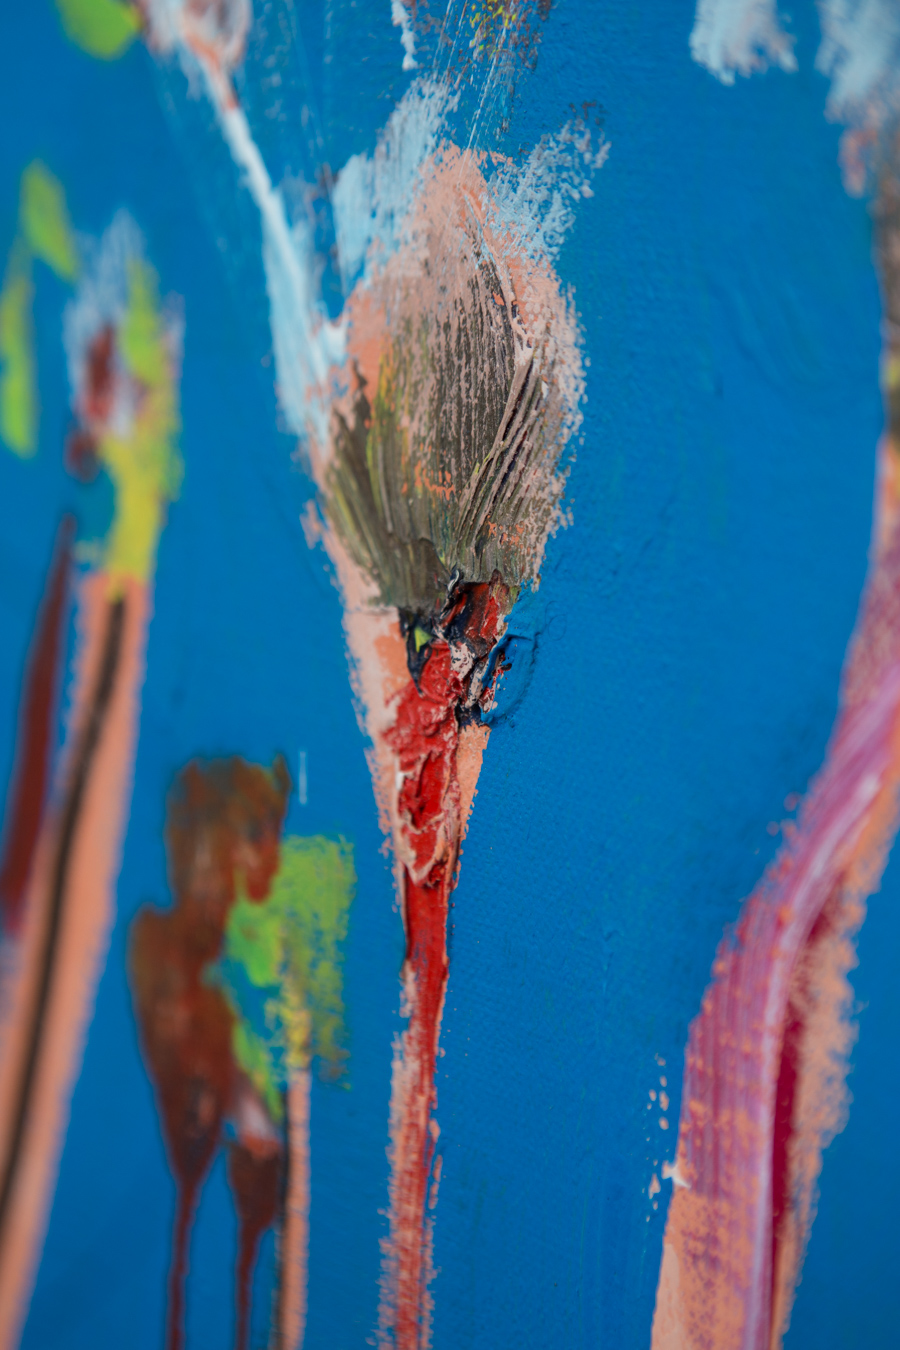
Do! This close-up photo gives collectors a sense of artwork’s texture – it’s been shot from a side angle so you can see every brushstroke!
Finally, collectors love to see a variety of photos when they’re thinking about buying a piece. Try some different shots – close-ups of texture or interesting details perhaps, or even the art hung up on a wall to show people how it could look in their homes.



Thank you for the information on taking photos of my art work. It is really a big help. Cheers Sandra Messner.
Hi, Megan,
Thank you very much for your article. It’s very informative and helpful. I am a terrible photographer. Thanks
Thank you, this information was most helpful, Jan
This is a great blog post and will definitely help me photograph my future artwork better. Thanks!!
Thank you for this advise on photo shots. Its very interesting.
I am a new artist about to photograph my work for upload and want to know what size and what resolution should the file be.
Hi Christine! We recommend that images are at least 300dpi, and approximately 2500 pixels wide. Thanks and good luck!
Great information. Thank you for sharing.
Very helpful, thank you Bluethumb
This is a very helpful advice on photography. I would appreciate if possible you can suggest what camera I should purchase to get the best images of my paintings for Bluethumb. Thank you
Hi Catherine, pretty much any camera will do! Mobile phones have great cameras nowadays and many of our artists use their phones. It’s all about how you take the photo – as the article mentions, lighting is key and hold that camera steady. After that, you can use a simple editing program (there are heaps of free ones) to touch up the image. We recommend a crop, and maybe bumping up the contrast and saturation a tiny bit – this will make the artwork ‘pop’. You want to make it look like an accurate representation of the the painting when displayed in it’s best light.
Does anyone know of photographers in the inner west of Sydney that would photograph my artwork for my website?
Any advise regarding shots of elongated works?
I step back to get the shot but find, after cropping, that detail is lost somewhat
Does anyone know of economical framers in Sydney?
I am having a little trouble with Pastel Art work that are in frames.
I have photos before framing but they need to be shown in frame
I have good cameras but I just seem to get reflections. Would white paper assist here as well?
Jan
Hi Jan, I suggest asking your framer if they can set up the frame with the work without glass so you can drop by and get a decent photo of the framed work before the glass is put in and the work taped up at the back. If you use a standard size frame it might be worth having one made up that you use for photos. Otherwise you’d have to use photoshop or another picture editing program to drop the non-glary image into the frame digitally. Hope this helps!
Hi just reading comment to article now. I take a picture of my frame and then superimpose my artwork in a program like photoshop or I have procreate. I have never satisfactorily taken a framed picture even without glass. I can then upload an image that is framed without actually framing it until a sale…. Only takes me a day as I make my own frames.
I have photographed my paintings with my iPhone 10 XR. Although I’m fairly happy with the results I don’t feel the colours are completely accurate. This, obviously, is very important. Any advice?
Thank you for the information especially on how to take the best photo .. very helpful
Janey
I used a scanner but I realised it a part of the picture was brighter than the rest so now I’m hunting around for a good tripod I keep seeing those mobile selfie ones all the time.