How to Hang Art and Make Your Home Your Gallery
Working for over 4 years at Bluethumb, I’ve become a bit of an expert at hanging art. Saying that, I still procrastinate and cheat when it comes to my own home. I know I shouldn’t use sticky picture hanging strips, but I sometimes do. Warning: This will lead to breakages!
Despite my occasional lack of professionalism, I have recently managed to hang all the art I own and it’s a great feeling. Do you have art you’ve been meaning to hang for years? Follow these 5 steps and your collection cluttering cupboards will finally get the attention it deserves.
1. Planning is key
This is the fun part, but also the hardest. Let go of familiar friendships, artworks that have been together for years, and start from scratch. It’s time to get clinical.
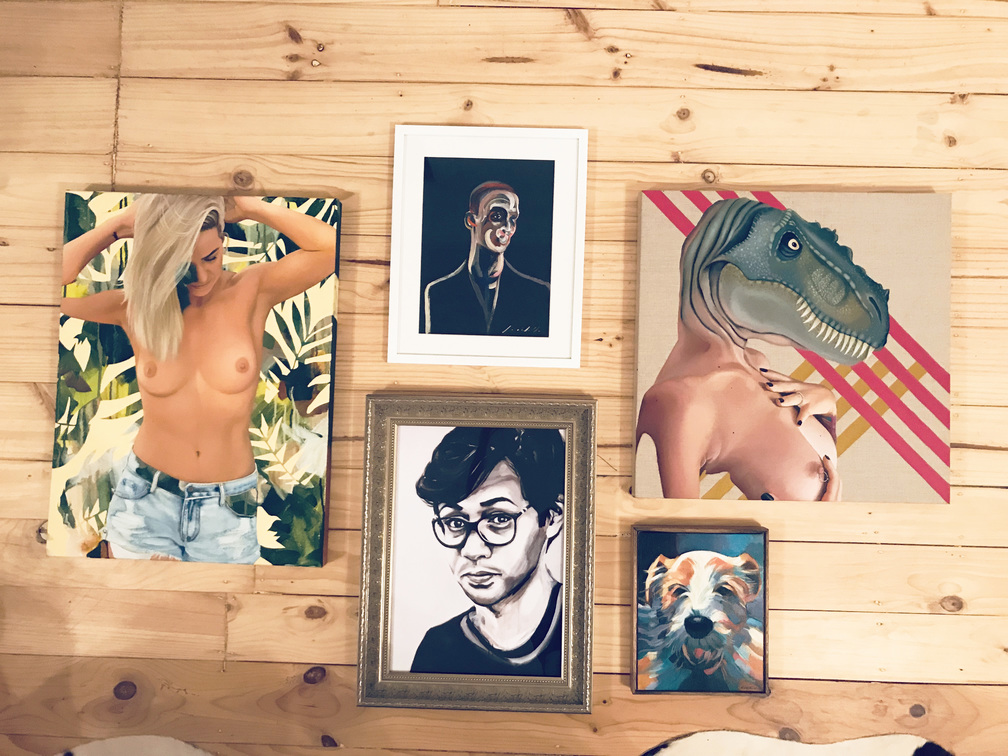
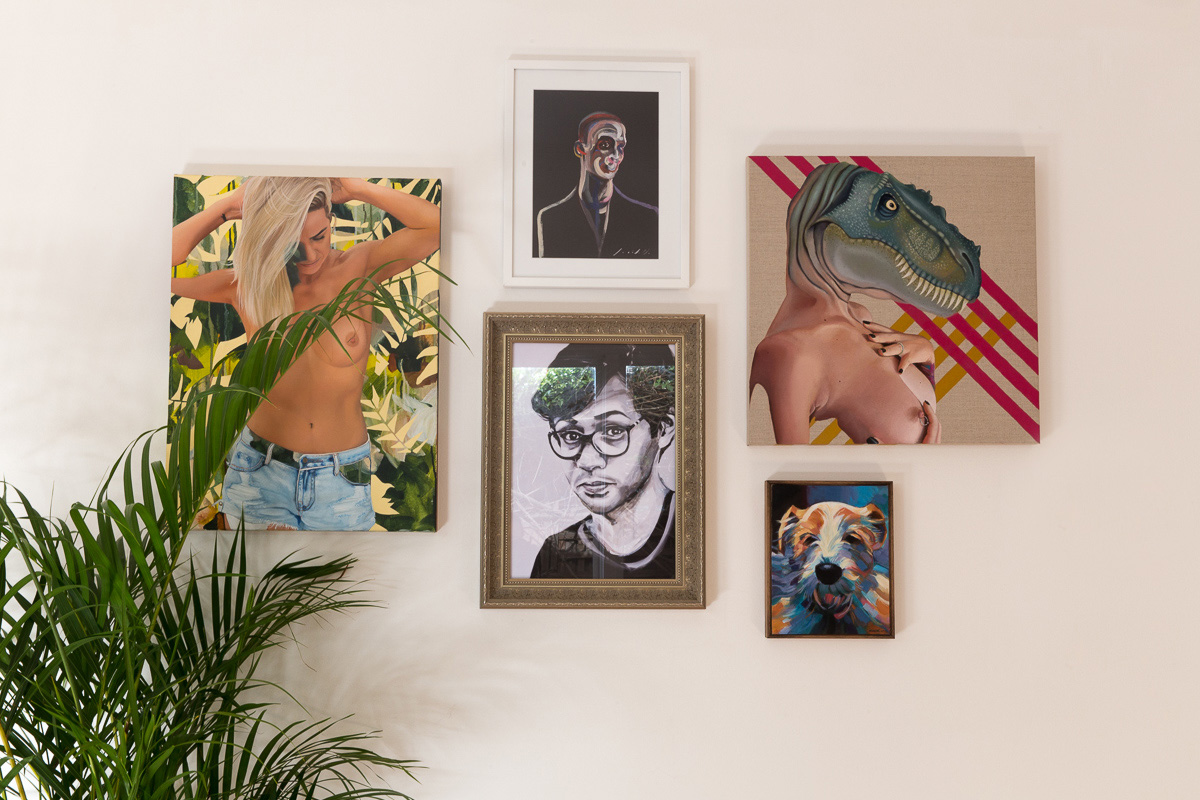
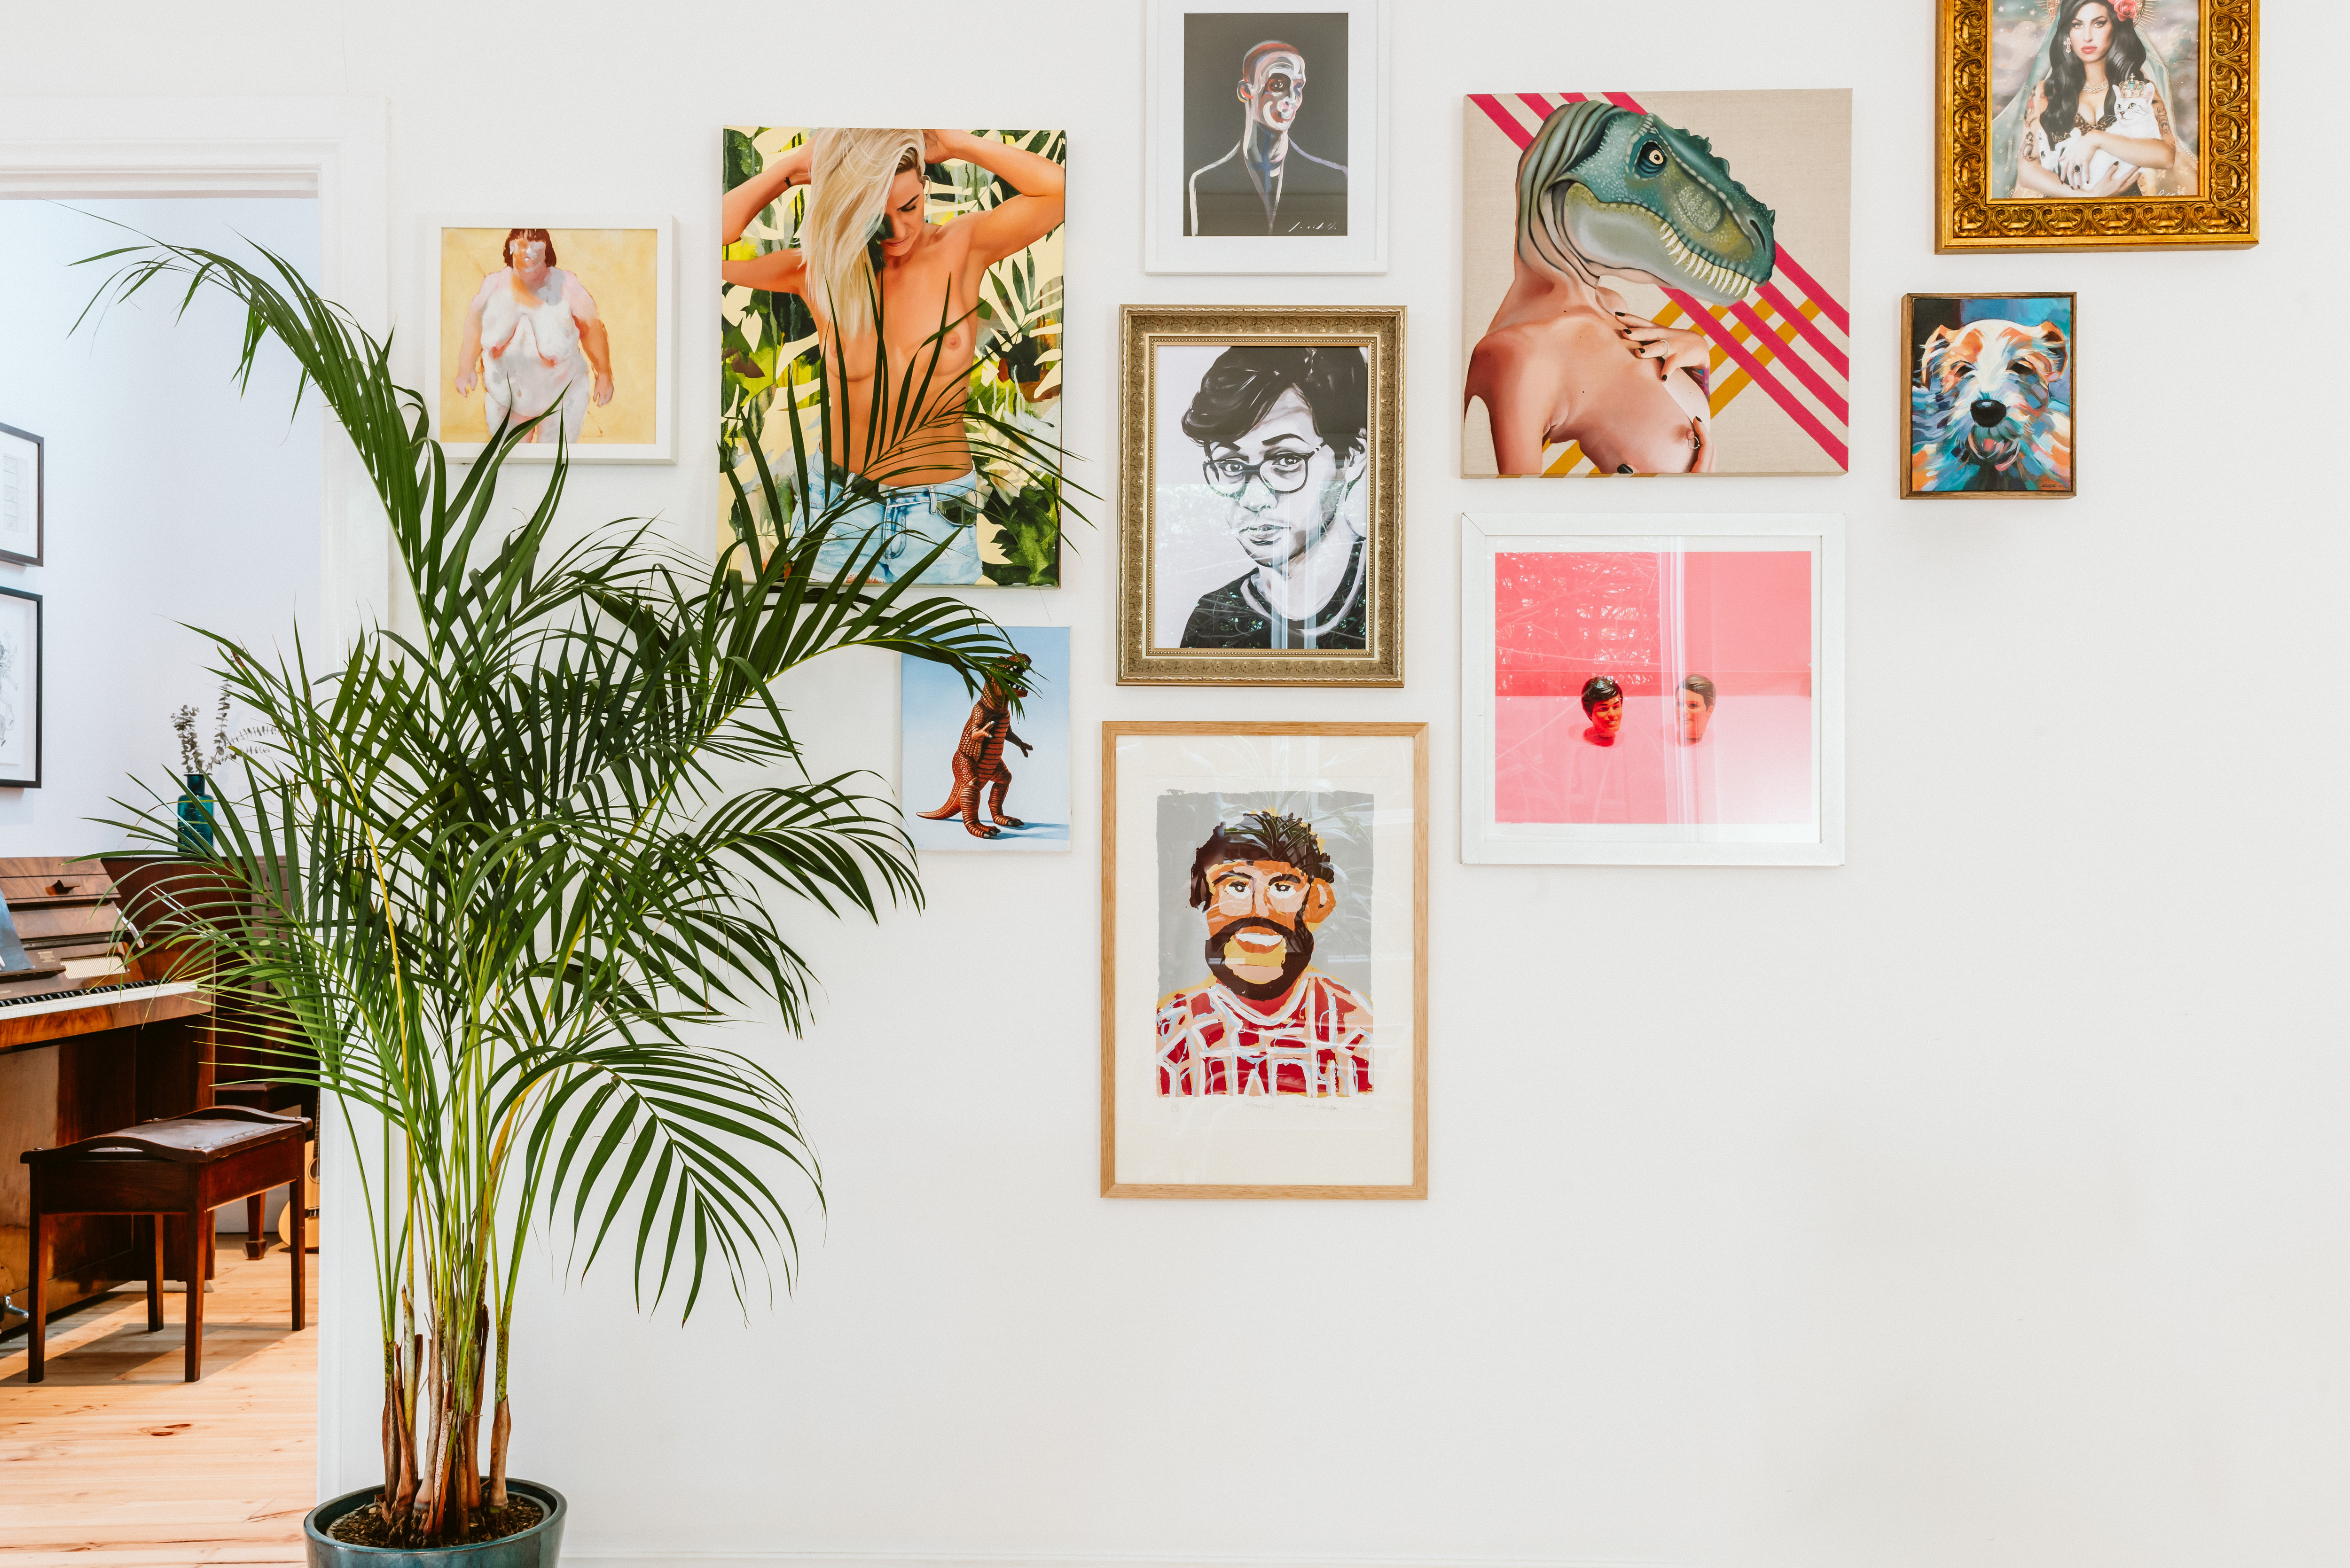
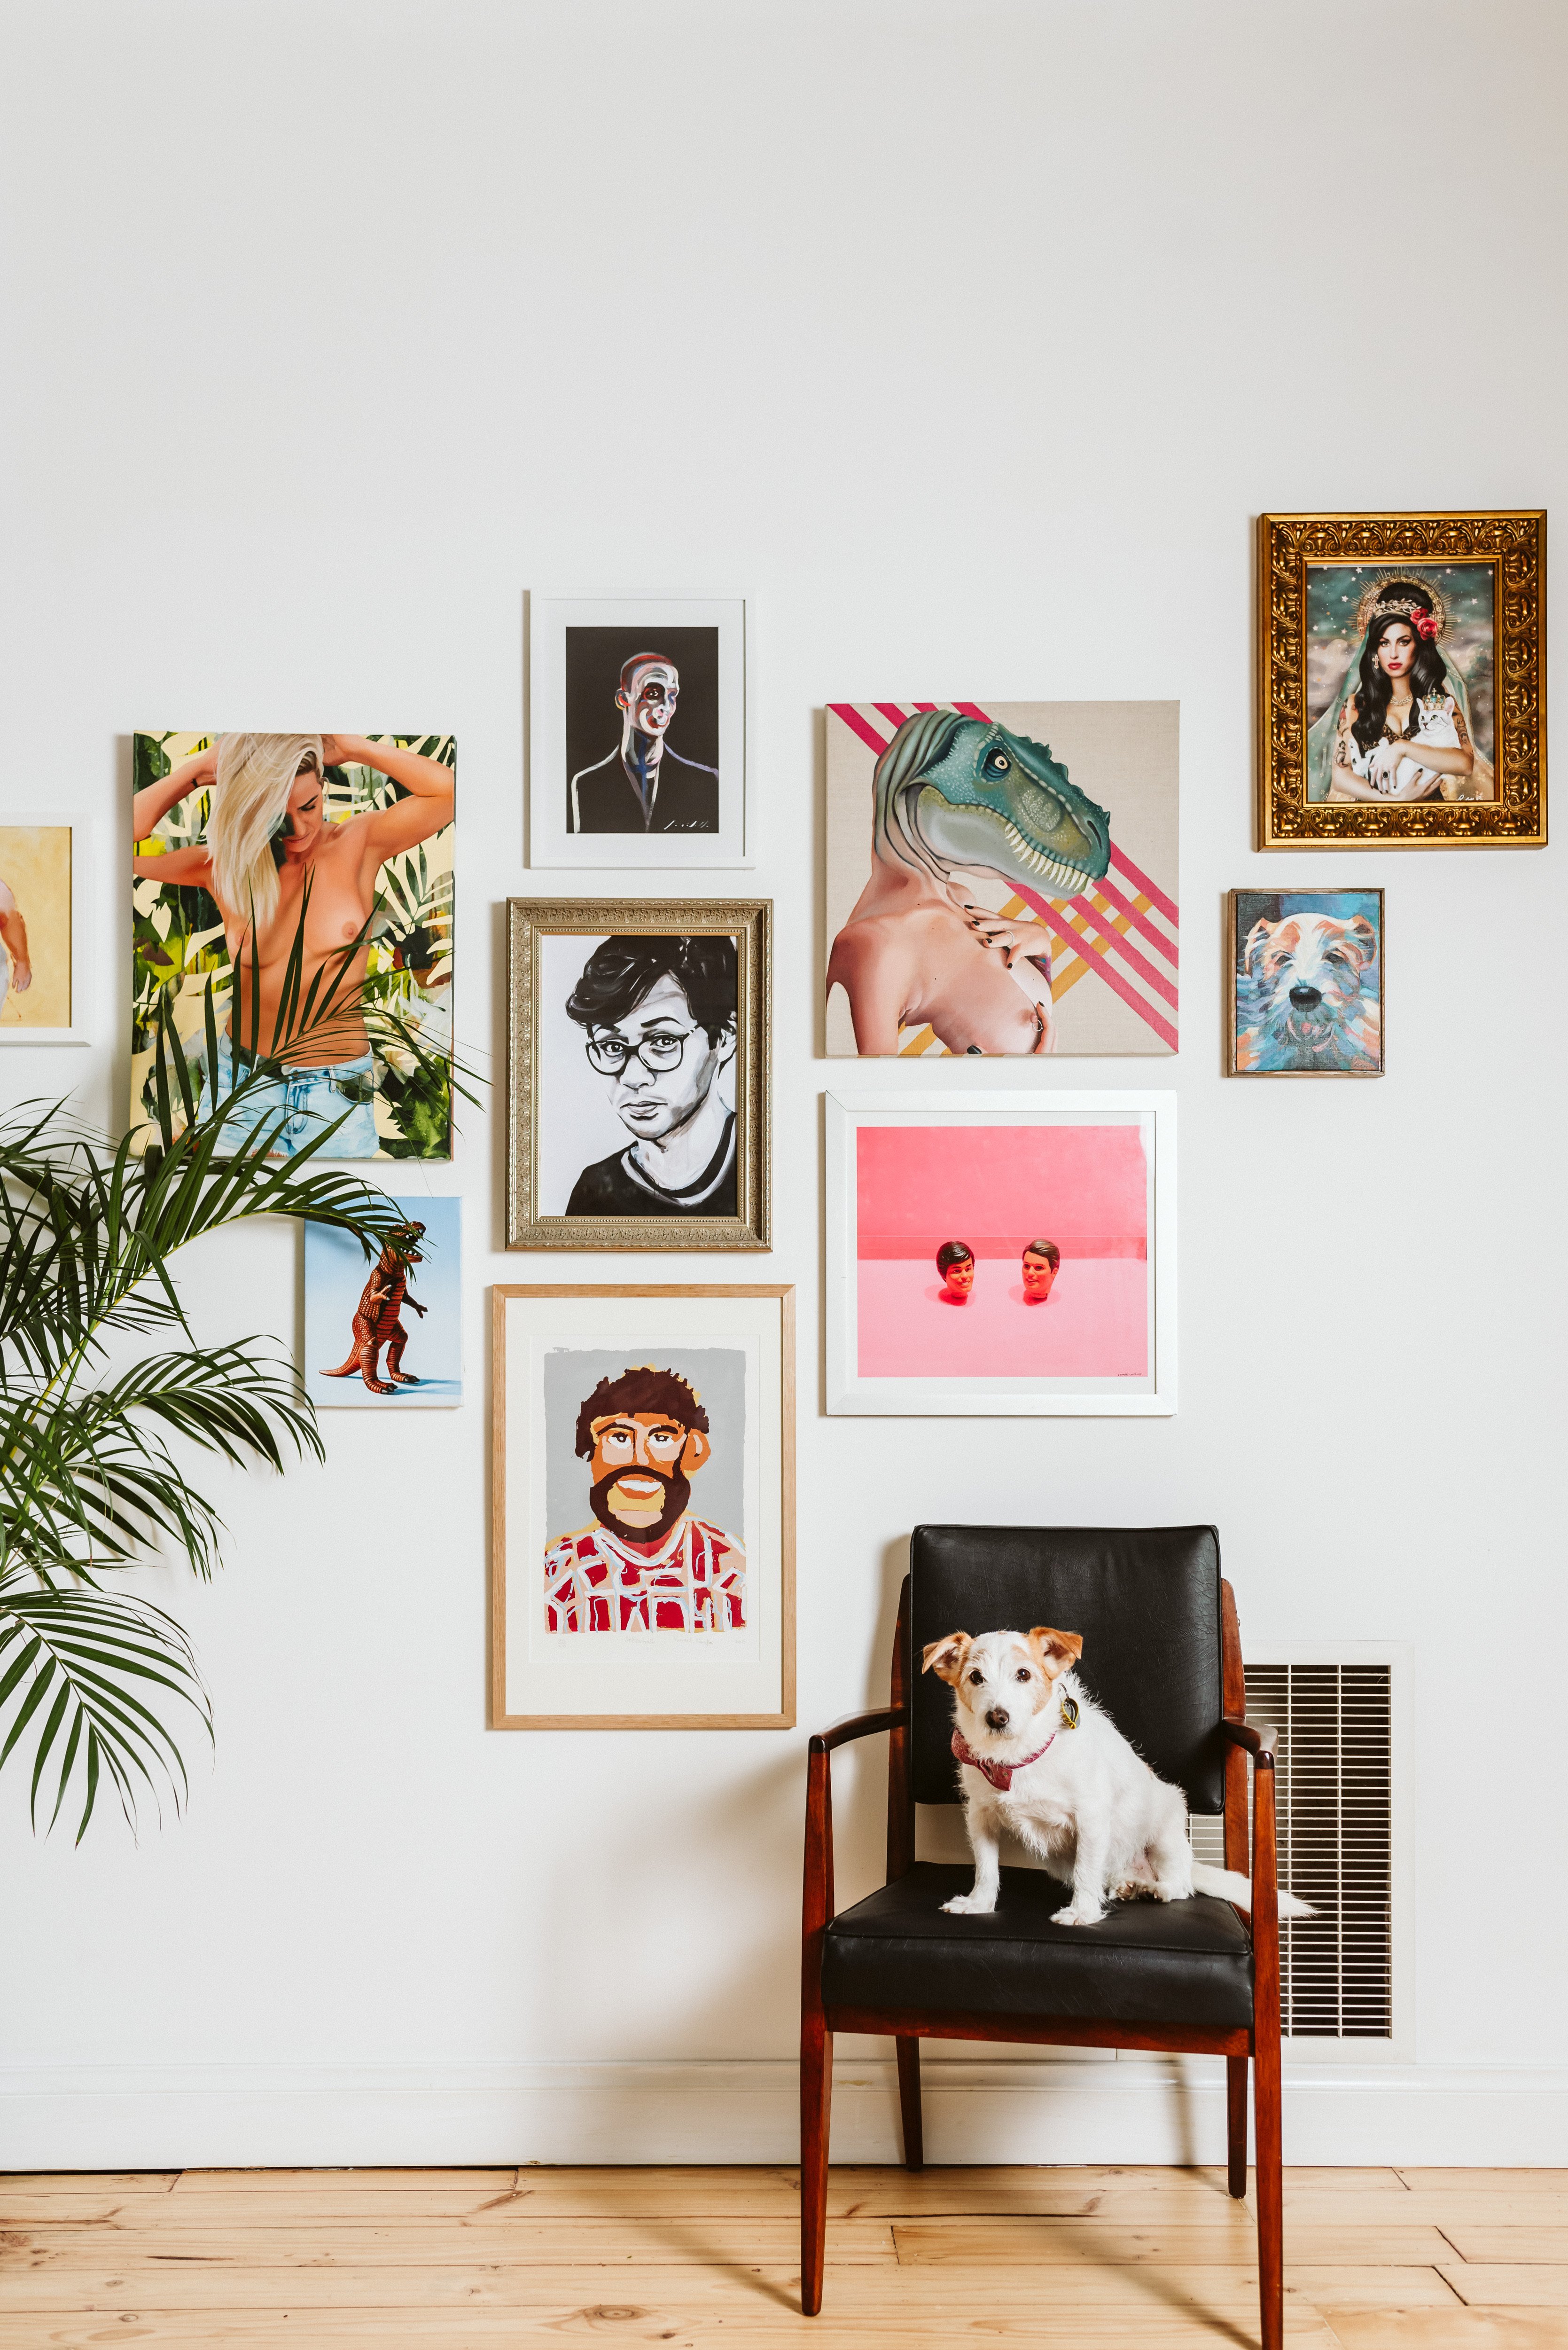
The beginnings of my portrait wall featuring works by Kim Leutwyler, Loribelle Spirovski, Jac Clark and Di Colk. Experiment with how you’ll hang your groups on the floor.
Look for groups with a common thread: works by the same artist, complementary colours, a particular hue throughout etc. I had portraits all around my home which gave me the idea of having a dedicated portrait wall. You can have a group of loose ends too. Similar framing can still give this group a cohesive look (although I love the organised chaos of mishmash frames).
From floor to wall. It’s all in the planning!
2. Hang your art salon style
Salon style hangs may seem daunting, but they’re easy with a little thought and give a polished look with personality.

Take two with new works by Jemma Cakebread, Rosemary Whatmuff and Dirty Lola. Credit: Megan George
Take a group of artworks and find a wall they’ll fit comfortably. Play with how you’re going to hang your art on the floor by juxtaposing matching and complementary colours, experimenting with spacing and trying different overall shapes. You’ll know when it’s right. Trust your instincts.
Tip: Unless your artworks are exactly the same size, it’s better to space asymmetrically. This also makes it easier to keep adding to over the years. Credit: Breeana Dunbar
3. Symmetrical hangs work too
Creating a sense of symmetry and balance looks great when you have enough art to fill a wall. You don’t want it to look overloaded on one side, so find artworks, or groups of artworks, that match in size. Around my TV I arranged four smaller pieces by the same artist to perfectly match a large artwork on the other side.
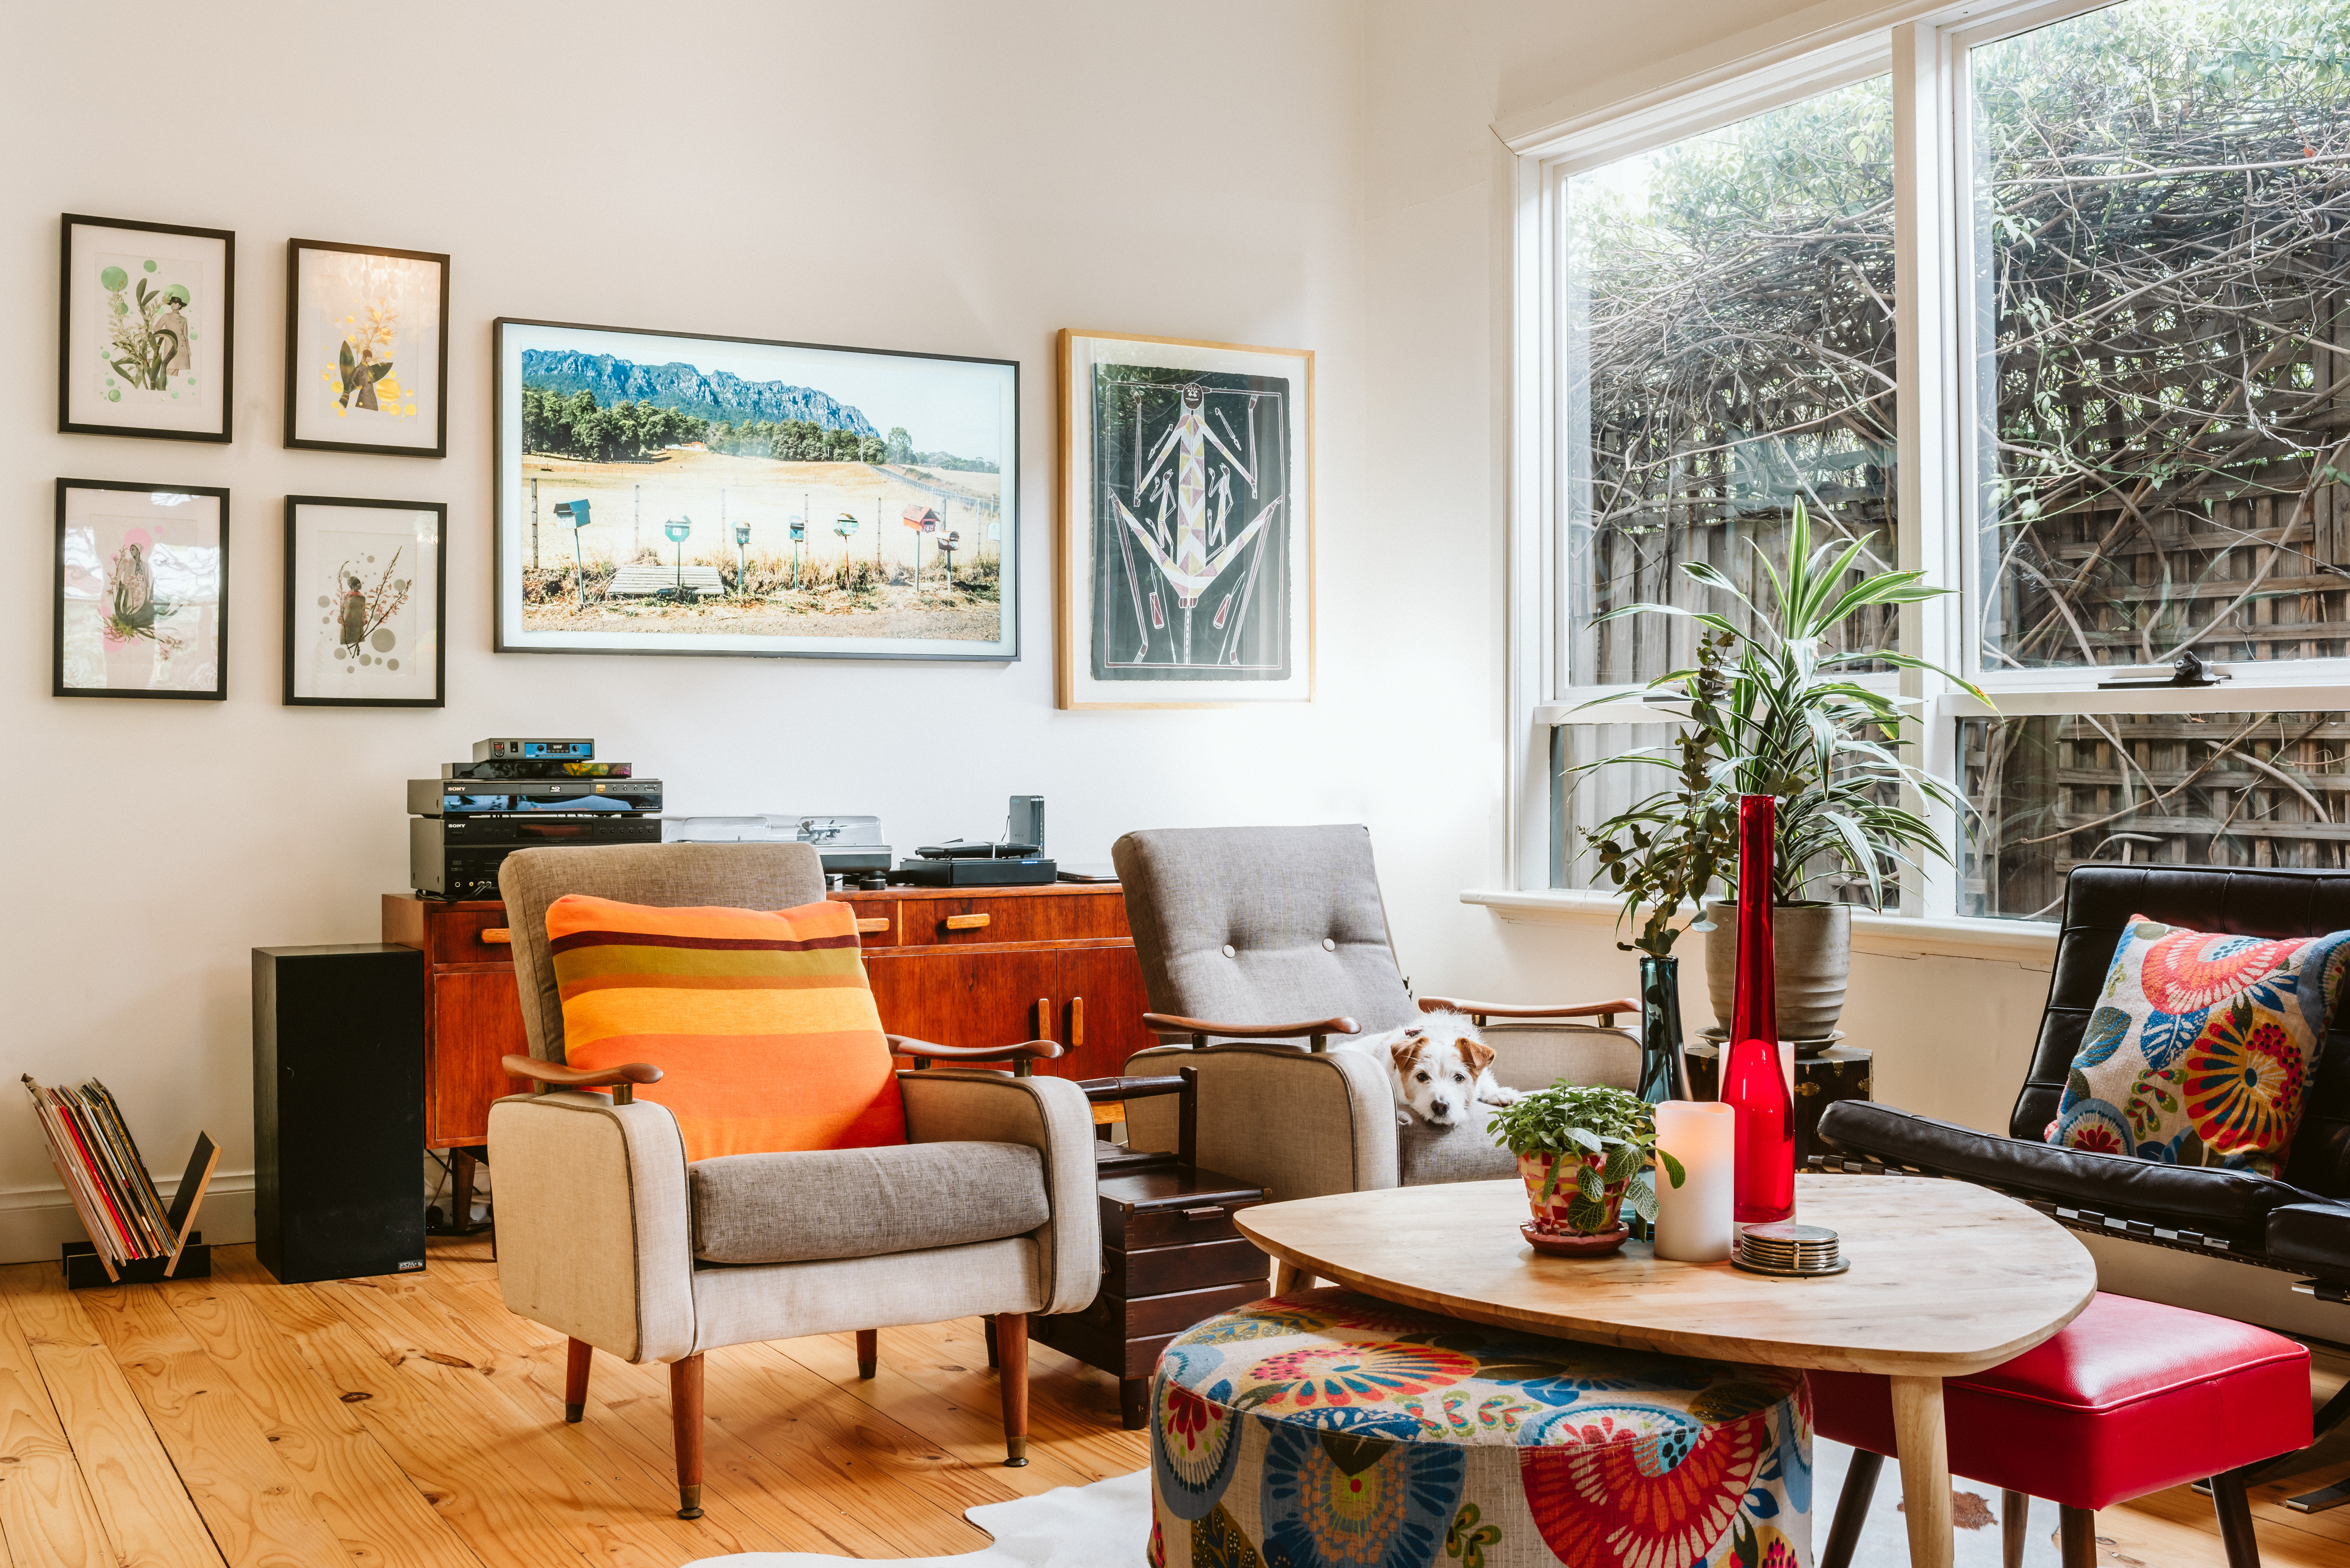
A series by Karen Coull on the left balances Ross Yulidjirri’s Lightning Man on the other side of the TV (which disguises itself as an artwork). Credit: Breeana Dunbar
Another way to create balance is a rectangular salon hang. Start with four artworks in each corner of your rectangle and then fill it out. Again, it’s a case of trial and error on the floor.
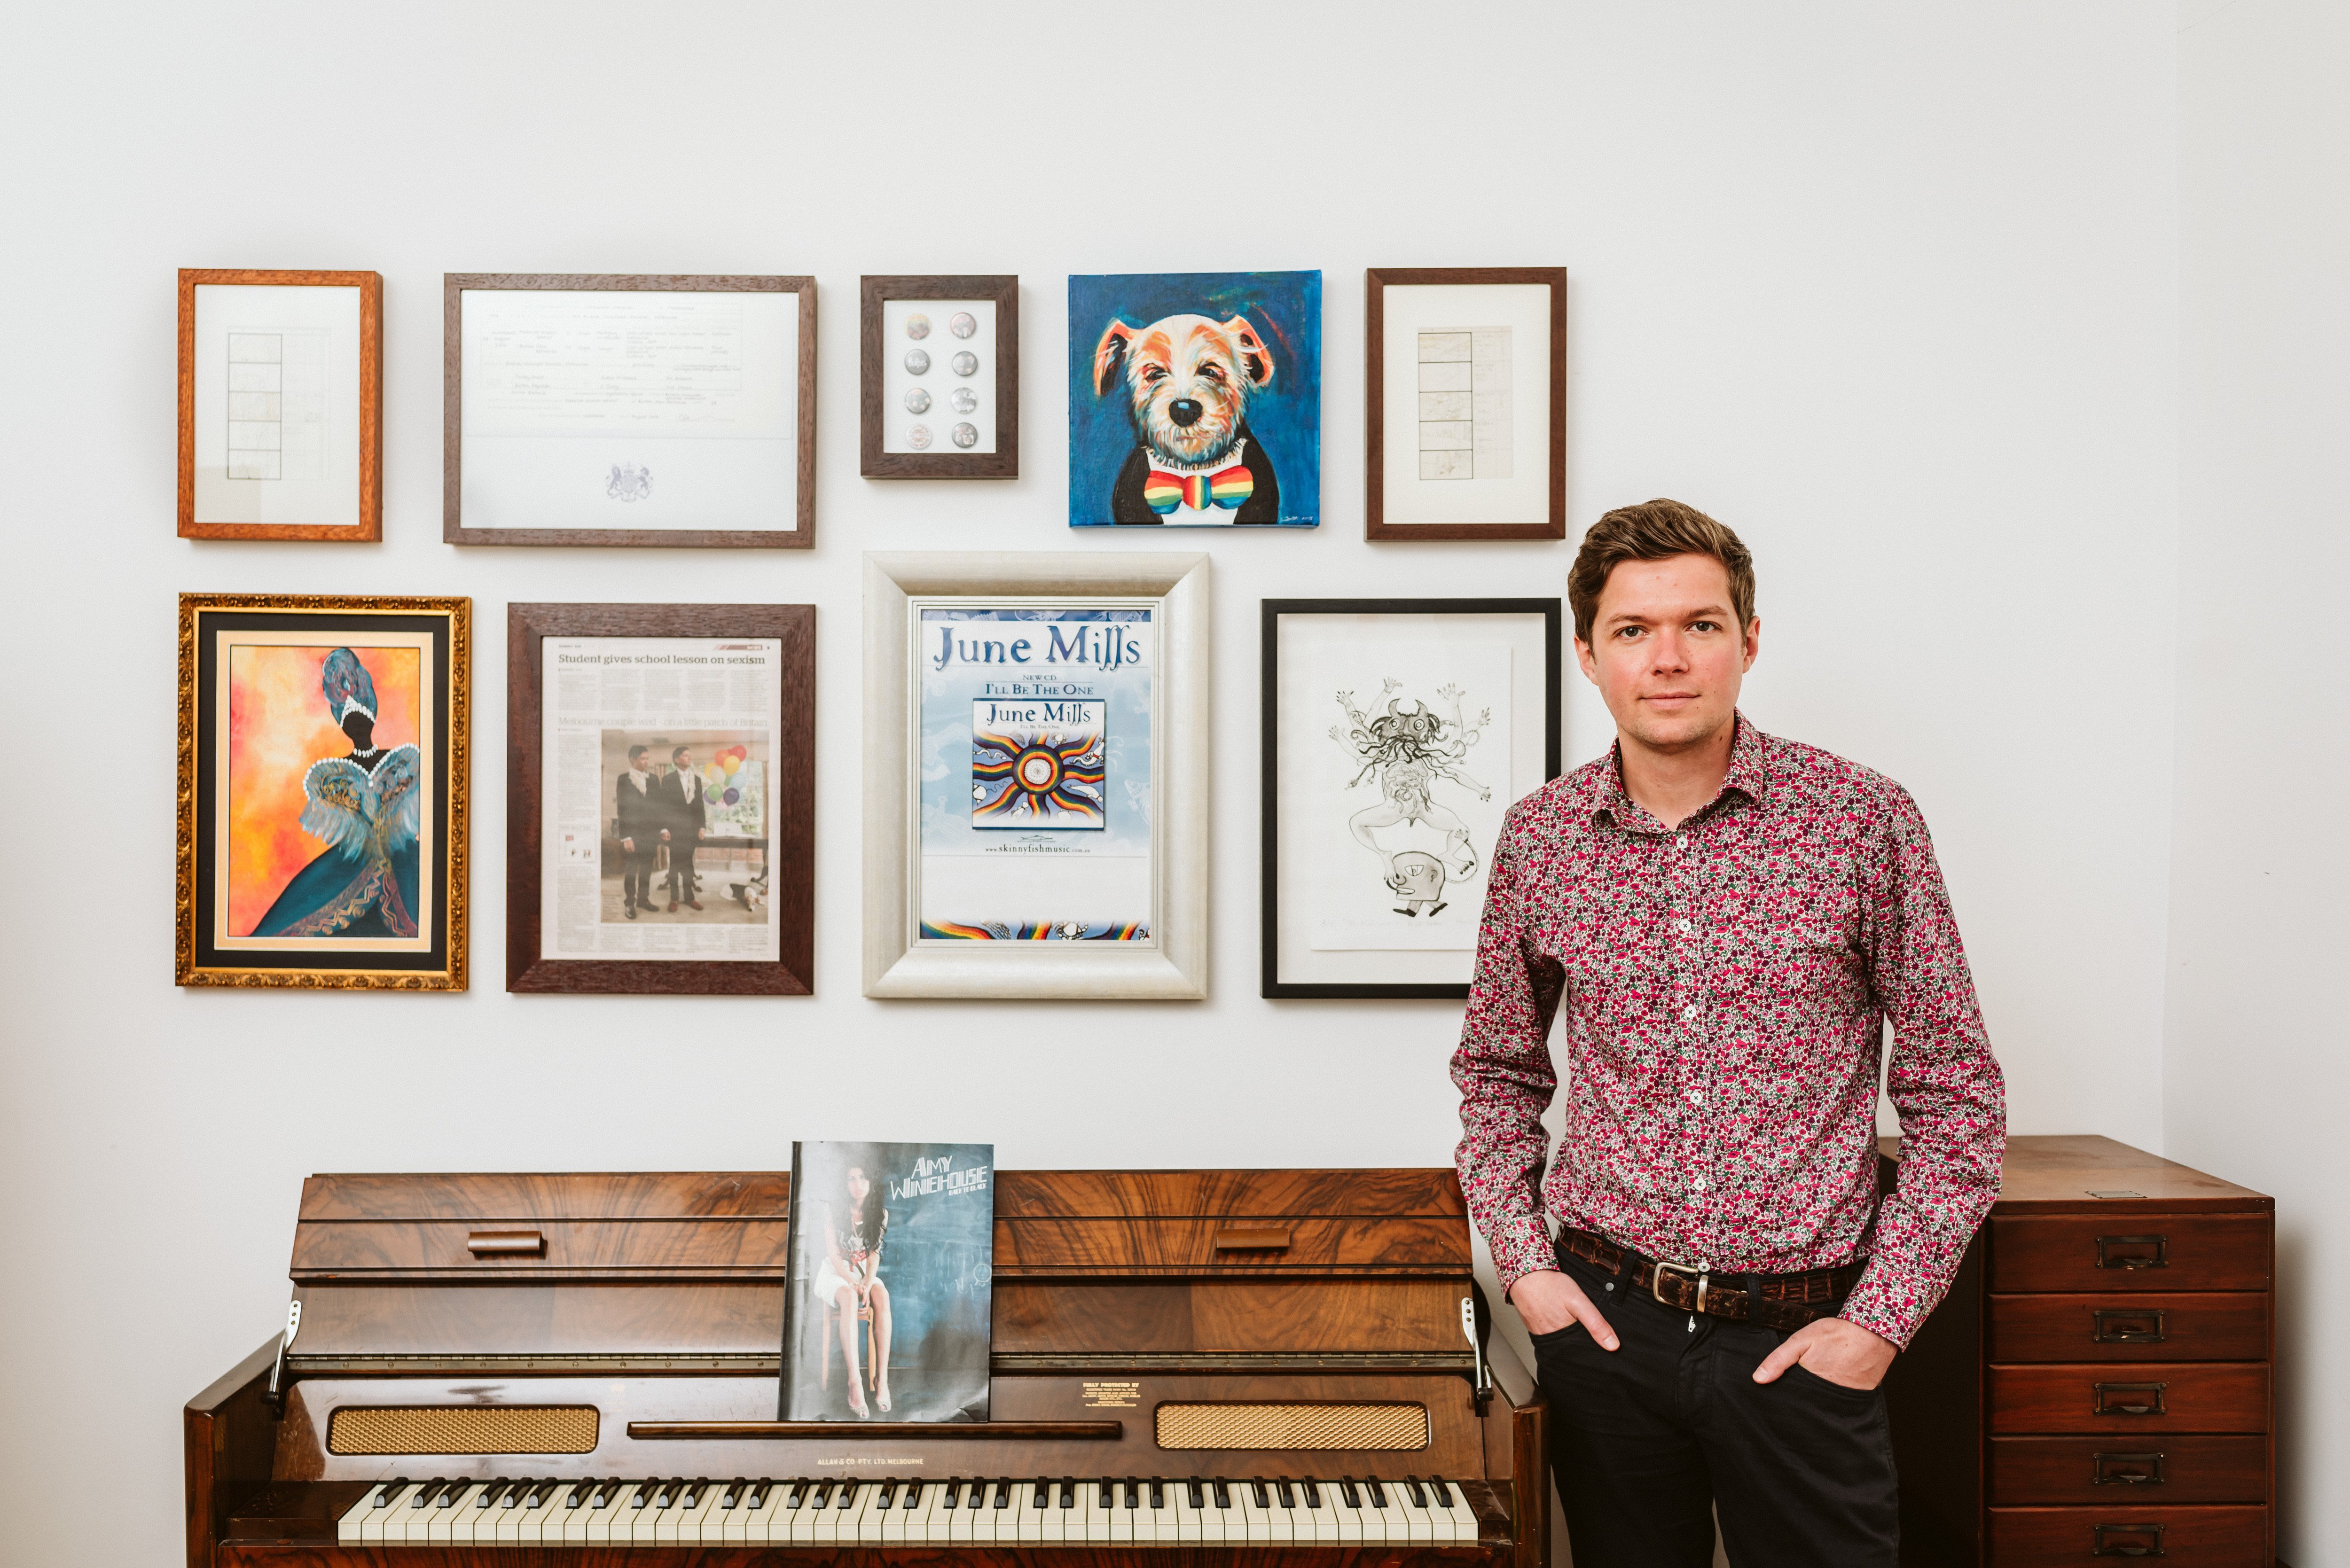
My rectangular salon hang uses the loose ends group. Credit: Breeana Dunbar
4. Embrace the space with larger artworks
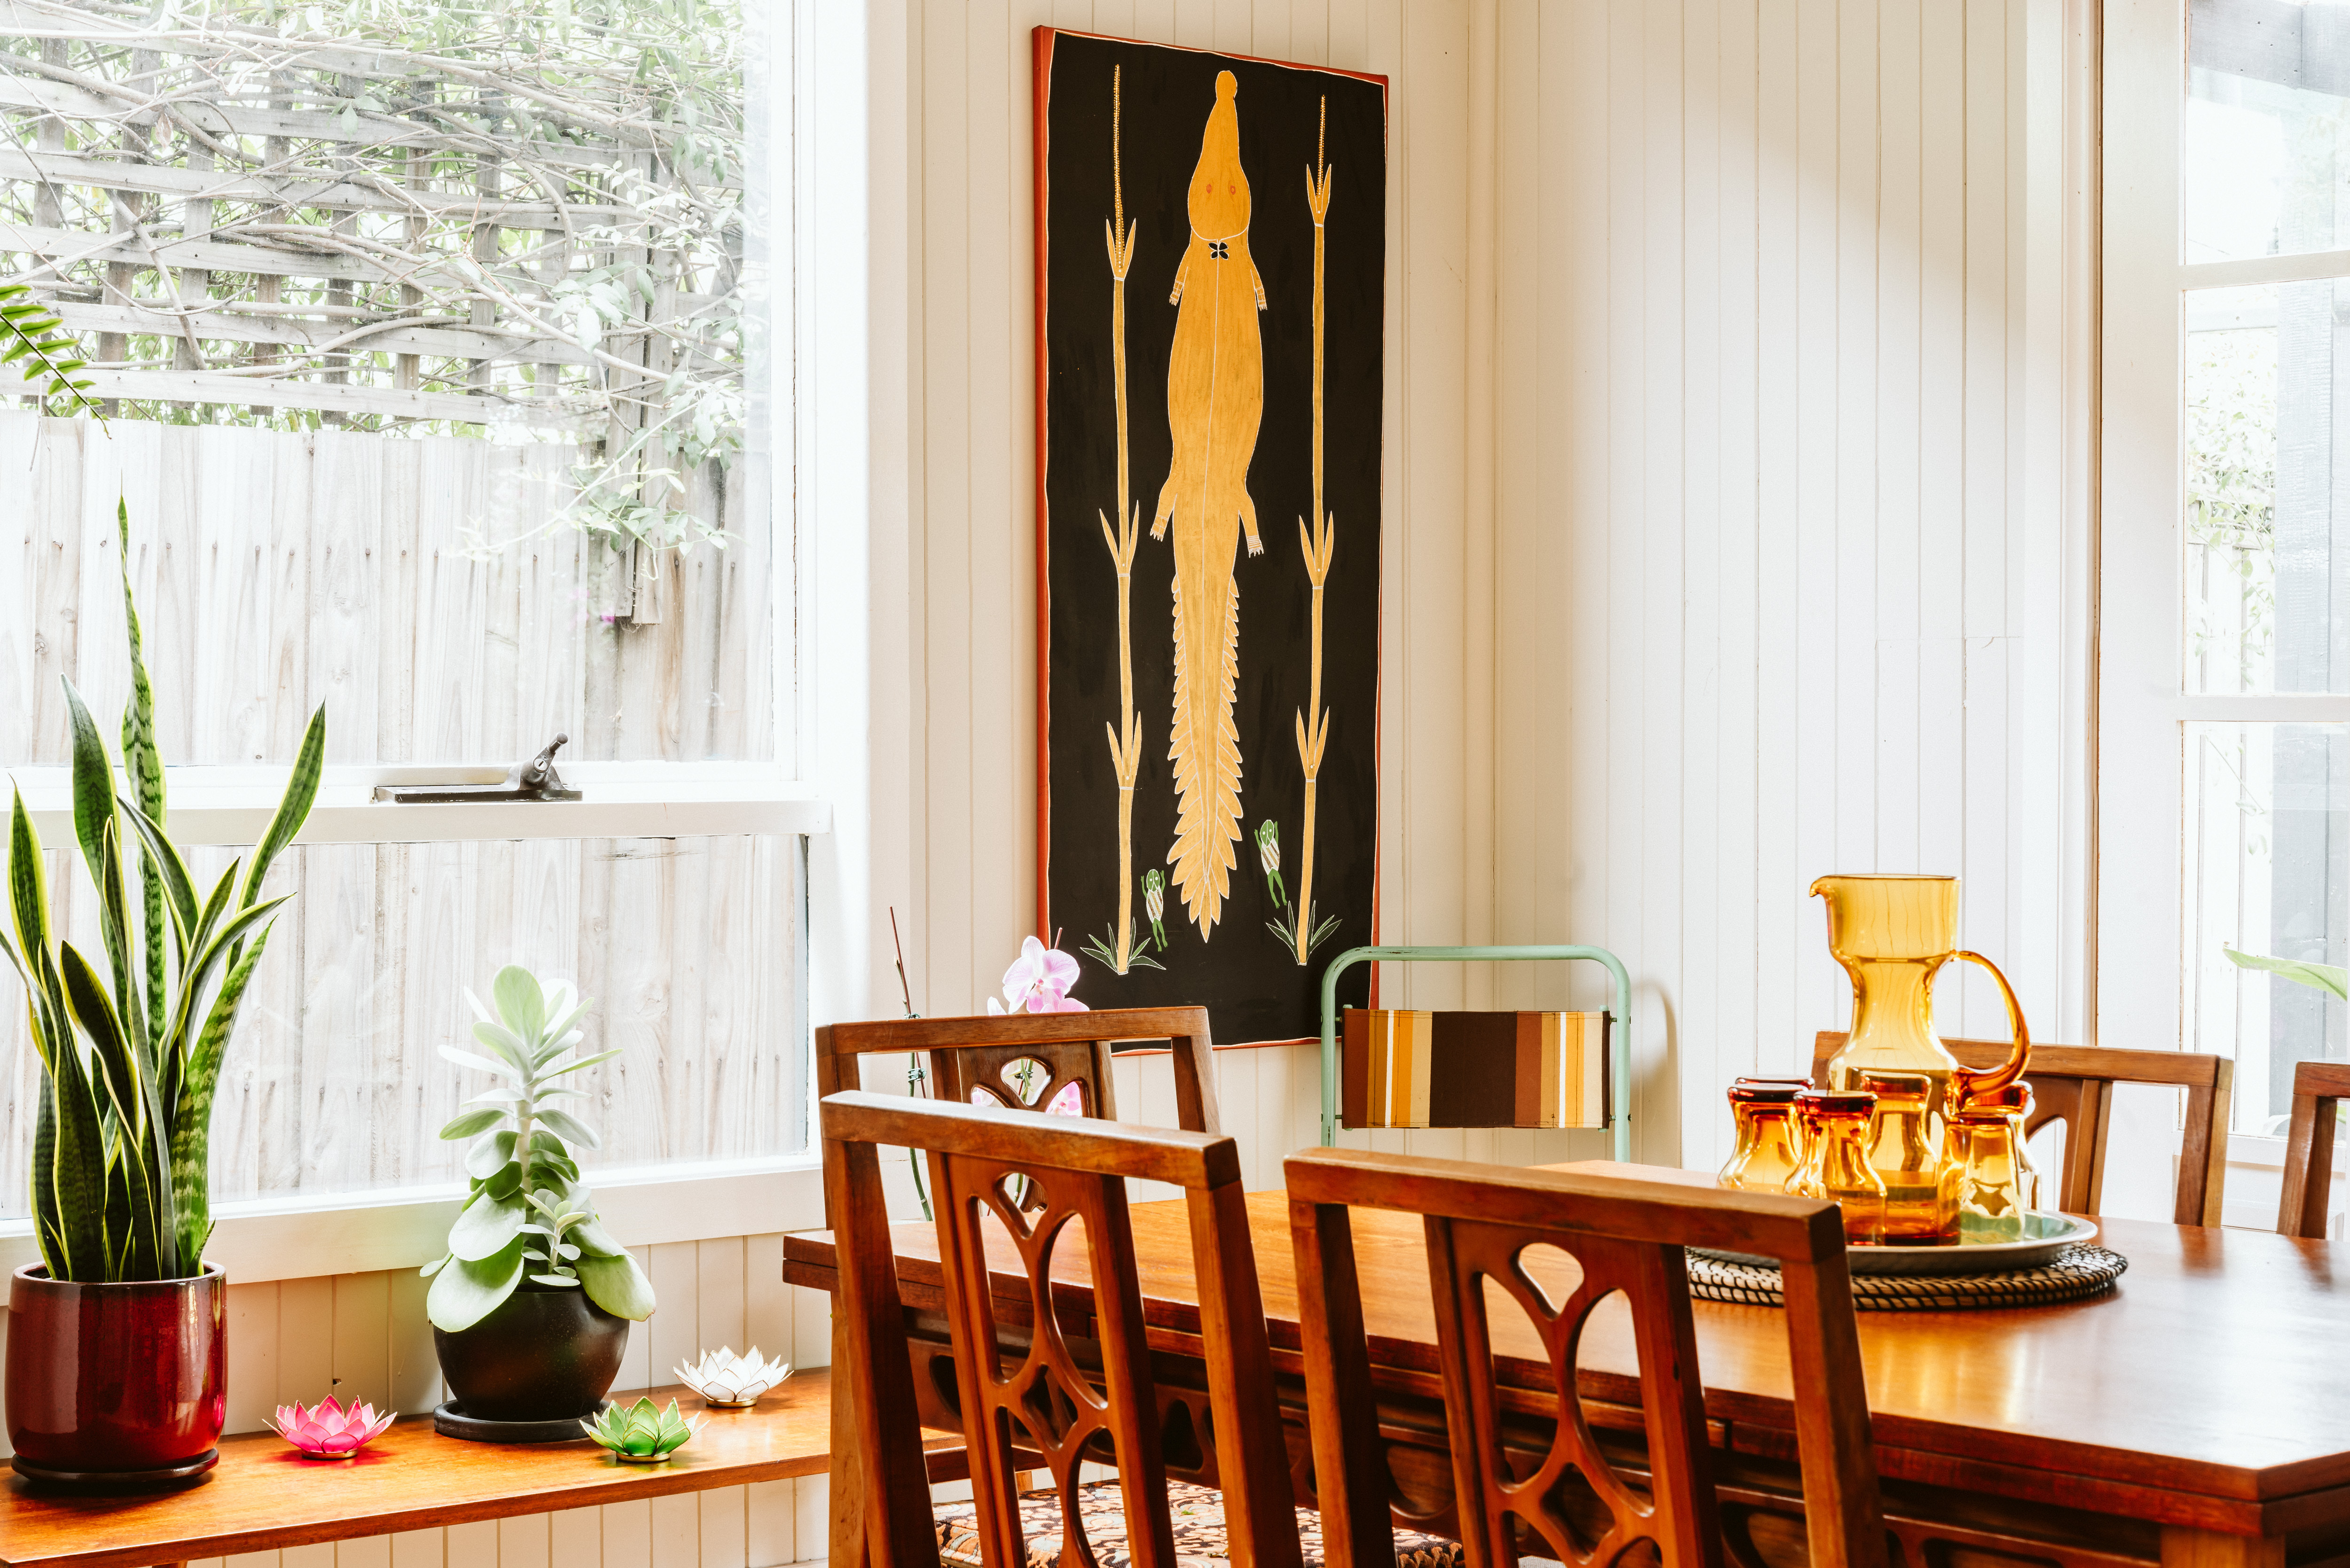
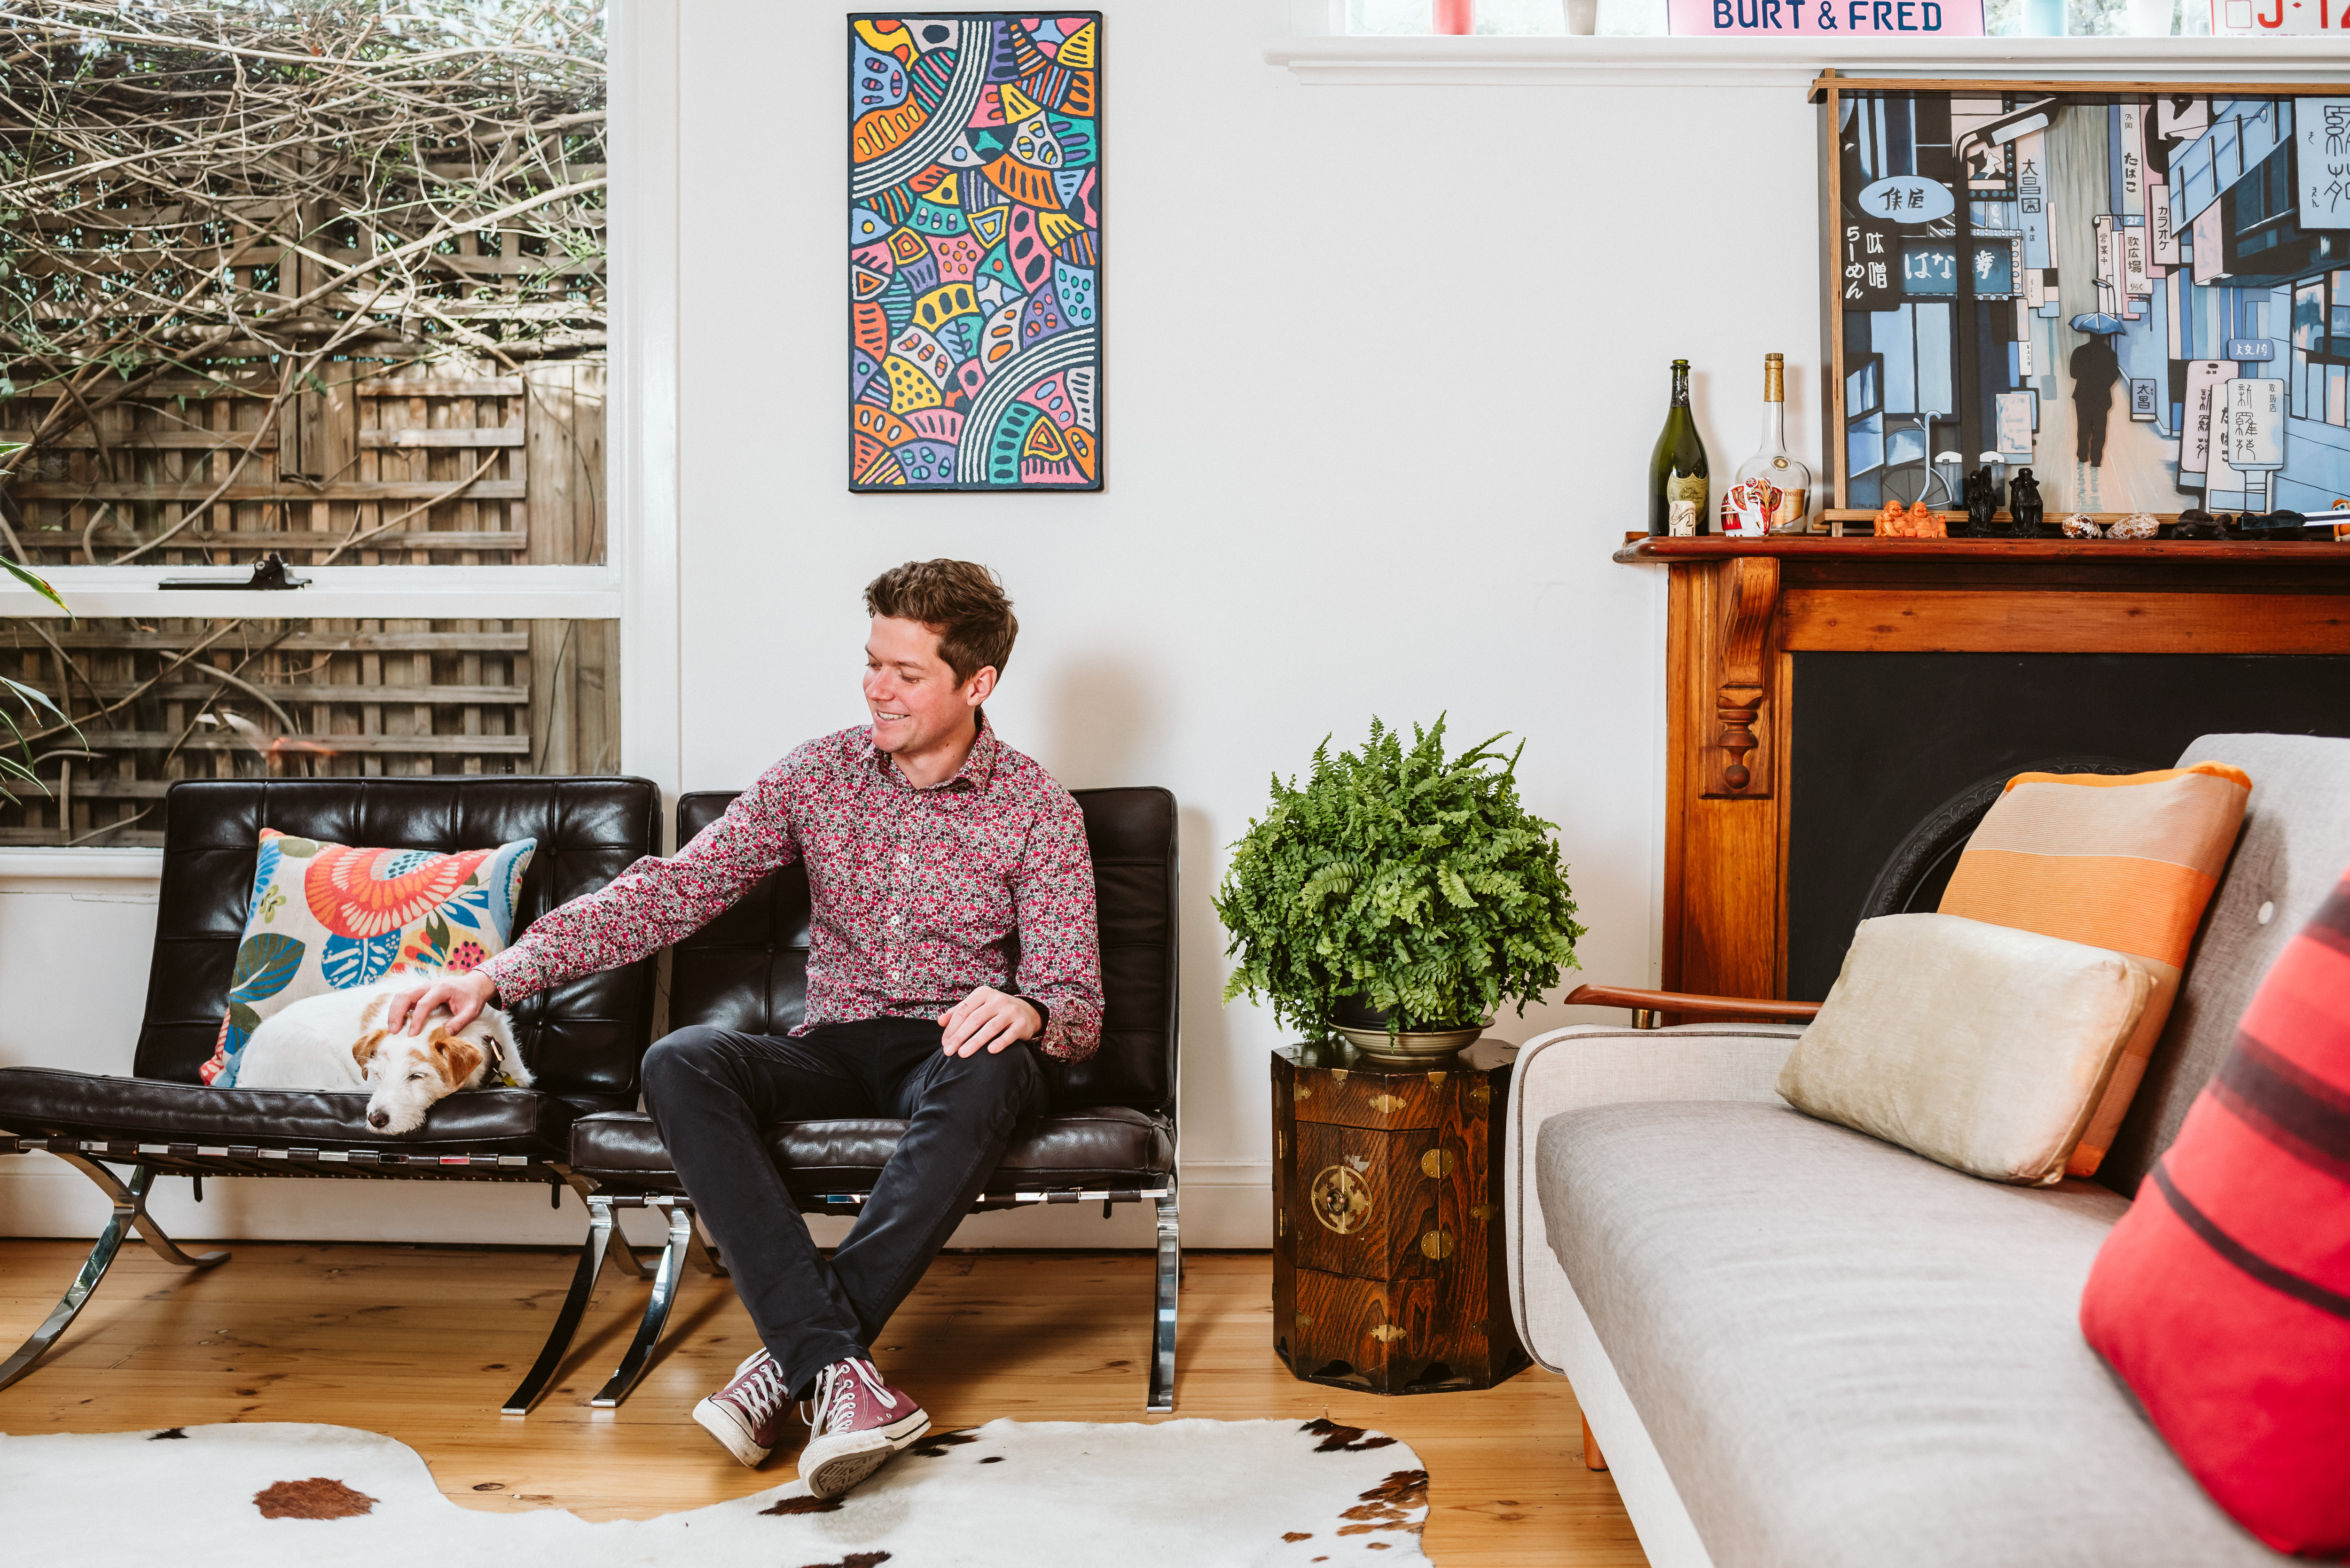
David Gulpilil’s golden crocodile fits perfectly in this nook. Gulpilil is a renowned actor and artist. Credit: Breeana Dundar
If an artwork is large enough to command its own wall, let it. Ideally find a wall that mirrors its shape. A long portrait artwork in the middle of a wide wall will get lost. Look for that nook where it feels commissioned.
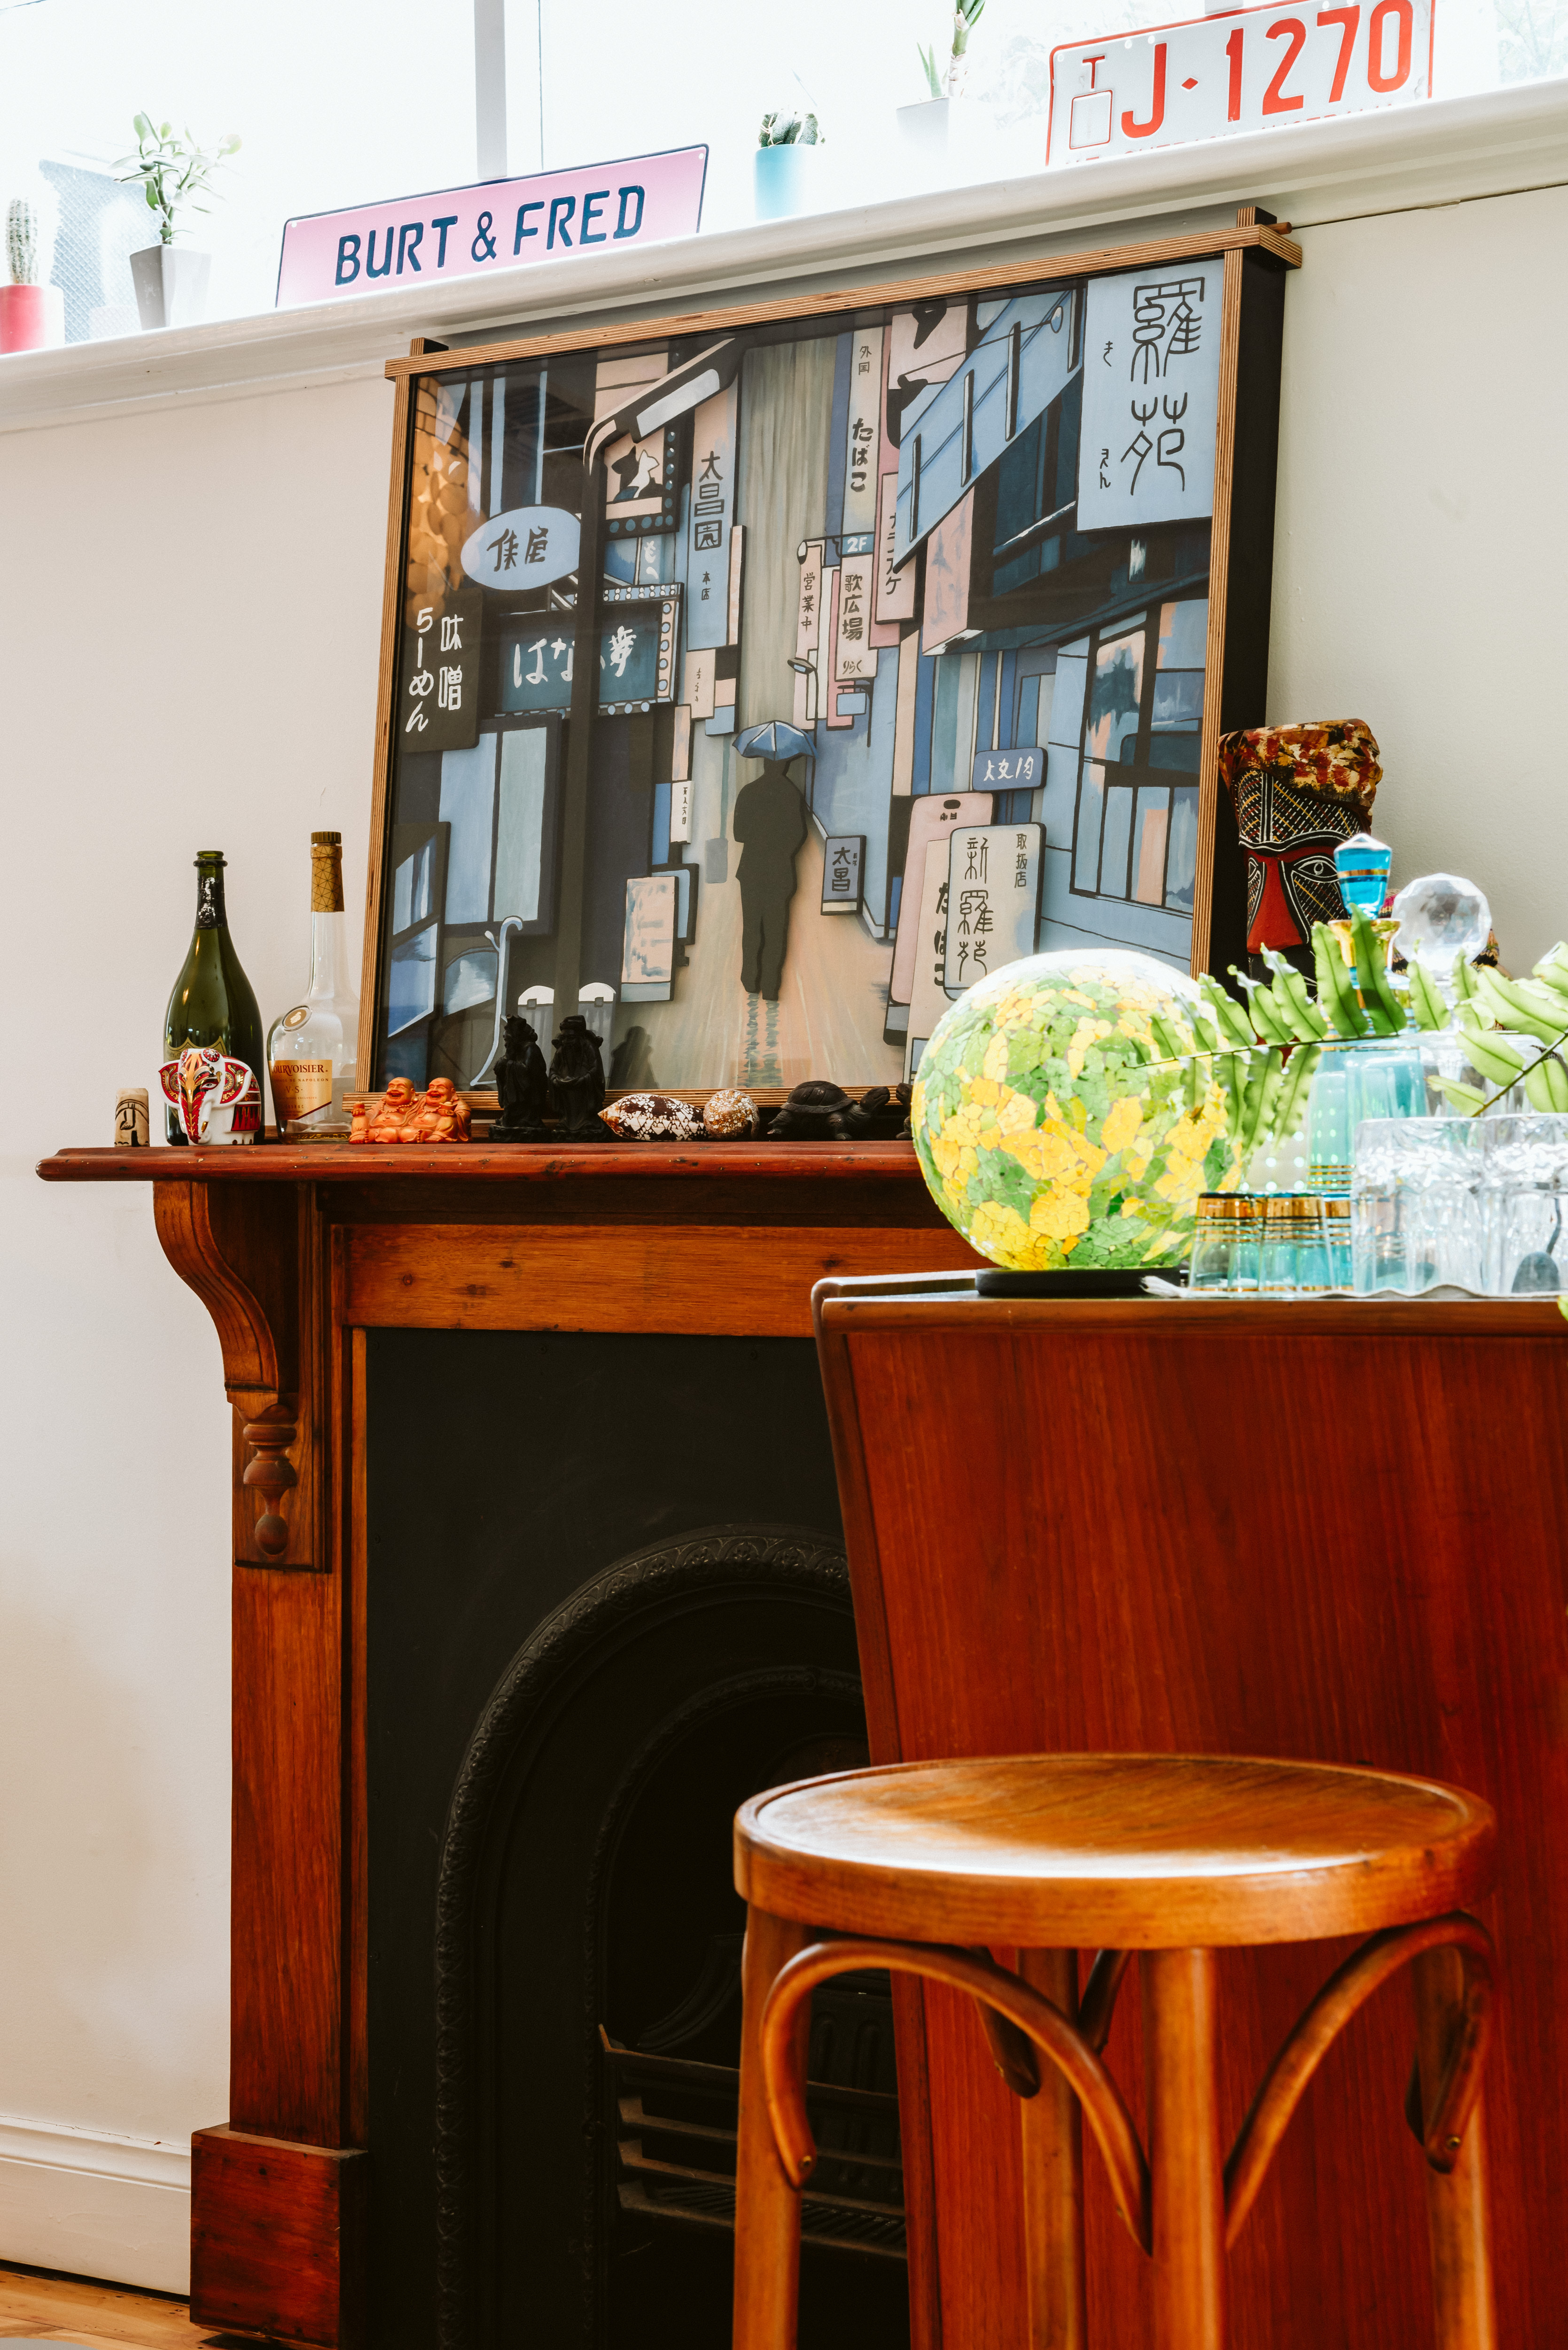
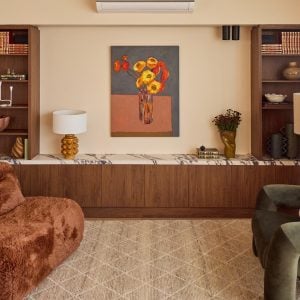
Erin Nicholls collaborated with furniture maker Lars Laug to create this heavy 3D artwork that sits on the mantelpiece. Credit: Breeana Dunbar
Tip: You can simply lean large, heavy artworks if you find the right place. This is especially good for renters. Use Blu-tack to ensure the artwork doesn’t slip or fall forwards.
5. Time to hang your art
Hang art so the centre is at eye level (approx. 145cm). Think of groups as one artwork and make the centre of the group eye level.
Don’t hang your art too high! It’s there to be looked at so keep it at eye level. Credit: Breeana Dunbar
Never use sticky picture hanging strips for heavy artworks. Buy a stud finder (you can get a cheap one at Bunnings) and either nail a hook or drill a screw into a stud. If there isn’t a stud where you want to hang art (there usually isn’t), use plasterboard anchors with a screw to give good support or buy special plaster hooks that have multiple small nails. It’s all easier than it sounds. Promise!
Artwork by Tjarlirli Art and Erin Nicholls. Credit: Breeana Dunbar
Tip: Most smartphones have a level tool (on the iPhone it’s in the Measure app). Make sure your art is straight and use Blu-tack to hold in place.
Finally, the opening
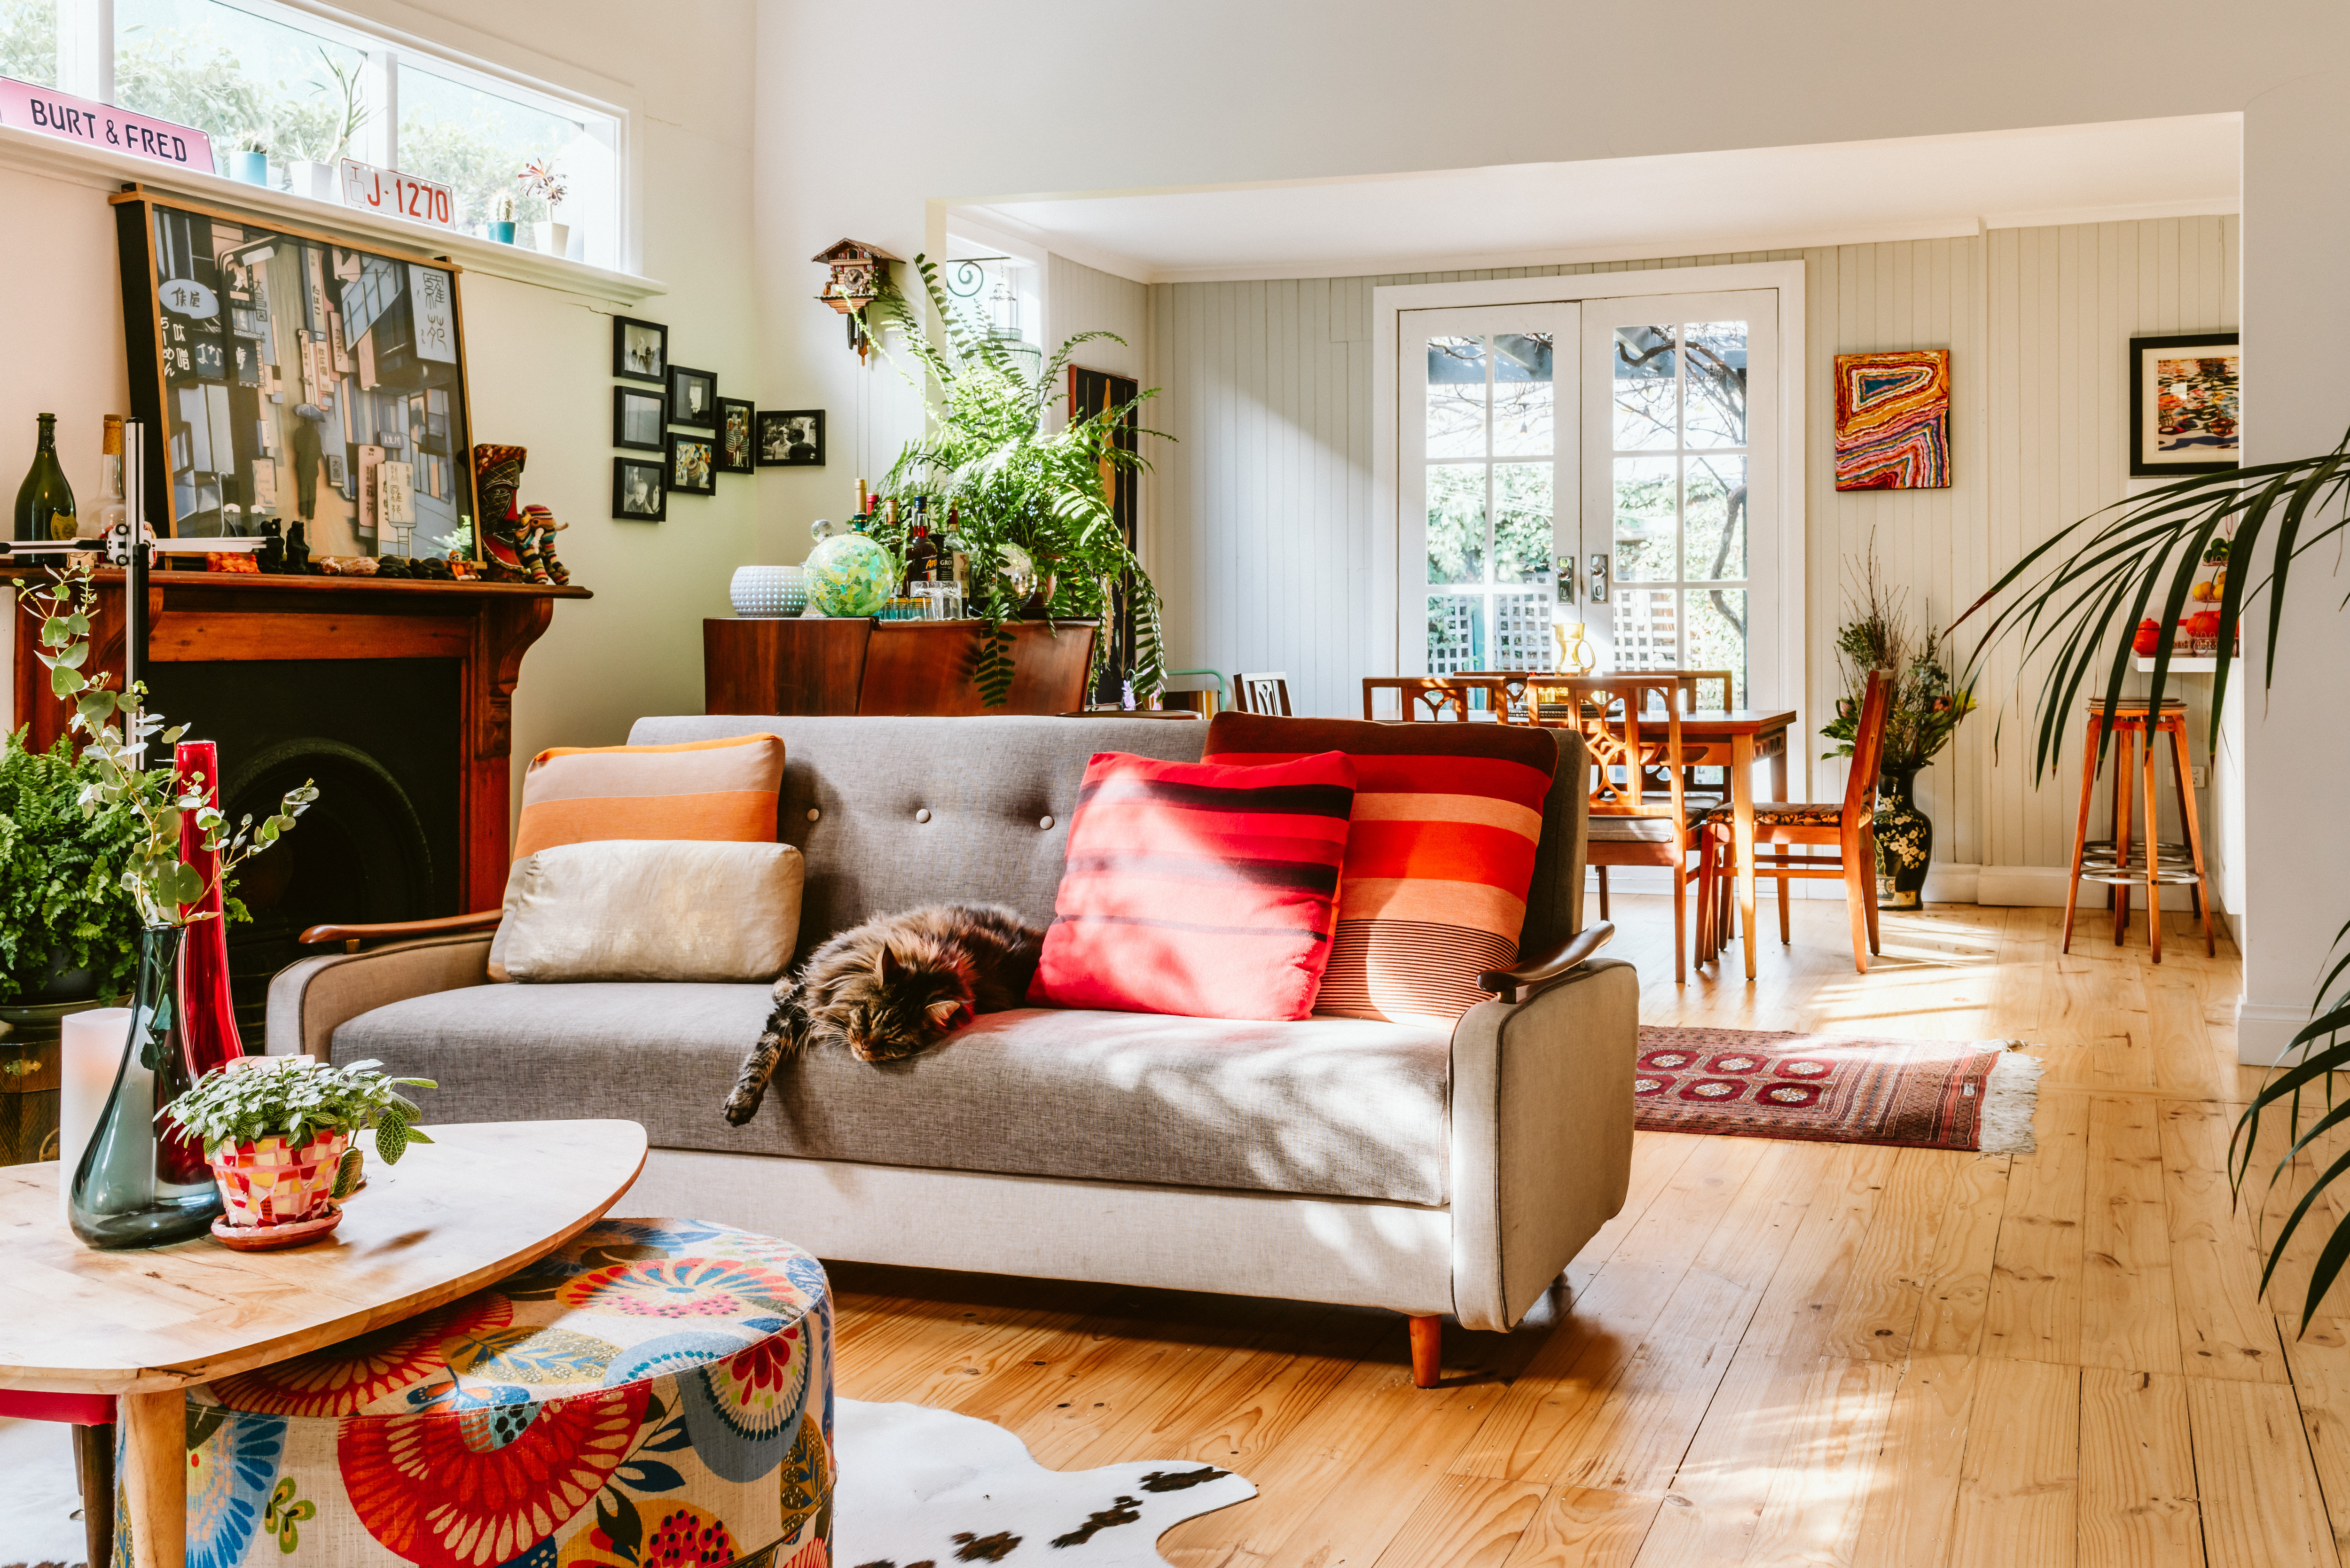
Now you’ve hung all your art, buy a box of goon, set up a gold coin donation jar and invite thirsty friends and family round to admire your exhibition. Seriously though, you’ll be amazed at the compliments and conversations your new live-in art gallery will bring. And the feeling of admiring your art hung well on your walls is just as good as the feeling of buying it.
Grungle is always the perfect host! Credit: Breeana Dunbar
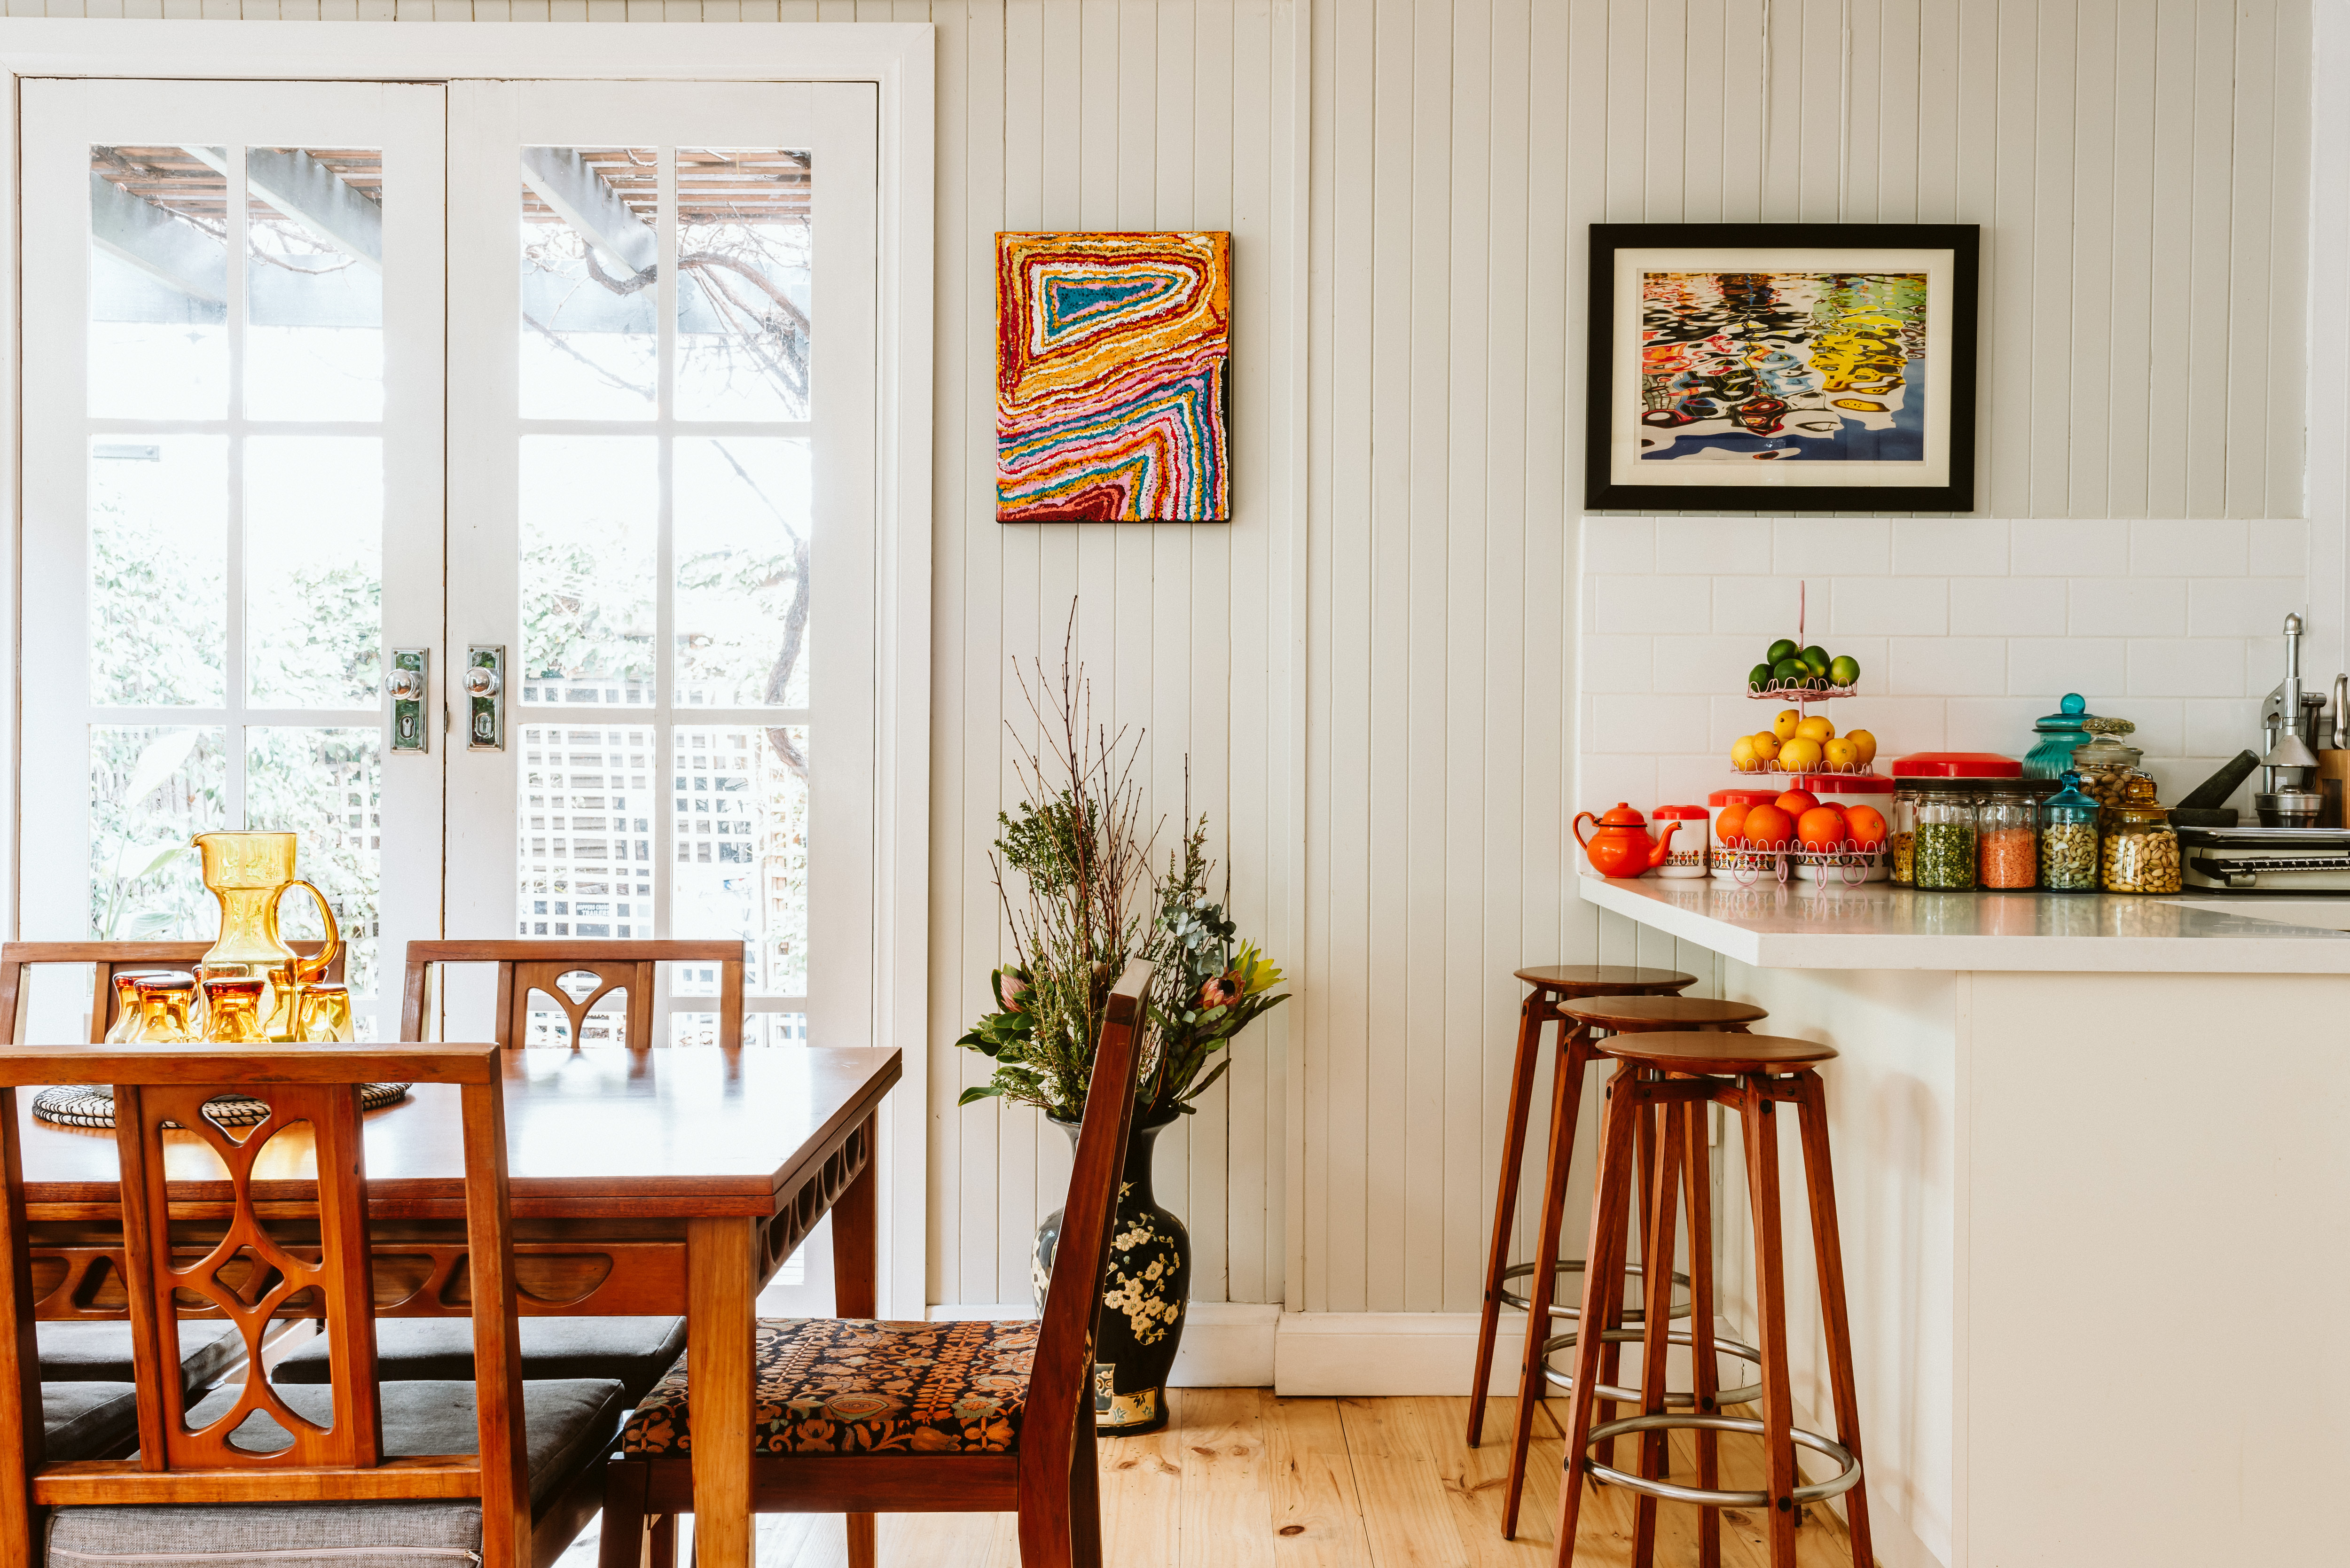
Make sure your citrus and staples match your artwork! 😉 credit: Breeana Dunbar