Using Facebook to Market Your Art Online
These days, it’s impossible to understate the value of social media as a means to advance your sales and art career. However, in order to be effective, your social media presence must also be well executed. The following tips offer a best-practice guide for Facebook.
Profile vs. Page
Even if art isn’t your sole source of income, you’ll still want to be seen as professional. On Facebook, this means setting up a separate ‘page’ that is solely dedicated to your art, in addition to your personal profile. Unlike a personal profile, pages have ‘followers’ rather than ‘friends’, and can be used to run competitions or even advertisements.
To set up a page, you’ll first need a personal account and profile. If you’re not already signed up to Facebook, this is the first step.
If you’re worried about attracting unwanted ‘long-losts’ (let’s be honest – we’ve all got some of those), you can always change the privacy settings to show less information. However, don’t be too dismissive of your profile – you can use, ahem, ‘invite’ your friends to Like your artist page, and your personal profile can also come in handy when joining ‘groups’. More on that later.
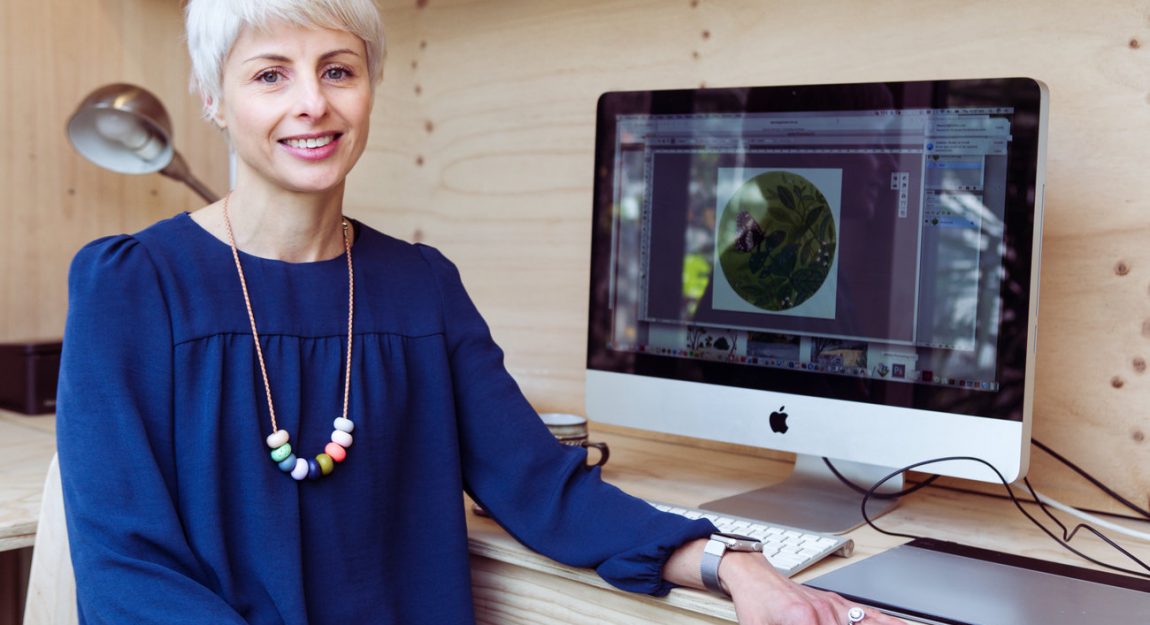
Personal marketing is an important part of any artist’s job. Artist: Daniella Germaine
Setting Up Your Page
As we’ve said already, the first step is creating your profile. That part’s pretty easy. Just start here and follow the directions.
Once you’ve got your profile, go to the ‘Pages’ section under ‘Explore’ at the bottom of the left hand menu. This will show you any existing pages that you already manage, and give you the option to create a new one.
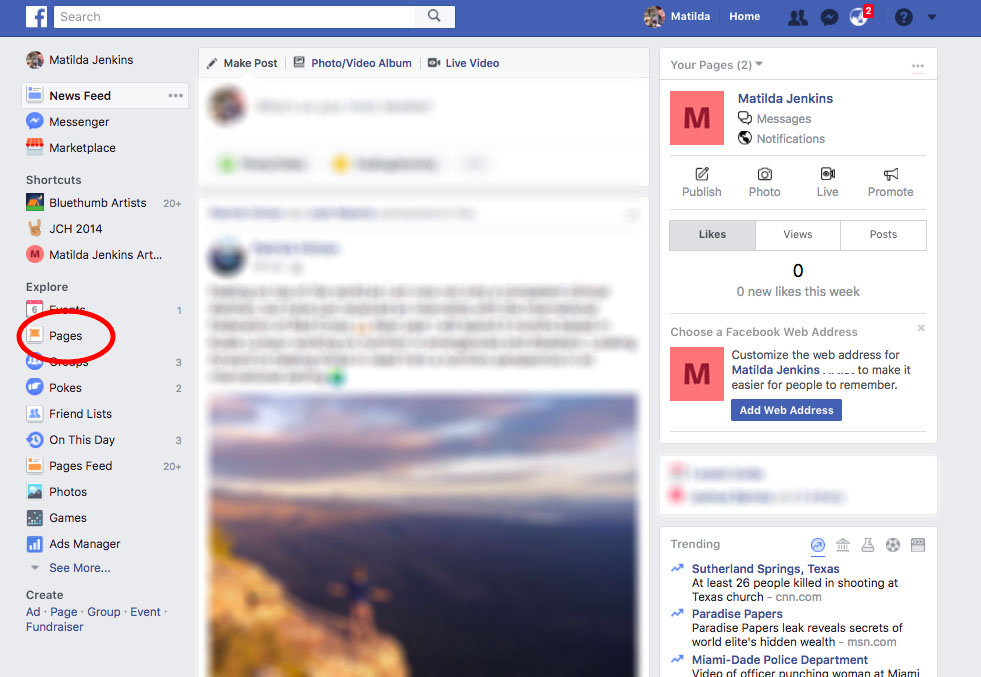
1. Click ‘Pages’ to begin.
Next, click ‘Create Page’.
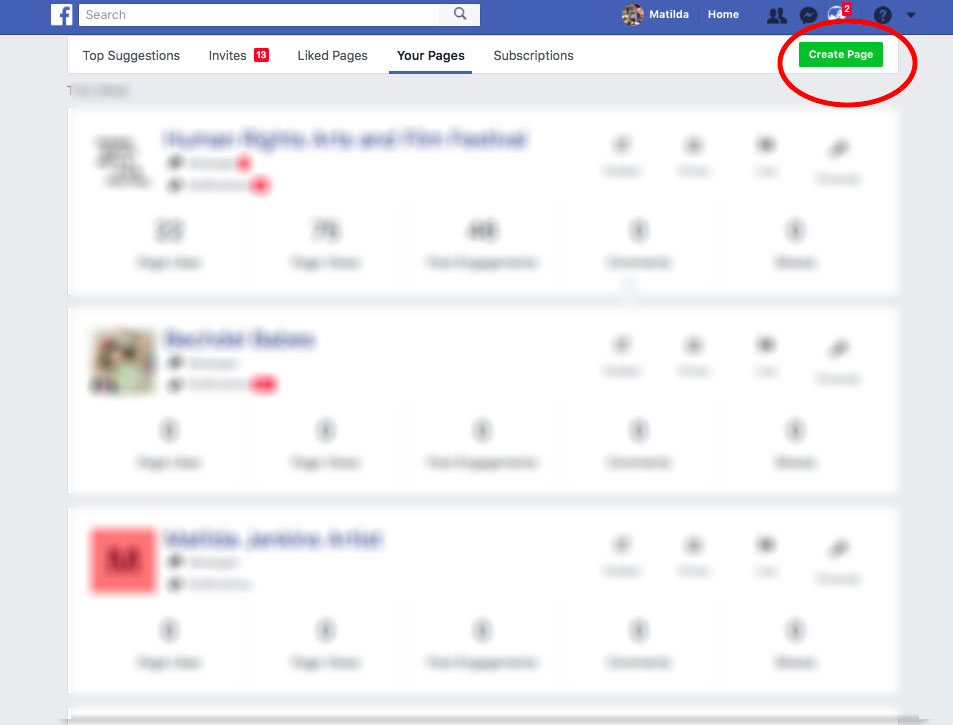
2. Click ‘Create Page’
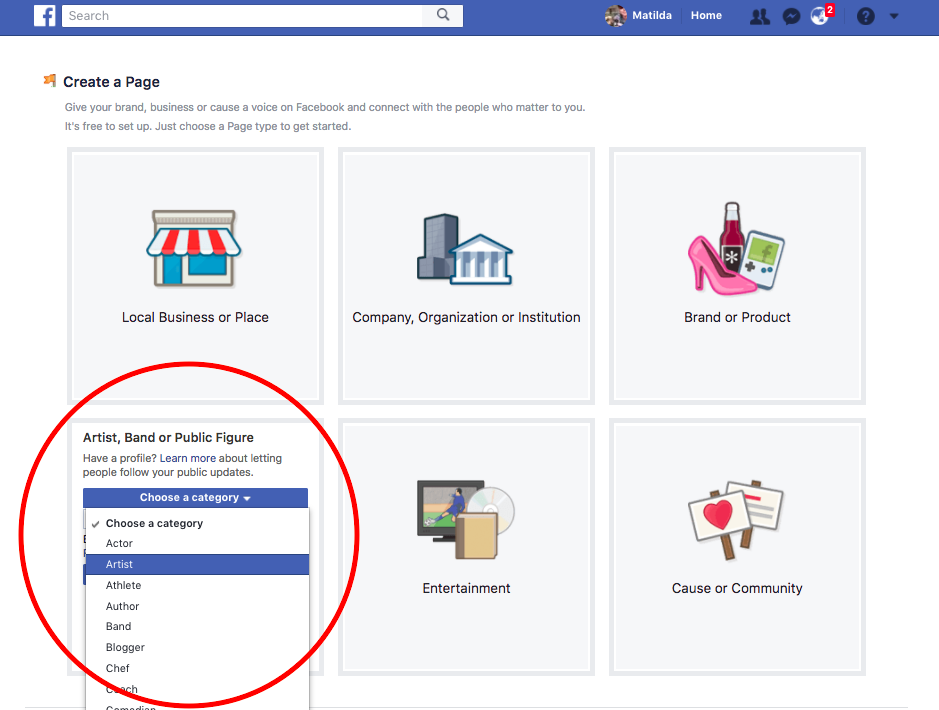
3. Choose ‘Artist, Band or Public Figure’ and select ‘Artist’.
Now it’s time to fill out the details. First, name your page. I chose to use my own name, ‘Matilda Jenkins’, which is clear and professional. It also makes it easy for pages like Bluethumb (*hint hint*) to seamlessly tag you in Facebook posts; “We love this painting by Matilda Jenkins” sounds better than “We love this painting by Matilda Jenkins Art“.
Alternatively, naming your page something like ‘Matilda Jenkins Art’ or ‘Matilda Jenkins Creative’ is a good way to differentiate your private and public Facebook personas, and it makes the purpose of your page – your art – obvious as soon as users click onto your page.
Facebook also requires you to create a username to help others find your page. I decided to make mine ‘@matildajenkinsartist’. When someone types @matildajenkinsartist in a post or a comment, it will immediately appear as ‘Matilda Jenkins’ and link to my page.

3. Ta-da! This is my brand new artist page – I still need a profile picture and a cover image, but it’s off to a good start!
Once you’ve got a name, make sure you’ve got a great profile picture and cover photo. To save time and keep things consistent, you can use the same photo on Facebook as you do on Bluethumb. Choose something art-related for your cover-image; perhaps a shot of you at an exhibition you’ve held, or a close up of your hand working on an artwork.
Fill out as much information about yourself as possible (except of course personal information like your phone number and home address), and be sure to link to your Bluethumb profile. Once you’re done, you can invite all your friends from your personal profile to like the page.
Get Posting
When making posts, keep a few things in mind. First, keep it varied, with a mixture of your finished artworks, progress shots, supportive posts about other artists and interesting stories from the art world at large.
Try to use an image with every post. If you’re posting something from an external website, where the image isn’t the most important part, you can copy and paste URLs from external web pages to generate a ‘preview’ for people to click on.

This is an example of a ‘preview’ that any URL will generate.
Facebook also allows you to schedule posts to be published on your page later on. It’s better to avoid scheduling posts too far in advance, because you might miss important events, but creating all your posts at once for the week ahead is a good way to save time!
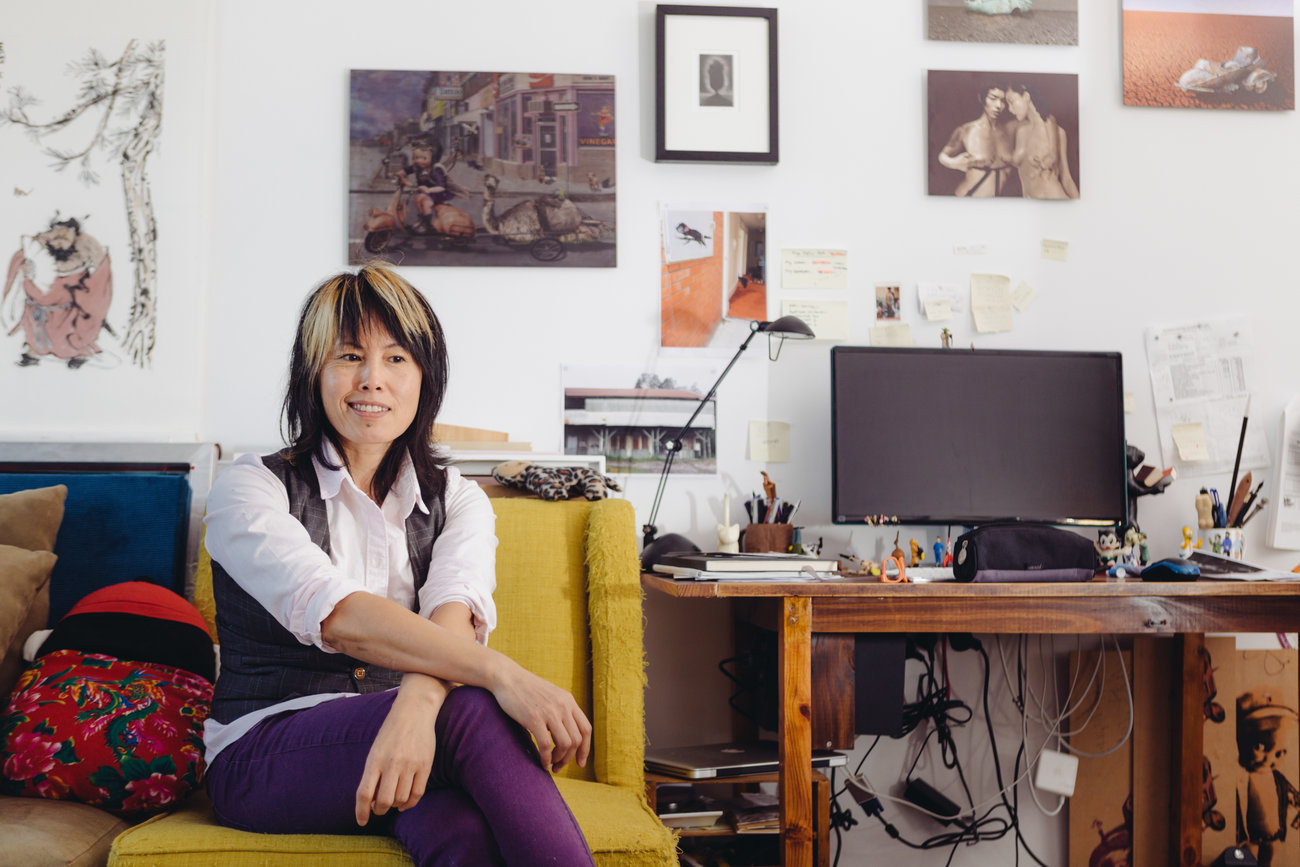
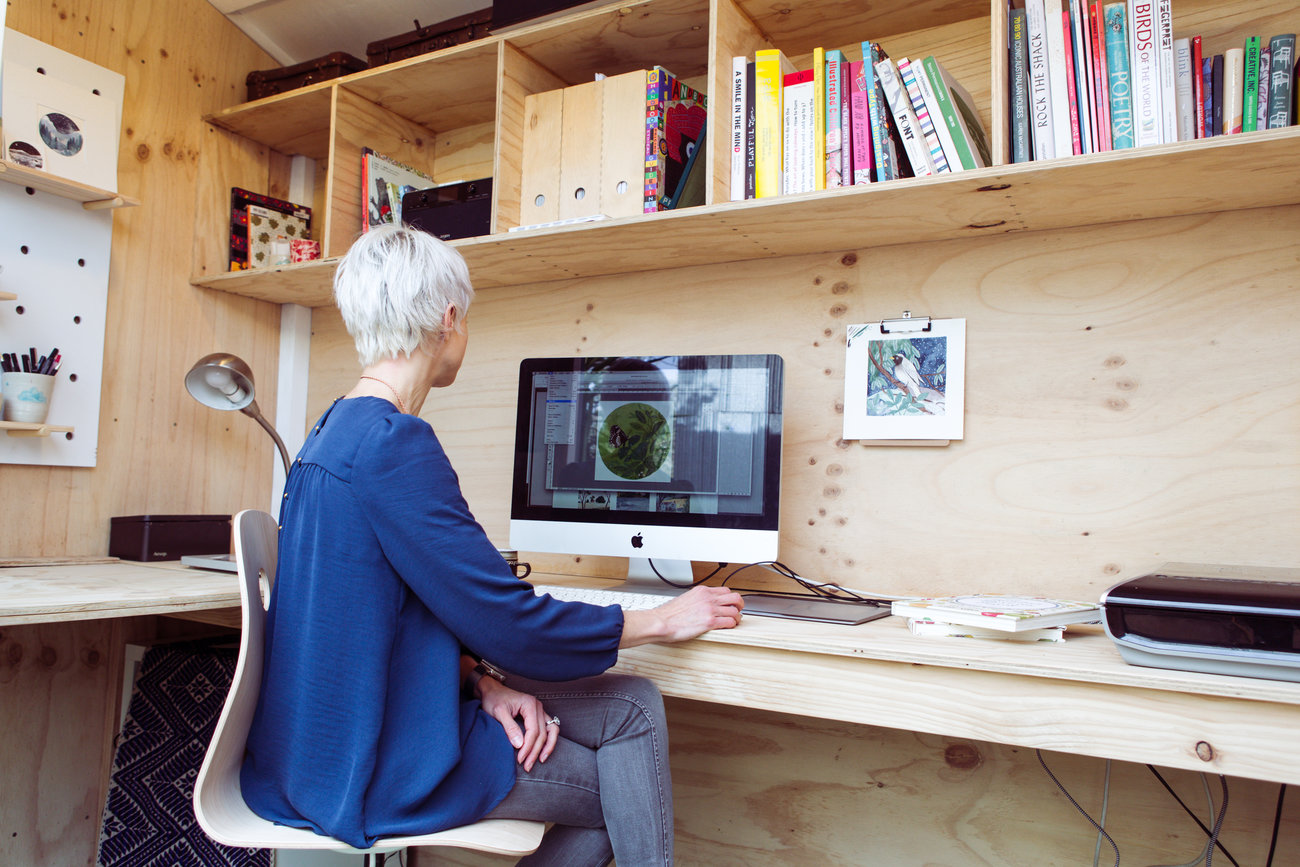
Artist Ying Huang has a nice, cozy setup that would make the perfect social media base!
To schedule a post, first type it into the box where it says ‘Write something’, as you normally would when making a post, then click on the arrow next to ‘publish’ and select ‘schedule post’. You’ll then be able to select the time you’d like your post to be published.
Engage
The whole point of social media is that it’s social! There should be a back-and-forth dynamic between you and your audience, particularly on Facebook. That means responding to comments on posts that you’ve made, tagging people in your own posts (remember, ‘@’ and then their username) and commenting on posts from other, relevant pages. Try to gradually build up a network of people who are interested in art, starting with a solid foundation from your pre-existing friends and fans.
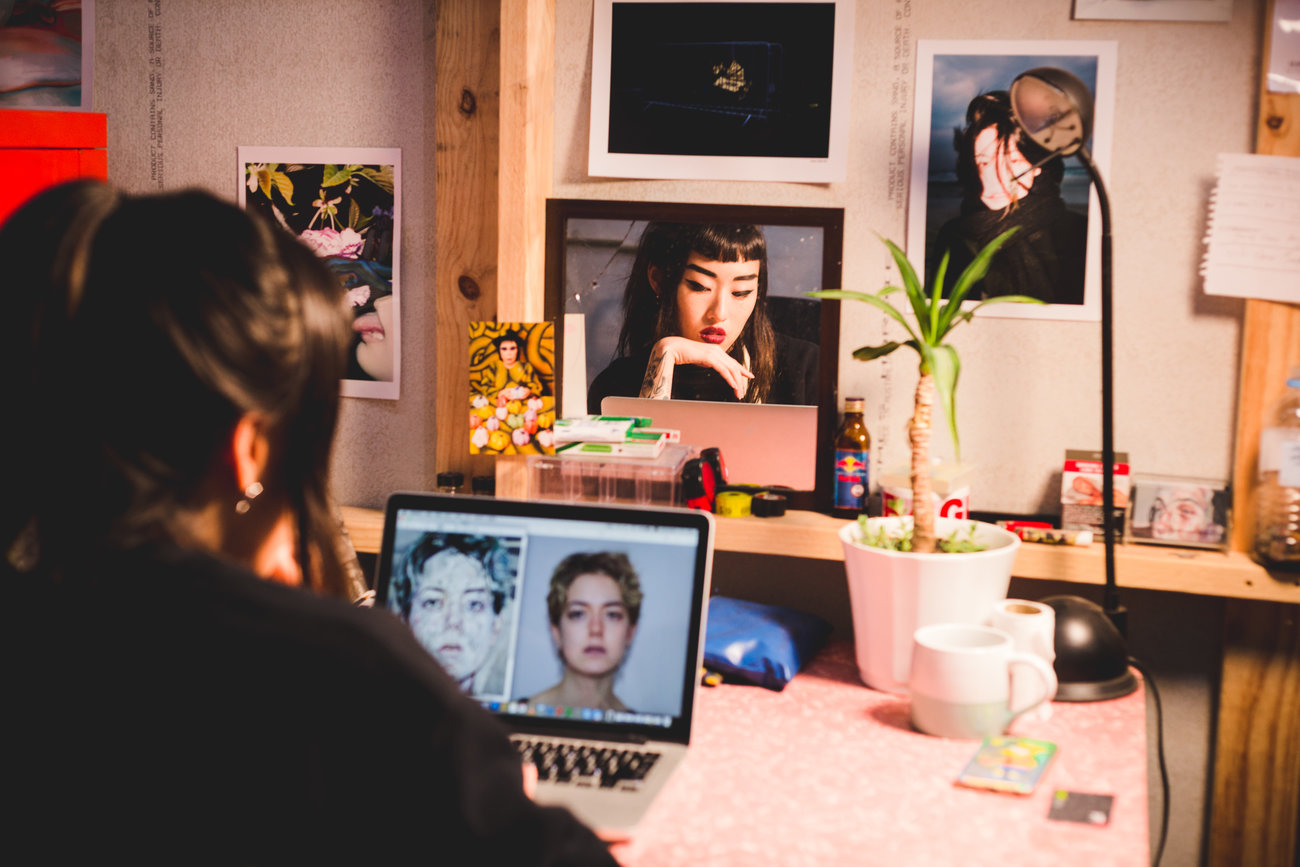
Kim Hyunji working on her laptop.
Oh, and remember to join the Bluethumb Artists’ Group! This is an open forum where Bluethumb artists can seek advice from one another about best practice on the site and in their creative practice. The Bluethumb team also uses the group to post site updates or useful advice.
Managing a Facebook page is an important aspect of your artistic career, and one that you might find surprisingly rewarding! Get in touch via help@bluethumb.com.au if you have any questions.


Helpful article on Facebook @bluethumbart , I have already taken a professional artist page also one for my gallery which I will be opening this summer. I will be able to use your tips for better posts, thank you!
A big help thank you
Looks great. I have a art mangerers page . Would love to post some of my works on the blue thumb site
Hi Sandra, at the moment we only allow artists to sell their own works as well as a few select galleries. You’re more than welcome to sign up if you’re keen to sell your own artwork.
Hi there. The arts i want to sell are my own works .they are oringal works br me. ?
Great tips!
tks i felt more confident following the steps described in your post
Terrific tips, it’s helping me a great deal as I work my way through setting up my account on Bluethumb
I found the article very helpful but I am still confused about packaging. I read somewhere if your painting is packaged in a flat pack you should tick “rolled up”, and not a”box”. If this right?