Take The Perfect Artist Profile Photo
A strong profile photo is essential to a strong online profile. Presenting yourself in a professional way reassures the collector that buying your art is a good idea, and it also helps them get to know the artist behind the art. A quality photo sets the tone for your brand. It’s important to get this one right, so listen up!
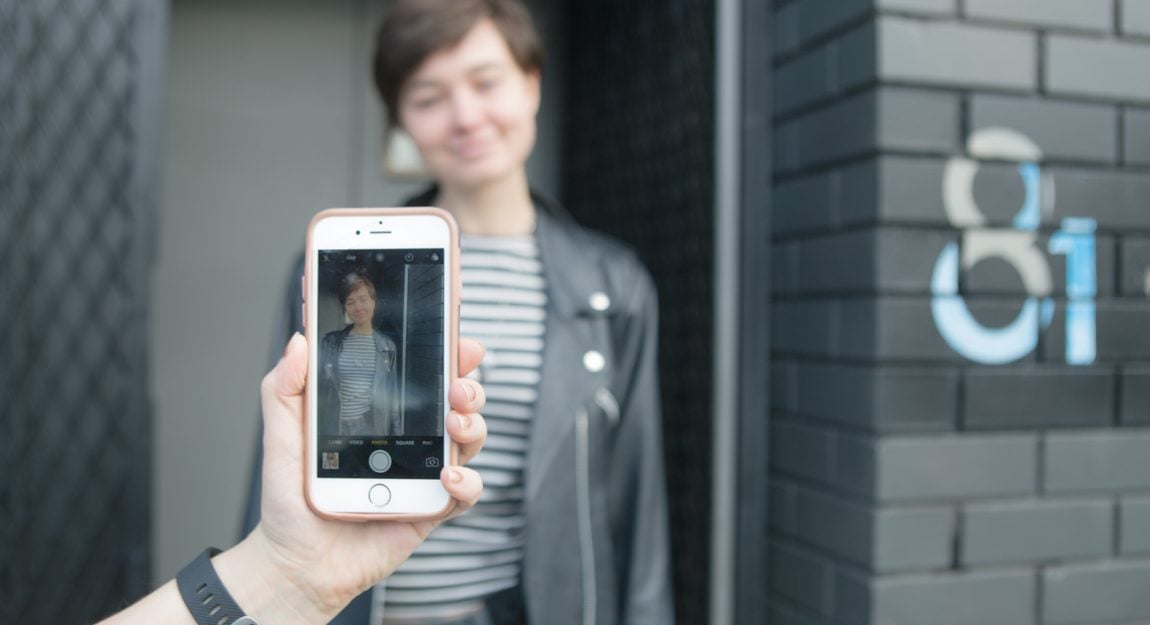
DON’T: Photos like this old selfie of mine don’t make for a good profile photo. I’ve used so many filters that you can barely tell who I am!
We can’t stress enough how important a good image is. Your profile photo is your brand, and collectors feel comforted if they buy art from someone trustworthy and professional.
If you can, use a camera to take the photo. Better image quality will provide a much cleaner looking photo. Where possible, get a family member, friend or partner to take the photo for you. Selfies might work great for Instagram, but this is your professional profile, so now is the time for that photoshoot you’ve always dreamed of.
With the latest updates to smartphone cameras, you can use your handy device to take the ideal profile photo.
Background
First, choose your location. The most obvious choice is inside your studio. However, if your studio space is cluttered, dark or nonexistent, then there are other options. Your living room or backyard work well. We suggest taking your best 3-5 paintings, and setting them up around a chair you’ll be sitting in. It can also be a nice touch to have your painting materials with you, such as in the photo below.
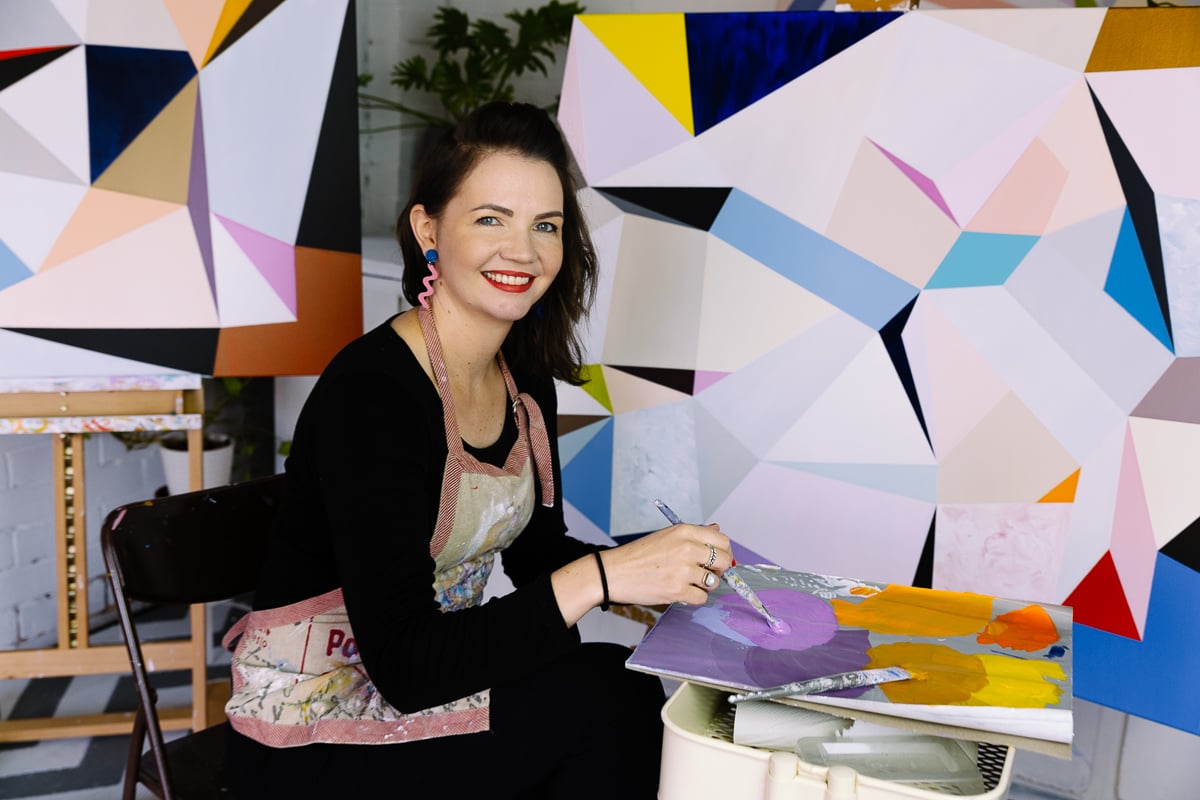
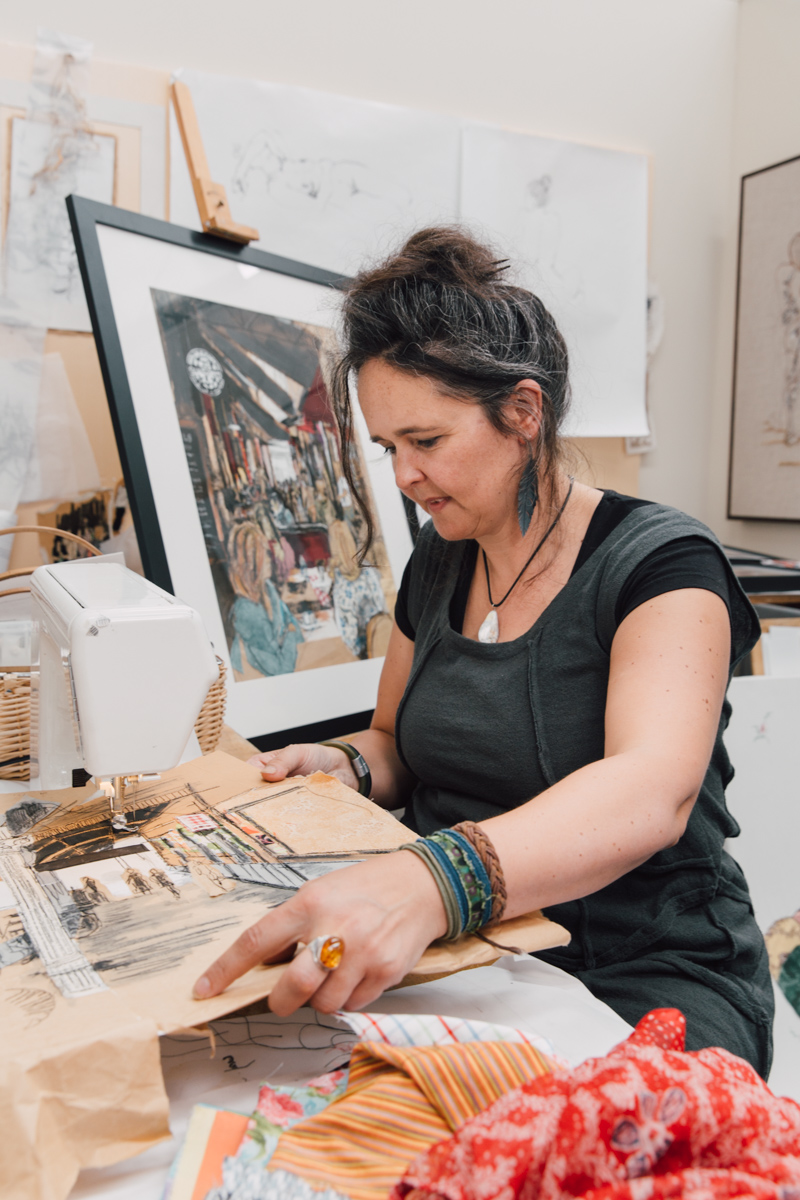
This background really conveys the tone of Susie Monte’s work – she has her paintings behind her, apron on and even is mixing some of her favourite colours!
Lighting
The most important part of a good picture is the lighting! The best way to make sure you look great is to use window lighting. For shadowless, flattering light, stand facing a window to take the photo. Alternatively, if you prefer some shadow, stand 45 degrees to the window (try drawing a diagonal line to the window with your hips) to add some shape to your face.
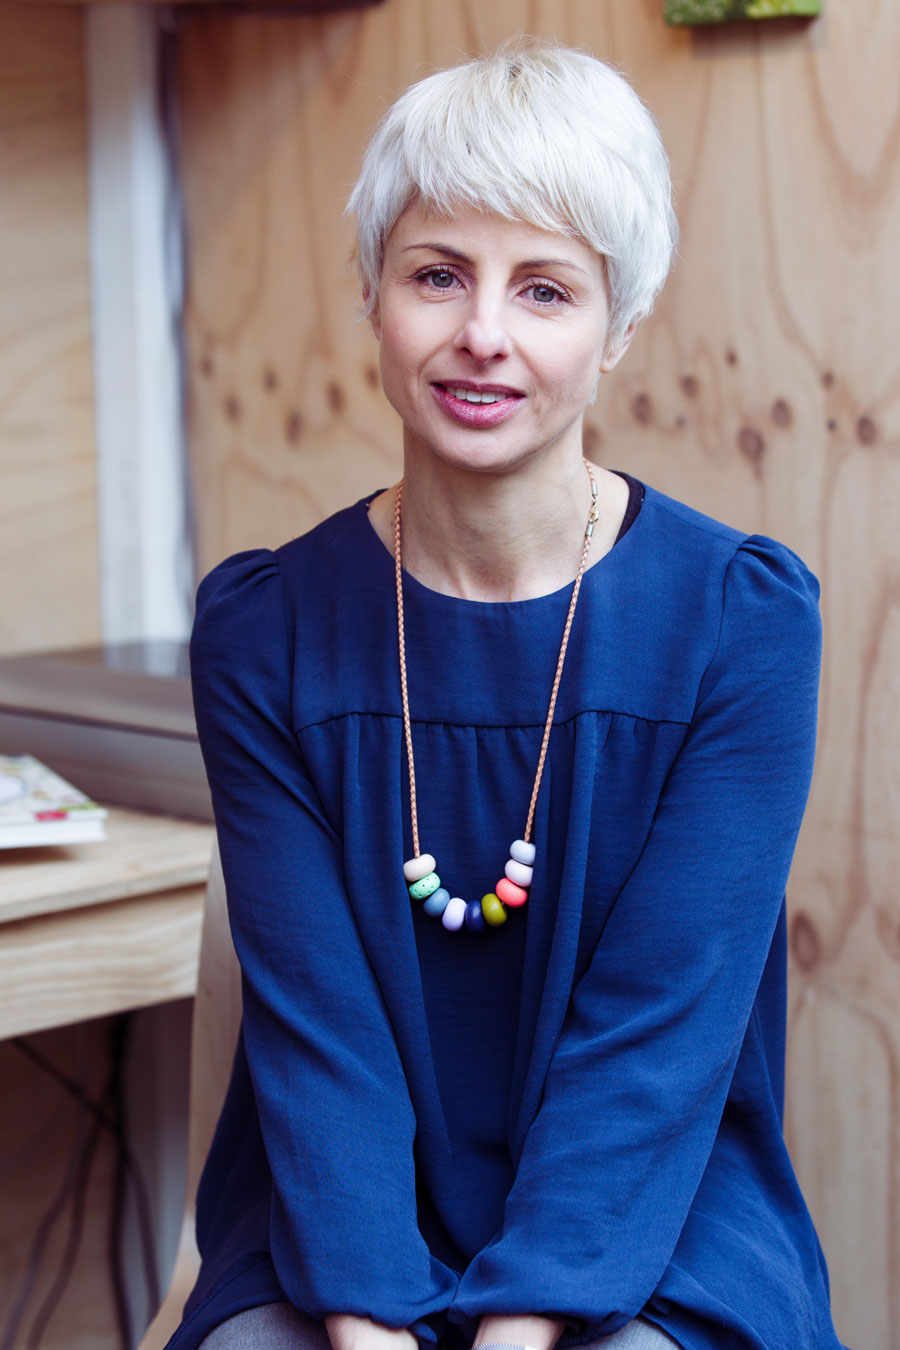
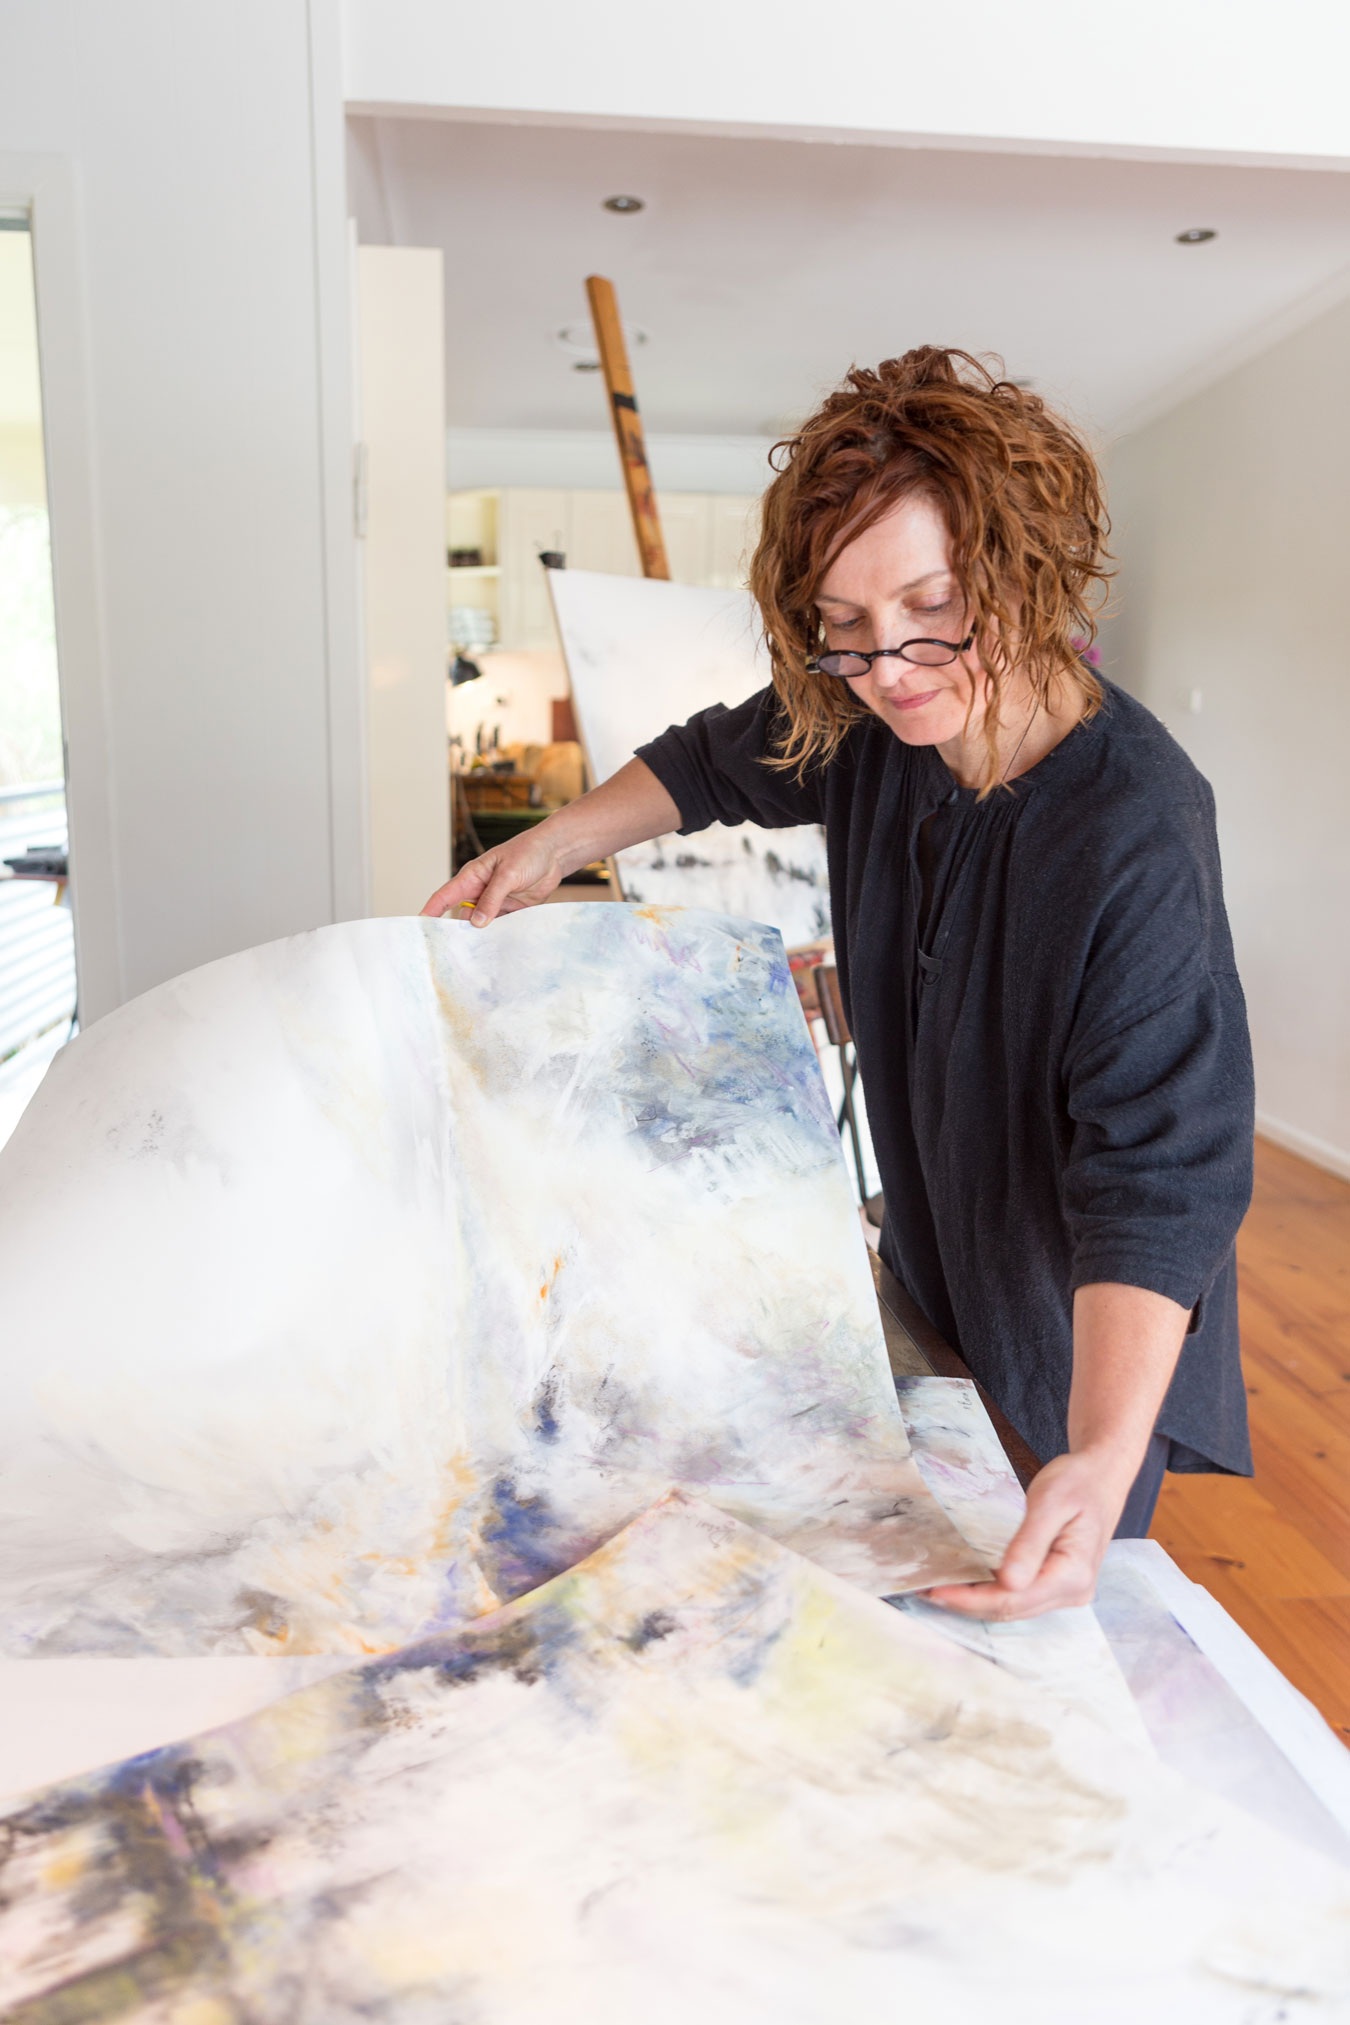
DO: In this photo, Daniella Germain was positioned 45 degrees to the open doors of her studio.
If you want an outside photo, the best kind of weather is a really cloudy day. It’s nature’s softbox! However, if it isn’t a cloudy day, stand in the shade just out of the sun’s reach (under a roof works well). This way, the light should remain even. Try not to stand in direct sunlight – this will cast ugly shadows on your face, which typically end up around your eyes. Somehow, these shadows will always seem to discover wrinkles you didn’t know you had.

DO: Julian’s headshot for Bluethumb was taken on a (very cold) cloudy day in front of a simple blue wall.
Focus
Make sure the focus of the photo is around the eyes. If you’re using a DSLR camera, you can manually focus on your eyes to get this to be absolutely perfect. It may be a cliché, but the eyes really are the window to the soul. If it appears as though you’re looking out from the photo, people are able to connect to you more easily.
DSLR cameras also give you the ability to leave the background out of focus. To achieve this look, make sure the aperture setting is f/8 or lower. Also, leave a fair amount of distance between you and the background items that you want to lose focus on.
Composition
Pay attention to the background. Try to keep it simple and relevant. The best kinds of backgrounds will be a plain wall or something related to your art practice. For example, your easel or some of your artworks. If you can see your studio in the background, make sure it’s neat and not too busy. Clutter will overwhelm the photo, which will make the viewer’s eyes hurt.
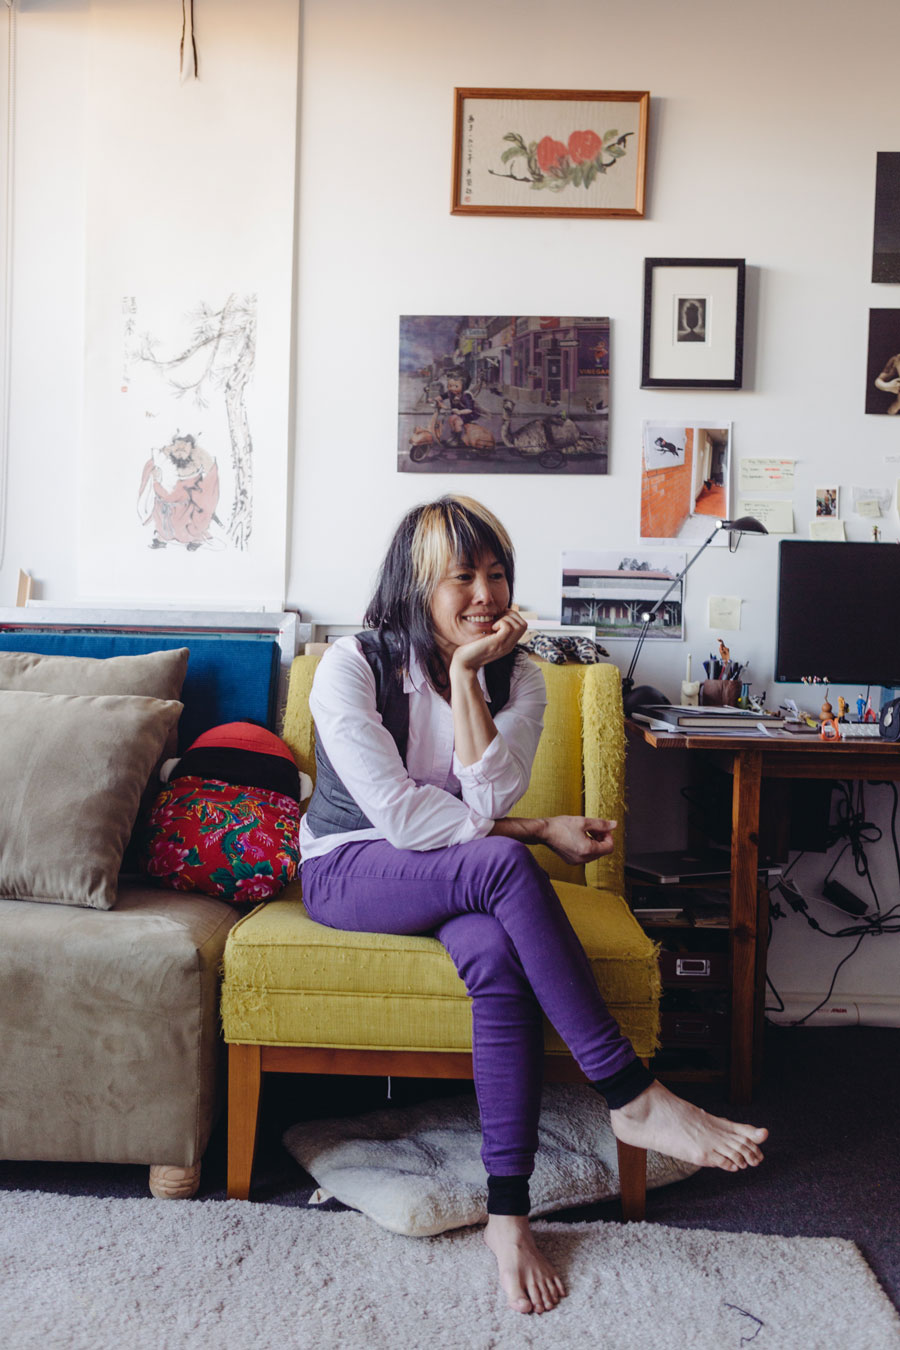
DON’T: This is a lovely photo of Ying Huang, however it wouldn’t work as a profile photo because the background overwhelms her and it’s not close enough to see her properly.
The same goes for those taking photos outside; make sure you’ve got a simple background. Natural elements, like trees and grass work perfectly. Avoid too many bright, colourful things. Remember, you’re the star here!
In terms of composition, make sure that no limbs are awkwardly cut off! It works well to keep 3/4 of your body in frame, or even just to show your head and shoulders. Full body shots aren’t ideal, because the viewer can’t see you well enough to really get to know you. Also, try to avoid extreme close ups. While they might show off your creative side, they often end up giving an alien-like effect.
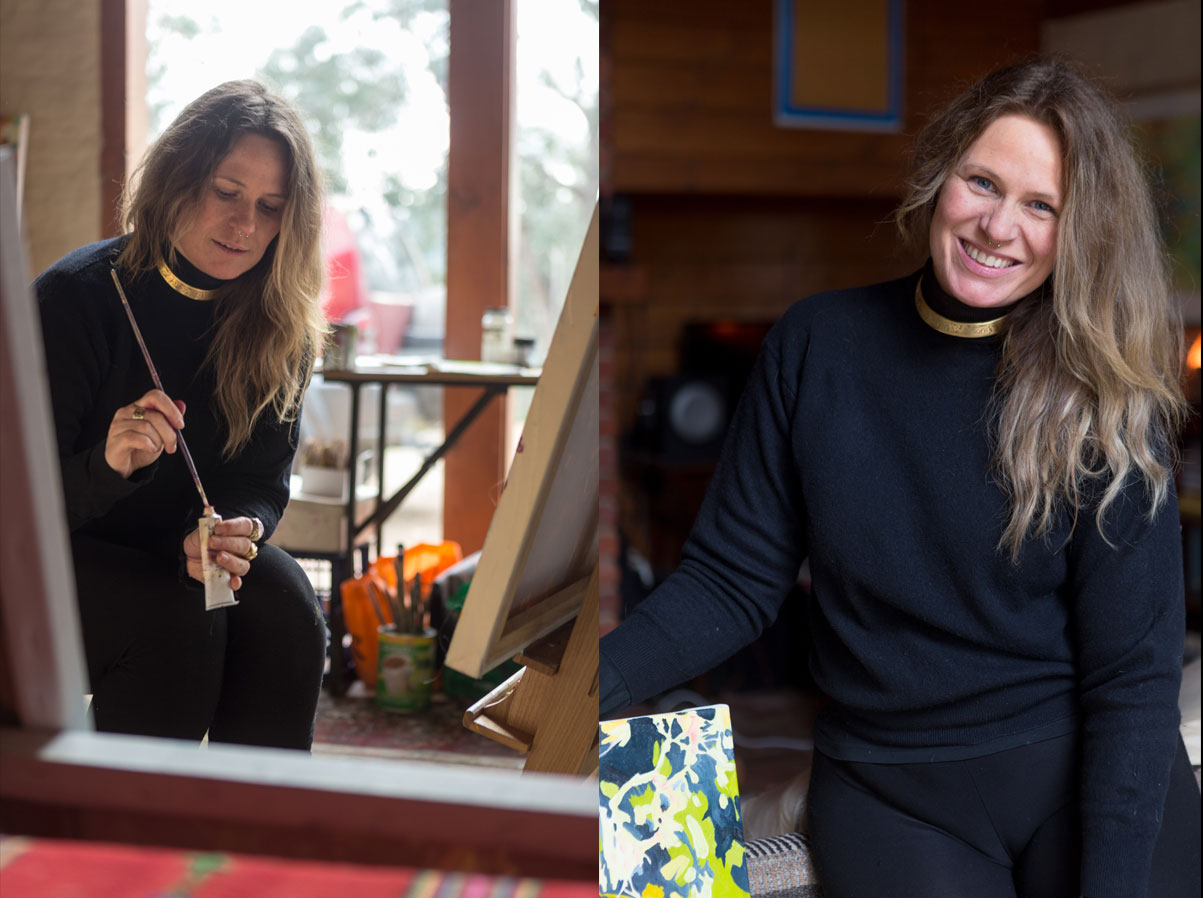
DON’T / DO: The difference light makes – in the left Ember is hidden in shadows, in the right image, she stands out from the background by facing the window light
If you’re unsure how to pose your body, try a few different options. Some simple poses that work well include sitting, standing, or even casually lounging. You want to appear relaxed and friendly. A smile will work wonders!
Post-Production
Try to keep your distance from any filters. You’ve put in a lot of hard work to get this photo looking nice, so don’t ruin it now. Keep it as natural as you can. Basic editing will suffice – so tweak the contrast, highlights and shadows to best bring out your face and art.
DO: Here, Marian Bosch is interacting with her art. While it helps to look at the camera, by no means is it essential.
The Loophole
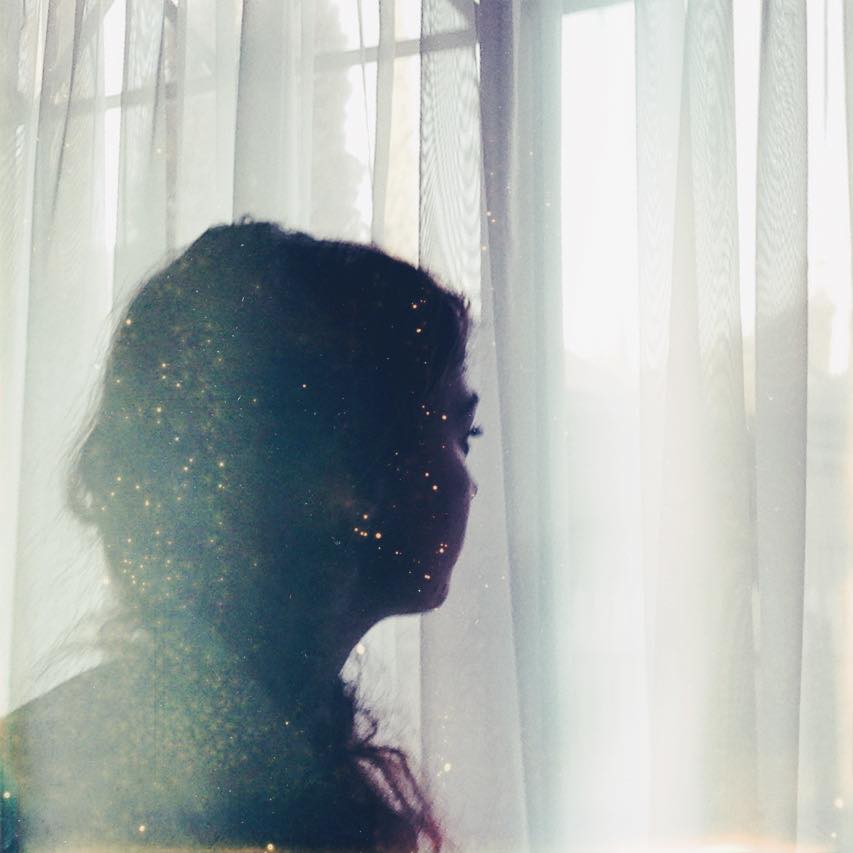
Lastly, if you’re the type of person who really, really, REALLY can’t handle being in a photo, then get someone to take a photo of you from behind or from the side while at work on your art. Photos with faces will be the most effective, but – even a well-shot silhouette can go far in creating the perfect artist profile.
Juliet Collins might not be facing the camera, but you can still get a glimpse into her art practice. Notice how the lighting is still even and the shadows on her face aren’t too dark – this keeps the image professional.


Fabulous information on profile photo. Thanks to the bluethumb team. ??
Very useful and helpful advice, I think my profile needs a makeover! Thank you….
Thank you for this great advice! I have updated my profile pic and happy with the result. Facing a window made the light on my face quite soft and I would not have known this before, thanks!
So greatly appreciate your advice.?I have been so caught up with different art projects that I put the most taxing thing aside even though I know it is the most important. Gets me back into getting a consistent collection together and following through with all of your examples. Not having the net at home slows things down , like creating a web site and interacting with clients and galleries but the Tortoise taught us. So refreshed, thanks kind regards Jacqueline Marks
1) Not sure what “position” of photo means and what are options for placing it are. 2) no matter what photo I upload, I’m still only getting a certain part of it showing as my profile. Is there some place I can set the size of the profile photo? The ones showing as examples are very different from what I’m able to post.
any help/suggestions?
Hi Maki,
I’m not quite sure what you’re referring to when you say position of photo – are you talking about the composition when taking the photo, the position you should pose in or whether it’s a landscape or portrait image? Either way, we find that anything that places you in the centre of the frame is best, as our system will display your profile picture as a circle around the centre of the image. Uploading a square photo will allow you to control how the picture displays, as you can crop the image to have you at the centre.
The images might be different from yours, but that goes to show how many options you have for a strong profile picture! As long as it’s well lit, sharp and professional it will be perfect. If you have further questions, feel free to email help@bluethumb.com.au and we can talk to you in more detail about your profile image.
Cheers,
Megan
Hmmm…excellent advice. But what about self portraits, we are after all good at those, aren’t we? Tee he hee…
I found this all helpful. I take a terrible selfie so would definitely get someone else to do it whilst I am working.
Thank you so much for this advice and more. My photo needs work soon.
Yes thanks. My son said my profile photo was terrible and hence this post was useful. Thanks.
Looks likeElle I better not put one up with me and my puppy dog! Thanks for the advice!
Thanks for the good advice. I chose a photo but it reflects my other interest, cycling! I’ll work on an update.
Thank you for the useful tips.